
Is DIY Garage Repair Really Cheaper? The Hidden Costs You Need to See
You might grab your tools thinking DIY will save money, but I’ve learned the hard way that upfront savings can hide bigger bills. Let me help you spot the real costs before you start.
This article will give you a clear, practical breakdown of unexpected tool and material expenses, how to account for your time, the financial risk of common errors, and smart times to call a professional.
I’ve repaired and maintained hundreds of residential garages, so I know where DIY wins and where it costs you more.
The Short Answer on DIY Garage Repair Costs
When you see the price for a new garage door spring or a bucket of floor paint, that’s just the opening bid. The real total cost includes your time, the tools you must buy or rent, potential mistakes, and the value of your own safety. I define “cheaper” as the complete price you pay in money, weekend hours, risk, and how long the repair actually lasts.
I once saved over $400 installing a Chamberlain opener myself because I already owned the right drill and socket set. But on my first attempt at an epoxy floor years ago, I skipped the diamond grinder rental to save $75. The coating peeled within a year, costing me double to redo it correctly. That wasn’t cheaper at all. Next time, I’d check epoxy garage floor cost estimates to plan the project and avoid surprises. Knowing the costs upfront helps to price out tools and coatings more accurately.
Common Garage Repairs: The Real DIY Price Tag
Let’s break down the real investment for typical projects. These estimates are based on material prices in my region and the time it takes a competent DIYer, not a first-timer.
Installing a Garage Door Opener
This is a common first major DIY project. A basic chain-drive Genie or Chamberlain model is a typical starting point.
Cost & Budget
- Good (Chain Drive): $250 – $350 for the unit.
- Better (Belt Drive): $400 – $600 for a quieter model.
- Hidden Costs: Do you have an outlet directly on the ceiling? If not, adding one is an electrician’s call ($150-$300). You might need a heavy-duty extension cord, concrete anchors if not mounting to wood, and a helper for an hour to hold the motor unit steady.
DIY Difficulty & Time Estimate
Difficulty: 5/10. Time: 4-6 active hours for one person. You absolutely need a helper for about 30 minutes to safely lift and position the rail and motor. The programming and sensor alignment is where most people get tripped up.
Applying Epoxy Floor Coating
This job is 90% preparation. The big-box store kits make it look easy, but the slab condition dictates everything.
Cost & Budget
- Good (Big-Box Kit): $3-$4 per square foot. Often a water-based epoxy or acrylic.
- Better (Professional 2-Part Epoxy): $5-$8 per square foot. Far more durable chemical resistance.
- Tool Rental: This is critical. An acid etcher is cheap but creates hazardous wastewater you must neutralize and dispose of responsibly. I now only use a diamond grinder rental ($75-$100/day). It creates dust, but no chemical runoff, and prepares the concrete perfectly.
DIY Difficulty & Time Estimate
Difficulty: 7/10. Time: 2 full days minimum. Day 1 is grinding/cleaning (exhausting work). Day 2 is applying the coat, which has a short “pot life” and demands a seamless, steady pace. You’ll need knee pads and proper ventilation.
Replacing Torsion Springs
I will be direct: this is the one job I tell most homeowners to not do themselves. The stored energy in a wound spring is immense and dangerous.
Cost & Budget
- Parts Only: $50 – $150 for the spring pair.
- Required Tools: You must use two 18-inch hardened steel winding bars, not screwdrivers or makeshift rods. These cost about $40-$60 for a pair. A sturdy ladder and vice grips are also needed.
- Professional Cost: $200 – $400 for the full service. This is the hidden cost of DIY: a severe injury.
DIY Difficulty & Time Estimate
Difficulty: 10/10. Extreme Risk. Time: 2-3 hours for someone who knows the precise, cautious procedure. This is the prime example of when the DIY garage door opener cost logic does not apply; the potential human cost is too high. If you are not 100% confident in identifying the spring wind direction, calculating the correct turns, and using winding bars safely, don’t believe the myths – call a professional.
Framing an Interior Wall (12′ x 20′ example)
This is a classic project for creating a workshop or storage room. It’s physically demanding but follows straightforward carpentry principles.
Cost & Budget
Let’s use a 12′ x 20′ wall as our diy garage cost estimator example (240 sq ft).
- Lumber (2×4 studs, top/bottom plates): ~$200-$300.
- Insulation (R-13 batts): ~$150-$200.
- Drywall (1/2″ x 10 sheets): ~$120-$180.
- Fasteners, joint compound, tape: ~$80.
- Hidden Costs: Tool rental (drywall lift, $40/day). Dump fees for lumber cut-offs and packaging ($50-$75). Disposal of old material if you’re renovating.
DIY Difficulty & Time Estimate
Difficulty: 6/10. Time: 3-4 days for one person. Framing and insulating takes a day. Hanging, taping, and mudding the drywall takes 2-3 days with drying time between coats. A helper is needed for lifting the drywall sheets.
Your DIY Cost Calculator: It’s More Than Parts
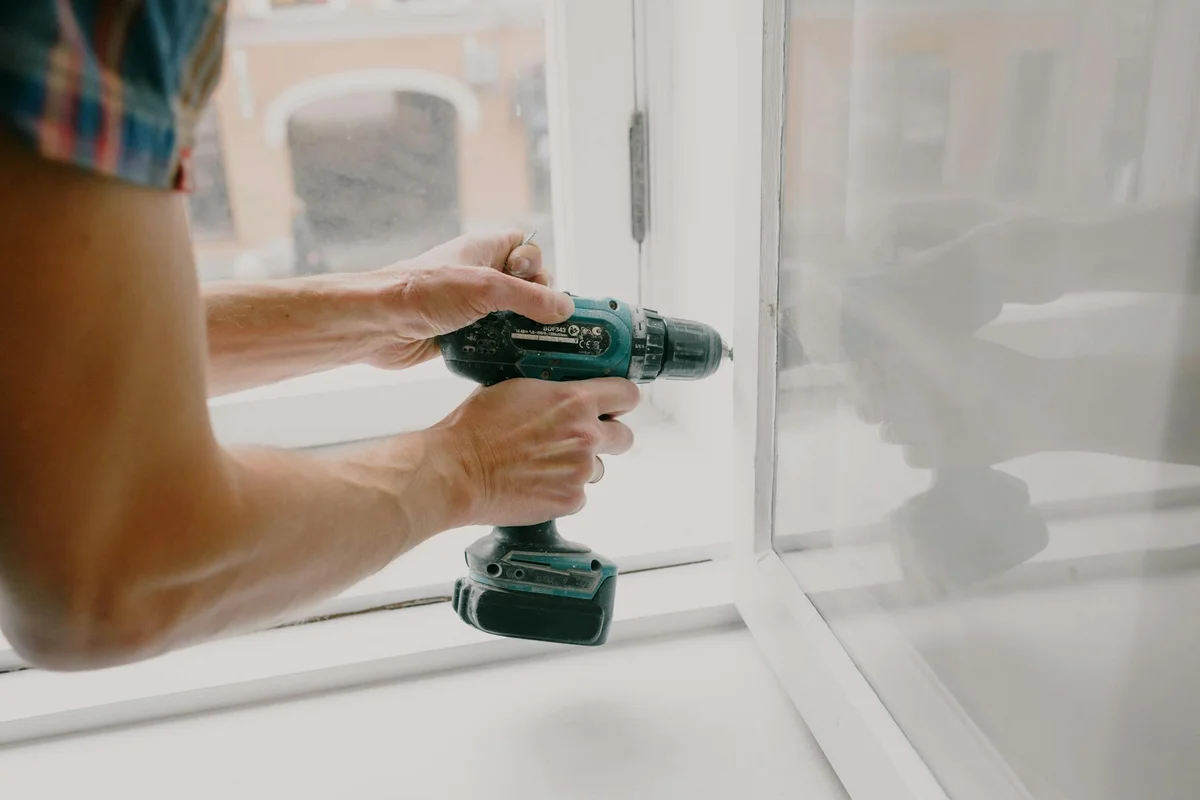
Forget software. Your real cost calculator is a mental checklist. You see a new garage door spring for $50 and think you’re saving hundreds. The real costs hide in the details you never write down — like those garage door costs that add up over time.
Before you start any project, walk through this list of often-forgotten line items.
- Disposal Fees: Throwing out an old wooden door? That’s a trip to the dump and a fee. Old concrete from a floor patch? Even heavier, even costlier.
- Fuel & Time for Tool Rental: That $40/day concrete mixer requires a truck to haul it and two trips to the rental yard. That’s half a tank of gas and an hour of your day, gone.
- Permit Costs: Replacing an exterior door or window, or doing major electrical work? Most cities require a permit. The fee is one thing, but the time to apply and schedule inspection is another.
- Consumables: You buy a saw for the project. You forget the blades. You buy paint, but not the rollers, trays, masking tape, and sandpaper. A box of 100 screws seems like overkill until you strip 20 of them.
Let’s talk about location. A search like ‘diy garage cost california’ gets tricky. Here, pro labor is very expensive. A $2000 professional job might have $1500 of that as labor. Your material cost is still $500, so your potential savings look huge. But in a region with lower labor rates, that same job might be $1300 total. Your $500 in materials now only saves you $800, making the DIY math less compelling. Always get a local pro quote first to know what you’re really saving. In a garage conversion, the DIY vs pro decision often hinges on more than price—it’s about scope, permits, and finish quality. We’ll look at those trade-offs in the next steps.
The Tool Investment (Buy vs. Rent vs. Borrow)
Tool strategy makes or breaks your budget. I categorize tools into three tiers.
Buy the cheap one for single-use or simple tasks. A $10 caulk gun or a basic putty knife is fine. You’ll use it once every few years. No need for pro-grade here.
Rent the serious tool for heavy, infrequent jobs. Need to drill into your foundation for a sill plate? Rent a rotary hammer from Home Depot. A good one costs $300 to buy but $40 a day to rent. It’s the right tool for the job, and you won’t have a $300 paperweight gathering dust.
Borrowing is a gamble. I learned this the hard way. A neighbor lent me an old corded drill to assemble some heavy shelving. Halfway through, the motor smoked and died. The project stalled for a full day while I went to buy my own drill. The “free” tool cost me a Saturday. If you borrow, test it first and have a backup plan.
What’s Your Time Really Worth?
This is the most personal calculation. I can replace a garage door section in about 4 hours with my partner. A motivated homeowner might take 16 hours across two weekends, researching, measuring twice, and working cautiously.
You need to put a value on your weekend. Is that 16 hours worth the $500 you saved? Maybe. But what did you trade? Time with your kids, a relaxed Sunday, your energy for the workweek ahead. I’ve seen DIY projects stretch for months, becoming a source of stress every time you pull into the driveway. A professional’s speed isn’t just skill, it’s the return of your free time.
The Hidden Bills That Sneak Up On You
These are the costs that never make the first trip to the hardware store. They appear in the second, third, or worst-case scenario, the hospital visit.
Correcting Your Own Mistakes
Every DIYer makes them. I certainly have. The cost isn’t just pride.
Measure twice, cut once isn’t just a saying, it’s a money-saving rule. Mismeasure a custom piece of plywood? That’s another $60 sheet. Mix a second batch of concrete to patch a floor and the color doesn’t match? Now you’re looking at grinding it out or covering the whole floor.
Electrical mistakes are the most expensive. I once saw a homeowner install a new garage door opener. They hooked the wires to the wrong terminals on the wall console. When they plugged it in, they sent power backwards and fried the opener’s main logic board. A $50 switch replacement turned into a $450 opener replacement. Some errors void parts warranties on the spot.
Safety and Medical Costs
Let’s be blunt. A trip to the Emergency Room for stitches from a utility knife or a fall from a ladder wipes out every cent of DIY savings, plus thousands more.
Proper safety gear is not an optional cost, it’s your first line item. Safety glasses stop a metal shard from a drill bit. A good respirator (I use a 3M half-face with P100 filters) protects your lungs from concrete dust or insulation fibers. Heavy-duty gloves save your hands. This kit might cost you $150 upfront. Weigh that against a $3000 ER bill for a minor injury. If a job feels unsafe, like working high on a ladder with heavy materials, that’s your sign to call a pro.
Future Resale and Warranty Impacts
Your repair lasts for years. Its impact on your home’s value and product protection lasts just as long.
A visibly DIY repair can lower your home’s perceived value. A garage door with uneven panels or a floor with a bumpy, poorly mixed patch tells a potential buyer “amateur work.” They wonder what else is done poorly behind the walls. A professional finish looks integrated and maintained, which preserves value.
Many product warranties are very specific. That new high-end garage door opener often states the warranty is valid only if installed by a certified technician. The same goes for window and door seals. You do the install to save $200, but you’re on the hook for a $500 part if it fails in two years. Always read the warranty fine print before you decide, especially for garage door openers.
Are You Really Set Up for This Job?

The question isn’t just “can you do it,” but “should you do it right now with what you have?” I’ve seen many projects stretch from a weekend to a month because the garage itself wasn’t ready to be worked in. Before you buy a single part, take this quick self-assessment.
The Skill Check
Be brutally honest with yourself. If your most complex home repair so far is changing a light switch, rebuilding a garage door opener is probably not your next step. A good benchmark I use is drywall. If you’ve never successfully patched and finished a small hole without the tape bubbling, tasks like squaring a door or framing a new wall section will be a real struggle.
My advice is to build confidence with a low-risk, high-reward project first. Something like installing a new wall-mounted hose reel or sealing the garage floor with a product like Rust-Oleum EpoxyShield. These teach you about surface prep and following instructions without risking your home’s security or structure.
Your Garage’s Hidden Problems
This is the single biggest budget-buster for DIYers. When you pull off old trim or open up a wall, you’re the inspector, and you just found the problem. A professional quote often includes a contingency for common hidden issues like rot, mold, or outdated wiring, but your DIY budget does not.
I once helped a neighbor replace some siding. My pro eye caught the subtle water stains, so we planned for potential sheathing repair. When we opened it up, there was mold. We had the gear and knew the safe removal protocol. A DIYer alone would have been exposed to a health hazard and faced hundreds in unexpected materials for replacement wood, antimicrobial spray, and proper PPE.
Faulty wiring is another common find. You might start installing new LED shop lights only to discover the existing circuit is ungrounded or overloaded. Fixing that properly requires a voltage tester, knowledge of local code, and often a permit. A pro would have spotted that from the start and priced the necessary electrical upgrade into the job.
When Calling a Garage Care Pro is the Smartest “Save”
Thinking long-term changes the math. A botched DIY repair can lead to water damage, security failures, or even injury, costing you thousands more than the original pro quote. In these scenarios, writing that check isn’t an expense, it’s an investment in a guaranteed result.
Jobs With High Risk or Specialized Tools
Some tasks have a very small margin for error. The money you “save” isn’t worth the risk.
- Garage Door Torsion Springs: These are under extreme tension. A slip with a winding bar can cause serious injury or damage. I use specialized winding bars and clamps for this. It’s not a place for makeshift tools.
- Major Electrical Work: Running a new sub-panel or a 240-volt circuit for an EV charger or welder. Getting this wrong can cause a fire. A licensed electrician brings testing equipment and, crucially, liability insurance that covers their work.
- Structural Modifications: Removing a load-bearing wall or installing a new garage door header. This requires a permit and often an engineer’s stamp. A pro’s price includes that paperwork and the certainty that your roof won’t sag.
That liability insurance is a key part of a pro’s value; if their work fails and damages your property, you’re covered. Your homeowner’s insurance likely won’t cover a mistake you made yourself.
When Your Time is Too Valuable
Your weekend has value. If a job will take me one day with a helper, it might take you three full weekends of trial, error, and trips to the hardware store. You need to put a dollar value on your free time and peace of mind.
I see this often in high-cost-of-living areas. On a forum, a homeowner in Boston might note that DIY labor savings are huge because contractor rates are so high. But their own time is often just as scarce. Paying for speed and certainty can be the most cost-effective choice if it protects your ability to work, rest, or be with family. If you earn a high hourly wage, spending 20 hours to save $800 on labor might not make sense. You’re effectively working for $40 an hour on a project you might not enjoy, with no guarantee of success.
Garage Care Pro FAQ: DIY Cost & Budget Reality Check

How accurate are online DIY garage cost calculators?
They give a rough baseline for materials but consistently miss critical local and project-specific costs. They can’t factor in your skill speed, tool rentals, disposal fees, or regional permit costs. Always use their figure as the absolute minimum, then add 25-50% for a realistic budget.
How do I calculate “cost per square foot” for a project like flooring?
Take your total material cost and divide by the square footage. That’s your material cost per sq ft. The real project cost per sq ft must also include tool rental, surface prep products, and your labor time. For a 400 sq ft floor, a $300 kit ($0.75/sq ft) can easily become a $800 project ($2.00/sq ft) after a grinder rental and two days of work.
Why do cost estimates for places like California and Boston vary so much?
High labor costs in these markets make the *potential* DIY savings seem enormous, but material prices are also higher. The hidden factor is local code and permit requirements, which are often stricter and more expensive. Always get a local pro quote first to understand the true labor premium you’re working against.
Are online DIY forums and cost threads reliable for budgeting?
They are useful for understanding scope and difficulty, but cost data is often years out of date and lacks local context. A user’s “$500 wall” post from 2018 in Texas won’t reflect 2024 lumber prices in Chicago. Use forums to learn about steps and pitfalls, not to lock in a budget number.
What’s the biggest mistake DIYers make when budgeting for a garage project?
They budget for the outcome, not the process. They price a finished wall or a coated floor, forgetting the iterative costs of measuring errors, consumables (saw blades, sandpaper), multiple store trips, and tool acquisition. Your budget should have a dedicated “process and mistakes” line item of at least 15%.
Final Thoughts on DIY Garage Repairs
The smartest repair decision starts by honestly comparing the price of a part to the total cost of your time, safety, and potential mistakes. Before you pick up a single tool, weigh these key points from our discussion:
- Your safety and your family’s safety are never a place to cut corners.
- Hidden costs like tool rentals, disposal fees, and repeated attempts add up fast.
- For electrical work, structural issues, or spring repairs, hiring a certified professional is not an expense-it’s an investment in a correct, lasting fix.
Citations and Authoritative Sources
- How Much Do Garage Door Repairs Cost? [2025 Data] | Angi
- 2025 Garage Costs: Build or Repair a Garage, Door or Opener – HomeAdvisor
- How a DIY Garage CAn Save You a Lot on Car Repairs | Lifehacker
- How Much Does It Cost To Repair A Garage Door?
- Garage Remodel Cost (2025 Pricing)