
What’s the Real Cost to Epoxy a Garage Floor?
Figuring out the price to coat your garage floor can feel confusing, with quotes and DIY kits all over the map. I’ll clear that up for you with real numbers from my own jobs and what I’ve seen in the trade.
This guide will walk you through the key factors that change your price, a breakdown of DIY coating kits, and how to get an accurate professional estimate.
I’ve prepped and finished dozens of garage floors over the last ten years, from quick DIY refreshes to full professional-grade installations.
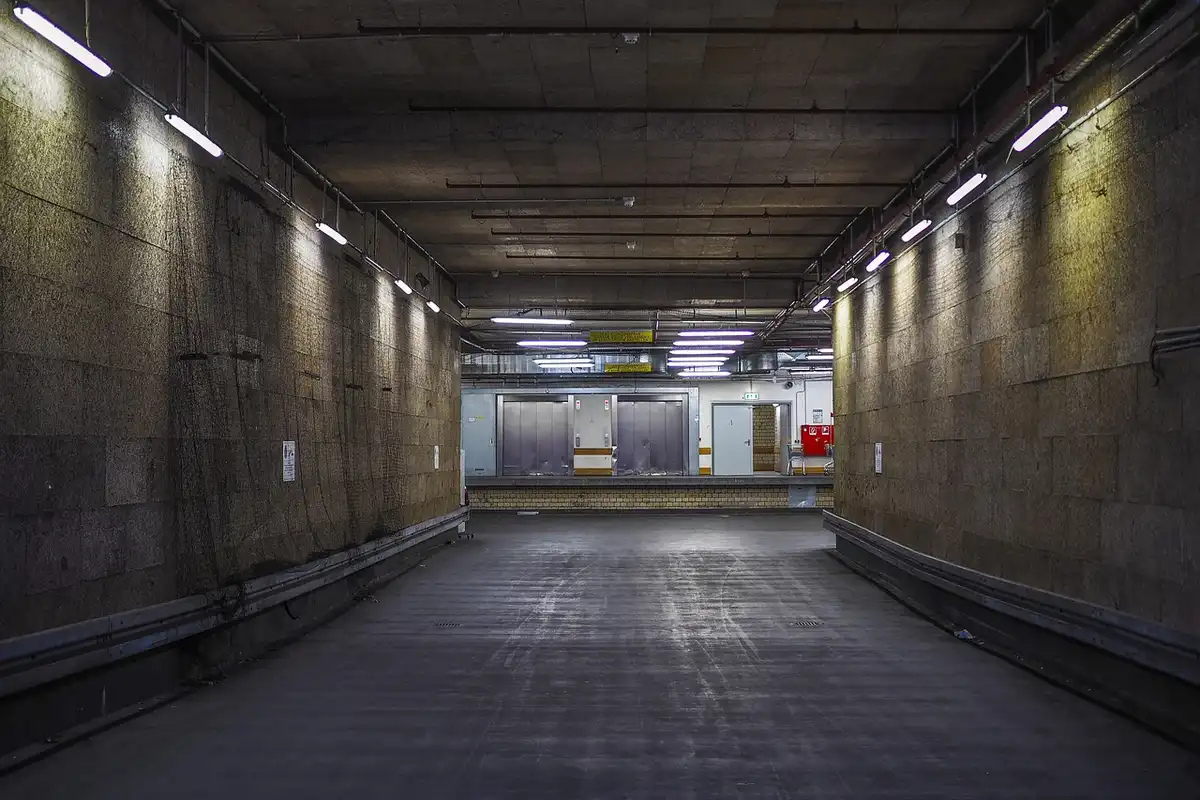
Garage Floor Coatings Explained
Think of garage floor coatings like different grades of car paint. You have your basic single-stage paint, a more durable clear-coated finish, and a top-tier ceramic coating. Epoxy, polyurea, and polyaspartic coatings follow a similar idea of good, better, and best. When you compare epoxy vs polyurea garage floors, you’ll notice differences in durability, cure time, and cost that matter in real-world use. The next sections will walk you through these contrasts to help you decide.
Epoxy is your dependable workhorse, like a good single-stage paint job. It’s a two-part resin and hardener that chemically bonds to the concrete. The kits you find at big-box stores are usually a water-based or lower-solids epoxy. A professional will use a 100% solids epoxy, which is thicker and far more durable. I’ve used Rust-Oleum EpoxyShield kits for small patches, but for a whole floor, the professional-grade material from a supplier like Legacy Industrial is in a different league. For those considering a garage-floor epoxy paint DIY project, a home kit can refresh the surface with solid results. With proper surface prep, a DIY epoxy can look great and hold up well for a home workshop or garage.
Polyurea and polyaspartic are the advanced, faster-curing cousins of epoxy. Polyurea is incredibly tough and flexible, making it great for garage floors that see temperature swings. Polyaspartic is often used as a topcoat because it cures rock-hard and resists UV yellowing. In my shop, I treat polyaspartic like that premium ceramic coating for a car—it’s the final, protective shield that brings out the gloss and longevity. Considering polyaspartic vs polyurea garage coatings, you’ll notice differences in cure time, hardness, and temperature tolerance. A side-by-side comparison will follow to help you choose the right option for your garage.
The core benefit of any of these is the same: you seal the porous concrete. This creates a non-porous, seamless surface that spills wipe right up, and it blocks oil, salt, and chemicals from staining the slab forever. It transforms a dusty, absorbent floor into a wipe-clean utility room.
How Much Does a Professional Garage Floor Coating Cost?
For a standard two-car garage (about 400-600 square feet), a full professional installation typically runs between $3,000 and $7,500. The wide range comes down to your floor’s condition and the coating system you choose.
Professional cost usually breaks down to $5 to $12 per square foot. This isn’t just for goo in a bucket. A proper quote covers the complete process: the labor for meticulous floor prep, the materials, and the skilled application. This is where the value is.
Most reputable contractors price in tiers. Here’s how I explain the “Good, Better, Best” options to homeowners:
Good: The Basic Professional Epoxy System ($3,000 – $4,500)
This is a solid, single-color 100% solids epoxy job. It includes grinding the floor for proper adhesion, patching cracks, and applying the epoxy coat often with a broadcast of color flakes for texture. This is a massive upgrade over a DIY kit and will last for many years with normal use. It’s what I recommend for most homeowners who want a clean, durable floor without the top-tier investment.
Better: The Hybrid or Polyurea System ($4,500 – $6,000)
This tier often uses an epoxy base coat with a polyurea or polyaspartic topcoat. The topcoat adds significant chemical resistance, a higher-gloss finish, and faster cure time. The extra cost here buys you easier long-term maintenance and better protection against gas or oil spills. If you work on cars or use the garage as a serious workshop, this is the sensible starting point.
Best: The Full Polyaspartic System ($6,000 – $7,500+)
This is the premium option. It involves multiple layers, often with decorative flake or quartz broadcast, all sealed under a thick polyaspartic topcoat. The advantages are a phenomenally tough surface, installation that can be done in a day due to fast curing, and superior UV stability to prevent yellowing near garage doors. You pay for the highest performance and convenience.
Remember, labor is the biggest part of these estimates. That labor cost covers the critical, unglamorous work: diamond grinding your floor to a perfectly clean profile, detailed crack repair, and precise, experienced application of the coatings. Skipping or short-cutting these steps is why DIY jobs often fail, even with expensive kits.
How Much Does a DIY Garage Floor Coating Cost?
Planning a DIY floor coating is about managing your budget and your expectations. The total cost for a typical two-car garage (around 400 square feet) usually lands between $300 and $800 for all materials. This wide range exists because the final price depends heavily on the type of product you choose and the condition your floor is in to start. A simple water-based epoxy from a big-box store sits at the lower end, while a professional-grade 100% solids epoxy with color flakes and a clear topcoat will push you toward the higher figure.
DIY Cost Per Square Foot
Looking at cost per square foot helps you compare kits directly. Most DIY kits are priced by the gallon and list their coverage. For a standard 400 sq. ft. garage, here’s a typical breakdown:
- Budget Coatings (Water-Based Epoxy or Single-Part): $0.75 – $1.50 per sq. ft.
- Mid-Range Kits (Solvent-Based or 100% Solids Epoxy): $1.50 – $3.00 per sq. ft.
- Premium Kits (Multi-Coat Systems with Flakes & Urethane): $3.00 – $4.50+ per sq. ft.
Remember, this cost only covers the coating material. You must also budget for surface preparation supplies like a high-quality concrete etcher, degreaser, acid-neutralizing wash, rollers, and brushes, which can easily add $50 to $150 to your project.
How Many Gallons of Epoxy for a 2 Car Garage?
This is the most common question I get. The answer isn’t one-size-fits-all. For a 400 sq. ft. garage, you will typically need 1.5 to 2 gallons of epoxy for a single coat, but you should almost always plan for two coats. This means buying 3 to 4 gallons total. Why? First, coverage rates vary. A cheap epoxy might cover 300 sq. ft. per gallon, while a thicker 100% solids epoxy covers 200-250 sq. ft. Second, the first coat soaks into the concrete. The second coat builds the durable, glossy surface you actually see and walk on.
My rule of thumb: always buy more than the minimum. Running out of material mid-project is a disaster. Having an extra quart or half-gallon is cheap insurance for touch-ups or a slightly thicker second coat.
Common DIY Kit Brands & What to Expect
I’ve tested most of the major DIY brands in my own shop and on client garages. Here’s a straightforward comparison.
Rust-Oleum RockSolid Garage Floor Coating: This is the most common kit you’ll find. A 2.5-car garage kit costs around $250-$300 and includes color flakes. It’s a solvent-based epoxy that’s user-friendly and looks good initially. In my experience, its durability is moderate; it can yellow under UV light and may show wear from hot tires in 2-3 years without a separate UV-stable topcoat.
Epoxy-Coat Brand Kits: Sold online, these are a step up. Their standard 100% solids epoxy kit for a 2.5-car garage runs $550-$650. It includes a clear polyurethane topcoat, which is critical for UV and chemical resistance. When you compare epoxy vs paint for a garage floor, epoxy kits like this often win on durability. They give a long-lasting gloss and resist spills better than paint. This is the kit I often recommend to serious DIYers because the two-part topcoat significantly extends the floor’s life and gloss.
Quikrete Epoxy Garage Floor Coating: A budget-friendly option at big-box stores. A kit for a 400 sq. ft. garage can be under $200. It’s an epoxy coating, but it’s thinner. You get what you pay for; I find it requires flawless preparation and multiple coats to approach the durability of the other brands, and it may not hold up to heavy shop use. For budget garage floor makeovers, there are affordable prep tips and alternative coatings that can stretch DIY dollars. These options are worth comparing before committing to a brand.
Leggar Industrial Products: This is a prosumer brand. Their kits are more expensive, often $700+ for a full system, but they use industrial-grade resins. If you have a heavy-use workshop and want DIY materials that approach professional quality, this is a brand I’ve used with excellent, long-lasting results.
No matter the brand, your success is 90% determined by preparation. Scrubbing the floor with a concrete degreaser and etching it properly with muriatic or phosphoric acid is non-negotiable for getting the coating to stick. If your floor is very smooth or has a previous coating, you may need to rent a diamond grinder, which adds $75-$100 per day but is the best prep method available.
The Real Cost of Preparing Your Garage Floor
If your new floor coating peels up in a year, I can almost guarantee it wasn’t the product’s fault. The failure happened weeks before you even opened the first bucket, during preparation. Surface prep isn’t just a step, it’s the entire foundation of your project’s success and longevity. I’ve seen beautiful, expensive epoxy jobs fail because someone thought a quick mop and an acid wash was enough on an old slab.
The Non-Negotiable Prep Steps (And What They Really Entail)
You can’t skip these. A professional crew doesn’t, and neither should you. Here’s the full sequence, from my own shop experience.
1. Deep Cleaning and Degreasing
Forget the garden hose. You need to remove every trace of oil, dirt, and old sealer. I start with a stiff push broom to get the big debris out. Then, I use a heavy-duty degreaser. My go-to is Zep Industrial Purple Degreaser, diluted in a pump sprayer, because it cuts through garage floor grime without leaving a filmy residue. Scrub it in with a stiff-bristle brush, let it dwell, and pressure rinse. Any oil stain left behind will become a slick spot where your new coating won’t stick.
2. Mechanical Grinding (The Gold Standard)
Acid etching is the old DIY method, but I don’t recommend it for a guaranteed result. It’s inconsistent and doesn’t work on sealed or hard concrete. Renting a floor grinder is the single best investment you can make in your floor’s future. I look for a 10″ or 12″ dual-head electric floor grinder from Sunbelt or United Rentals. You’ll also need to rent a heavy-duty shop vacuum with a HEPA filter to connect directly to the grinder-this controls the insane amount of dust.
You’re not taking off inches, you’re “scarifying” the surface to open the pores of the concrete. It’s loud, messy, and hard work, but it creates a perfect, predictable surface for the coating to mechanically lock onto. Plan on about $75-$125 per day for the grinder and vac rental.
3. Etching (Only If You Skip Grinding)
If you absolutely cannot grind, etching is your alternative. You’ll use muriatic acid (found at hardware stores) or a safer, ready-to-use phosphoric acid product like Behr Pre-Stain Wood Cleaner. This process is less about cleaning and more about chemically burning the concrete surface to create a rough profile. You must neutralize the acid afterward with a baking soda and water solution. It’s finicky, requires serious chemical safety (gloves, goggles, respirator), and the results can be spotty. After doing both, I only grind now.
4. Final Clean-Up and Inspection
After grinding or etching, your floor will be covered in fine dust or slurry. You must get the floor surgically clean before any coating touches it. This means multiple passes with the rented vacuum, followed by a clean-water mop or rinse. I walk the floor with a bright light, looking for any missed grease spots or cracks. The floor should feel like 80-grit sandpaper and be completely dust-free.
Breaking Down the Prep Costs: Tools and Consumables
Here’s where the “DIY savings” can get eaten up if you’re not careful. Let’s price out a typical two-car garage (about 500 sq. ft.).
- Floor Grinder & Dust Vacuum Rental: $75 – $150 for a 24-hour period. Pro-tip: Rent it for a Friday afternoon so you have all weekend.
- Diamond Grinding Wheels: The rental often includes basic metal-bond wheels. For a smoother finish, I sometimes buy my own resin-bond diamonds. Add $40-$80 if you go this route.
- Heavy-Duty Degreaser: A gallon of Zep Purple runs about $15-$20 and will do multiple garages.
- Acid Etch (if going that route): 2 gallons of muriatic acid ($15 each), baking soda ($5), and a plastic sprayer ($15).
- Basic Safety Gear: Don’t cheap out. A 3M half-face respirator with P100 filters ($30), chemical gloves ($10), and sealed goggles ($15) are mandatory.
Don’t Get Blindsided by These Hidden Costs
These items don’t always make the basic “how-to” list, but they’re critical for a pro-grade result.
Concrete Crack and Spall Repair. Hairline cracks might be okay, but any crack you can fit a dime into needs to be stabilized. I use a two-part epoxy concrete crack injection kit from Sika or a pourable latex-modified cement like Loctite PL Concrete Repair Kit. These cost $30-$60 per kit, and you might need more than one.
Moisture Mitigation. This is the silent floor killer. If your concrete slab is on the ground (not a basement), ground moisture can wick up and blister your coating. Before you spend a dime on coating, do a simple plastic sheet test: tape a 2’x2′ square of clear plastic tightly to the floor for 24 hours. If there’s condensation underneath, you have moisture. Solving it requires a moisture-blocking primer, which adds $60-$120 per gallon to your material cost.
Your Time and Labor. For a DIYer, proper prep on a two-car garage is a solid two-day weekend of hard, physical labor. A pro crew with industrial equipment does it in hours. Be honest about the value of your time and energy.
DIY Difficulty, Tools, and Time Commitment
Let’s be straight about the work involved. On a scale of 1 to 10, with 10 being a full kitchen remodel, I rate a proper DIY epoxy floor as a solid 7 or 8. The physical labor is intense, and the success of the entire project hinges almost entirely on your surface preparation. If you’re detail-oriented, patient, and in good shape, you can absolutely do it. If you’re looking for a quick weekend splash-and-dash, this isn’t it.
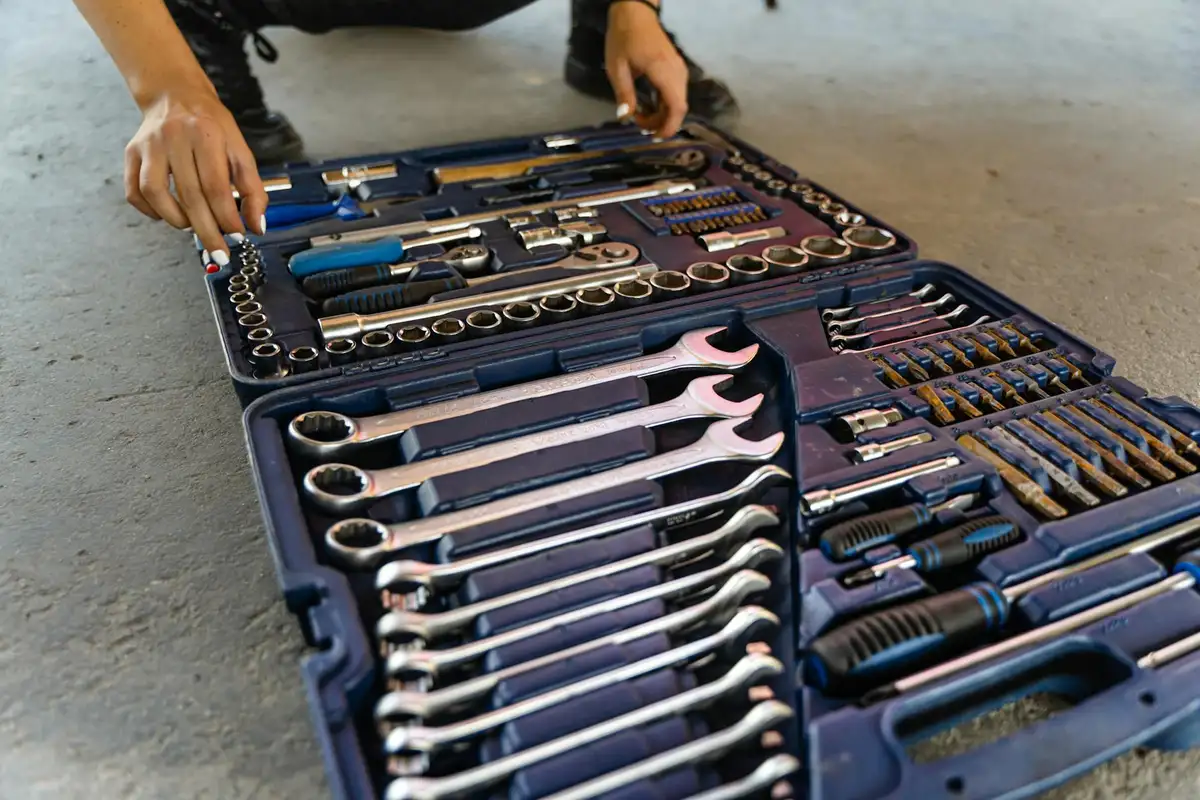
Every Tool You Will Need
Don’t skimp here. Having the right tools makes the difference between a pro-looking floor and a disappointing mess. I’ve broken this into three categories.
Safety Gear (Non-Negotiable)
- Respirator: A half-face respirator with organic vapor/P100 cartridges (like the 3M 6000 Series). Dust masks won’t cut it when you’re grinding concrete or applying epoxy fumes.
- Safety Goggles: Seal-type goggles to keep grinding dust and chemical splashes out.
- Hearing Protection: Grinders are loud. Use ear muffs.
- Knee Pads: You’ll live in these. Get gel-filled ones.
- Chemical-Resistant Gloves: Nitrile gloves work for mixing, but you’ll want longer neoprene gloves for application.
Surface Prep Tools (The Backbone)
- Diamond Grinder: This is the key. Rent a planetary floor grinder (like from Sunbelt) with metal-bond diamonds for cleaning and 60-80 grit resin-bond diamonds for profiling. A handheld angle grinder with a cup wheel will leave swirl marks and take five times longer.
- Industrial Shop Vacuum: Your household vacuum will die. You need a HEPA-filtered, industrial-grade vac (like a Bosch or Festool) to capture the fine concrete dust. I learned this the hard way.
- Acid Etch or Concrete Cleaner (Optional): Some kits include this for light cleaning. I prefer mechanical grinding, as it’s more reliable and creates a better profile for the epoxy to grip.
- Stiff-Bristle Brooms & Squeegees: For moving water and cleaner during final rinse.
- Paint Scraper & Putty Knife: For removing old paint blobs or caulk.
- Concrete Patch & Trowel: For filling cracks and spalls. I like the fast-set, vinyl-based patching compounds.
- Tape & Plastic Sheeting: High-quality painter’s tape (FrogTape) and 4-mil plastic to protect walls and anything you don’t want dust or epoxy on.
Application Tools
- Mixing Paddles & 5-Gallon Buckets: A paddle that attaches to your heavy-duty drill for thorough mixing. Multiple buckets help stage the material.
- Paint Roller Frames: Have at least two or three. Get a medium-nap roller frame (9-inch is standard) for the epoxy and a separate one for the clear topcoat.
- Roller Covers: Use 3/8-inch nap, epoxy-specific roller covers. Don’t use cheap ones, as they can shed fibers into your finish.
- Squeegee: A notched epoxy squeegee or a long-handled floor squeegee to spread the material quickly before back-rolling.
- Spiked Shoes: For applying flakes and the final clear coat without leaving footprints. They look silly but are essential.
- Flake Broadcast Bucket: A modified bucket with a handle to evenly toss the color flakes.
A Realistic Project Timeline
For a typical two-car garage (about 400-500 sq ft), plan for this schedule. Rushing any step will compromise the finish.
Active Work Days (2-3 Days)
- Day 1: Clear & Prep. Move everything out. Sweep. Grind the entire floor. This is the hardest day. Vacuum thoroughly. Patch any cracks and let them cure. Do a final vacuum and damp mop. Let the slab dry completely overnight.
- Day 2: Prime & Base Coat. Apply the primer coat if your system requires it. After it tacks up, mix and apply the colored epoxy base coat. You must work fast once mixed. This is where a helper is invaluable. Broadcast your flakes during this wet stage.
- Day 3: Top Coat. After the base coat has fully cured (check your product sheet), sweep off loose flakes. Mix and apply the clear polyurethane or polyaspartic topcoat for durability.
Drying/Waiting Days (3-4 Days)
- The base coat needs a full 12-24 hours to cure before you can walk on it to apply the topcoat.
- The topcoat needs another 24 hours before you can walk on it gently.
- For full cure and heavy use (parking a car), you must wait a minimum of 3-7 days, depending on temperature and product. This is the most common mistake I see-people get impatient and ruin their work.
Do You Need a Helper?
You can do it alone, but I strongly recommend a second set of hands, especially for the base coat application. Epoxy has a limited “pot life” once mixed, and having one person pour and squeegee while the other immediately back-rolls ensures a smooth, even coat before it starts to set. For mixing heavy 5-gallon kits and moving quickly, a helper cuts the stress and physical strain in half.
What Changes the Final Price Tag?
People often ask me for a single number, but the truth is the cost of a garage floor swings wildly. It’s like asking how much a car costs. It depends on the model, the year, and the condition it’s in when you get it. Your garage is no different.
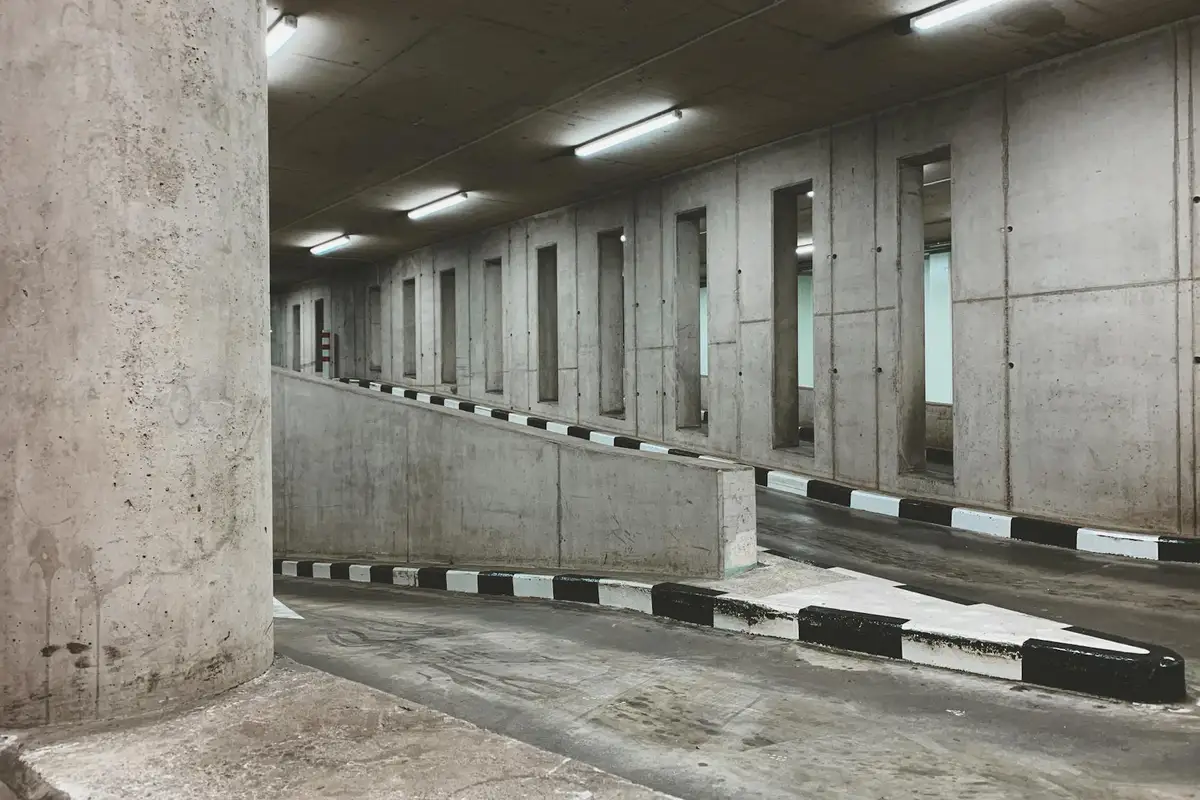
Size and Shape: It’s All About Square Feet
The biggest driver is simply how much concrete you have to cover. Material costs are sold by the gallon, and a gallon only covers so many square feet. A small one-car garage might be around 250 square feet, while a big three-car can be over 800. I’ve worked on family garage projects that are 1,000 square feet or more. For a standard 2-car (about 400-500 sq. ft.), you’re looking at a significant baseline for materials alone. The simple math is that more square footage means more gallons of coating, more etching acid, and more labor time. This is especially true when compared to larger three-car garages that require even more resources.
Floor Condition: Your Foundation is Everything
This is where many DIY estimates fail. You’re not just paying for the pretty top coat. You’re paying for all the work to make the concrete ready for it. A brand-new, clean, smooth slab is the cheapest canvas. An old floor with oil stains, spiderweb cracks, and moisture issues is a different story. Here’s what that adds:
- Repairing Cracks: You can’t just coat over a crack. It will reflect right through. You need to open it up with a grinder or crack chaser, vacuum it out, and fill it with a flexible epoxy or polyurethane sealant. This adds material and, more importantly, a lot of prep time. I use Sikaflex self-leveling sealant for hairline cracks.
- Removing Stains: Old oil stains need to be pulled out or encapsulated. I’ve had good results with Oil Eater Cleaner/Degreaser and a stiff brush. For really stubborn ones, you might need a poultice or a professional-grade stain blocker, which is an extra product cost.
- Moisture Testing: If your slab is on the ground (most are), moisture can wick up and ruin an epoxy bond. I always do a simple plastic sheet test before quoting a job. Fixing a moisture problem can require a special moisture-blocking primer, which is more expensive than standard primer, or even more intensive measures.
Coating Type and Quality: Not All Garage Floors Are Built Alike
What you put on the floor makes a huge difference in upfront cost and long-term durability.
- Epoxy vs. Polyaspartic: A 100% solids epoxy kit from a brand like ArmorPoxy or Legacy Industrial might cost $150-$250 for a 2-car garage kit. A polyaspartic coating, which cures much faster and is often more UV-stable, can be double that per gallon or more. I use polyaspartics for commercial jobs or when a homeowner needs their garage back in 24 hours.
- Solids Content is Key: Stay away from the big-box store “epoxy paint” in the quart cans. Those are often low-solids, water-based coatings. They go on thin and wear through quickly. A professional-grade 100% solids epoxy is thicker, contains no solvents, and builds a much more durable, chemical-resistant surface. It costs more per gallon, but you get a floor that lasts 10+ years instead of 2-3.
- Flakes and Top Coats: Adding decorative vinyl chips adds a bit for the material and the labor to broadcast them. A clear polyurethane or polyaspartic top coat is almost non-negotiable for durability and gloss. It’s an added line item, but it protects your investment from UV yellowing and wear.
Your Location and the Time of Year
Labor rates in California are different than in Kansas. If you hire a pro, their business costs reflect that. Materials also cost more to ship to some areas. The season matters, too. In the summer, everyone wants their floor done, and prices can be at a premium. In the cooler off-season, some installers might offer discounts to keep their crews busy. But be warned: temperature and humidity are critical for proper curing. A professional will control the garage environment; a DIYer might be forced to wait for perfect weather.
Long-Term Value: Warranty, Lifespan, and Maintenance
The real price of your floor isn’t just the initial invoice or kit cost. It’s what you get for that money over the next decade. This is where professional and DIY paths truly diverge.
Understanding Your Warranty Protection
A professional warranty is a written guarantee that covers defects in the material and workmanship. The good companies I work with, like those using Sherwin-Williams ArmorSeal, typically offer 10 to 20-year warranties. If the coating peels, stains, or fails under normal use during that time, they come back and fix it. This warranty is your peace of mind, and it’s backed by a business that plans to be around to honor it.
DIY kits from brands like Rust-Oleum or Quikrete also have warranties, usually printed right on the box. These often range from 1 to 5 years, but there’s a big catch. These warranties almost always require you to prove you followed the prep and mixing instructions to the letter. If you didn’t grind the floor (most DIYers don’t) or if there was any moisture present, the warranty is void. I’ve seen too many homeowners with a peeling floor and a useless warranty claim.
Real-World Lifespan: What You Can Expect
How long your floor lasts depends almost entirely on the preparation and the quality of the product.
- A professional job, with mechanical grinding and a 100% solids epoxy or polyaspartic coating, should last 15 to 20 years or more in a residential garage. The heavy-duty chemistry and perfect bond are built to handle cars, spills, and tire traffic year after year.
- A well-executed DIY job using a high-quality kit on a properly prepped floor might give you 3 to 5 years of good service. A typical DIY job, where the floor is just cleaned with acid etcher, often starts showing wear (chipping, peeling at tire spots) in 1 to 3 years. The product is thinner and the bond is simply not as strong.
The Simple Maintenance Routine
The beautiful part of a coated floor is how easy it is to keep clean. Forget harsh chemicals. Here’s my shop-tested routine:
- Sweep or blow out debris weekly. Grit acts like sandpaper under your tires.
- For spills (oil, antifreeze), sprinkle an absorbent like cat litter or Speedy Dry, let it soak, and sweep it up.
- Mop the floor once a season or as needed. I use a standard string mop and a bucket with warm water and a few ounces of a neutral pH cleaner like Simple Green. Avoid bleach, ammonia, or acidic cleaners-they can degrade the coating’s gloss over time.
- For a deeper clean, a hose and a stiff-bristle deck brush work great. Just make sure your floor has proper slope for drainage.
When and How to Refresh Your Floor
All floors wear out eventually. For a DIY coat that’s wearing thin, you have two options. You can lightly sand the floor and apply a new topcoat of clear epoxy or polyurethane. A kit for this costs $150-$300 and might buy you another couple of years. This is a band-aid, not a cure, as it doesn’t address any bond failure underneath.
For a full refresh, the old coating must be completely removed via grinding, which is labor-intensive. A professional re-coat job typically costs 60-80% of a new installation, as all the expensive prep work has to be done again. If your professionally-installed floor fails under warranty, this refresh cost is $0. That upfront investment starts to look very different after 10 years.
Making Your Choice: Professional vs. DIY
This is the heart of the decision. I’ve done it both ways in my career, and each path has its place. Let’s put them side-by-side so you can see what you’re really signing up for.
A Direct Comparison: Pro Install vs. DIY Kit
For a standard two-car garage (about 400-500 sq. ft.), here’s what you’re looking at. These numbers are based on my recent quotes and the kits I’ve used myself, like Rust-Oleum’s Rocksolid or the more professional-grade Legacy Industrial kits.
| Factor | Professional Installation | DIY Kit |
| Total Project Cost | $5,000 – $8,000+ | $400 – $800 |
| Project Timeline | 2-4 days (crew works continuously) | 4-7 days (evenings and weekends) |
| Final Quality & Durability | Industrial-grade, multi-coat system. Often 20+ mils thick. | Consumer-grade, typically 4-12 mils thick. More prone to wear. |
| Warranty | Often 15-20 years, sometimes lifetime, and it’s insured. | 1-5 years, and you are the labor warranty. |
The price difference is huge, but you are paying for a system that is 3-5 times thicker and will last decades, not years. A pro crew uses commercial-grade epoxy or polyaspartic and industrial sprayers or rollers I can’t buy at a box store. The DIY kit is a paint-like coating you pour from a can.
The Hidden Costs of a DIY Garage Floor Project
The kit price is just the start. If you want a result that doesn’t peel in a year, you need to budget for the real expenses.
- Tool Rentals: Proper prep is 90% of the job. You’ll likely need a diamond floor grinder or an industrial scarifier. Renting one from Home Depot or Sunbelt runs $75-$150 per day, and you’ll need it for at least one full day.
- Extra Materials for Mistakes: Buy 10-20% more material than the kit says. Spills happen, mixing ratios get messed up, and your first coat might be too thin. Running out mid-pour is a disaster.
- Your Time Has Value: This isn’t a Saturday project. It’s a full week of hard, meticulous labor. If you value your time at even $25/hour, the “savings” shrink fast.
- Safety Gear: A good respirator for fumes, chemical-resistant gloves, and knee pads aren’t optional. Add $100-$150 to your budget.
When I do the math for clients, a proper DIY job often costs $1,200 to $1,500 when you include all the rentals and extras you didn’t think about. It’s still cheaper than a pro, but the gap isn’t as wide as the kit box makes it seem.
When You Should Definitely Hire a Professional
In these situations, calling a pro isn’t a luxury, it’s the only responsible choice. I’ve seen too many DIY attempts fail here.
- Your slab has major cracks (wider than a dime), spalling, or an unlevel surface. Pros have the materials and methods to repair and level it correctly first.
- You have active moisture issues (a damp slab, water seepage). They perform moisture tests and can install vapor barrier coatings a DIYer can’t access.
- You want a true 20-year floor that will withstand salt, chemicals, hot tires, and heavy traffic without a second thought.
- You need a specific, non-standard look like full chip broadcasts, metallic epoxies, or intricate patterns. These require a skilled hand.
Hiring a pro is about buying certainty, a long-term warranty, and saving yourself from a very expensive, sticky mistake.
When a DIY Project is a Good Fit
You can absolutely do this yourself and be proud of the result if your project checks these boxes.
- You have a small, single-car garage or a clearly defined workshop area. A smaller space is more manageable for a first-timer.
- Your concrete is in good shape: it’s over 30 days old, has no major cracks, and shows no signs of moisture.
- You are genuinely budget-conscious and the pro quotes are simply out of reach. A DIY coat is far better than bare, dusty concrete.
- You enjoy meticulous hands-on work and aren’t afraid of sore knees and a long, tedious prep process. If you like detailing your car, you have the right mindset.
A DIY kit is a great product for refreshing a sound garage floor on a budget, as long as you respect the preparation work. It won’t be a pro-grade floor, but it will look clean and protect your slab for several years. I did my own first garage this way, and it taught me everything I needed to know before I started doing it for others.
Frequently Asked Questions from a Garage Floor Pro
1. What are the potential hidden costs in a DIY garage floor coating project?
The kit price is deceptive. You must budget for tool rentals like a floor grinder ($75-$150/day), a HEPA vacuum, safety gear, and extra material for mistakes. If your slab needs crack repair or a moisture-blocking primer, that’s another $100-$200 easily, turning a $500 project into a $1,200+ investment.
2. How do labor costs factor into a professional garage floor coating estimate?
Labor is the bulk of a professional quote, and it’s where the value lies. You’re paying for the skilled, efficient work of diamond grinding, detailed crack repair, and precise, timed application that ensures a lasting bond. This expertise prevents the common failures seen in DIY projects and is why pro jobs last decades.
3. What is the real value of a professional warranty versus a DIY kit warranty?
A professional warranty (often 10-20 years) is a bonded guarantee on both materials *and* workmanship. A DIY kit’s 1-5 year warranty only covers material defects and is void if prep isn’t perfect-which is almost impossible for a novice to prove. The pro warranty is insured peace of mind.
4. How often does a coated garage floor need to be re-done, and what is that cost?
A professional 100% solids epoxy or polyaspartic floor lasts 15-20+ years. A well-done DIY job may need a refresh in 3-7 years. A full professional re-coat costs 60-80% of a new install due to the intensive prep of removing the old coating. Plan your long-term budget accordingly.
5. I’m set on DIY. What’s the single most important factor for success?
Mechanical grinding. Do not rely solely on acid etching. Renting a planetary floor grinder to profile the concrete is non-negotiable for proper adhesion. It’s the hardest day of work, but it’s the difference between a floor that peels in a year and one that lasts. This is the step DIYers most often skip, and it’s the most critical.
Making the Smart Choice for Your Garage Floor
Based on my years of coating floors, your decision boils down to balancing cost with the confidence that the job will hold up under your car’s weight and spills. Here’s what I want you to remember:
- Professional installation offers a warranty and expertise, but you pay a premium for that peace of mind.
- DIY kits from brands like Rust-Oleum can save you thousands, but they demand meticulous prep with a diamond grinder rental.
- Factor in long-term value: a poorly done DIY floor may need redoing in a few years, negating any savings.
- Always prioritize safety-wear a respirator during grinding and check local rules for chemical disposal.