
How Do You Soundproof a Garage Door to Stop Street and Garage Noise?
Does noise from traffic or your own power tools make your garage unusable? I will help you tackle that problem with shop-tested methods I use myself.
We will cover finding where sound gets in, picking the right materials like acoustic sealant and foam panels, and applying them correctly for long-lasting quiet.
I have years of hands-on experience installing and retrofitting garage doors to dampen sound effectively for homeowners.
First, Figure Out What Kind of Noise You’re Fighting
When I start a soundproofing job, the first thing I do is listen. You need to know if you’re dealing with airborne noise or impact noise. Airborne noise travels through the air like street traffic or voices, while impact or structure-borne noise comes from vibrations, like your garage door rumbling open or a hammer hitting your workbench. Think of airborne sound as hearing a radio from another room, and impact sound as feeling a thump through the floor.
Next, ask yourself what the real problem is. Is noise from the street getting into your garage, is your workshop noise bothering the neighbors, or is it just too echoey inside? Identifying the main source saves you time and money by targeting the right solution. In my experience, most garage noise issues start with gaps letting sound through.
Before you buy any special materials, check for air leaks. Sound follows air, so sealing every crack and gap around your garage door is the absolute first step to blocking noise. The next critical step is to tackle seal gaps around the garage door itself. Even small gaps under the door or along the sides can let noise creep in, undermining your other fixes. I’ve seen too many homeowners skip this and wonder why their expensive fixes didn’t work.
Quick Fixes: Simple Ways to Reduce Noise Today
These are the methods I use most often in my shop. They’re straightforward and make a big difference without a full renovation.
Inspect and Upgrade Your Weatherstripping
Old, cracked seals are a major sound leak. Start with the top seal and the bottom rubber gasket. Replacing worn weatherstripping is a cheap and effective way to block both noise and drafts immediately. I like the Frost King top seal kits because they’re durable and the adhesive sticks well in garage temperatures.
Here’s my process:
- Clean the door tracks and old seal areas with a damp rag to remove dirt.
- Peel off the old top seal. Use a utility knife to scrape away any leftover adhesive.
- Measure and cut the new seal to length with heavy-duty scissors.
- Apply a high-quality latex or butyl rubber adhesive to the seal and press it firmly into the channel at the top of the door.
- For the bottom seal, slide out the old rubber gasket and replace it with a new one. I keep a Genie universal bottom seal in my truck for most jobs.
Use Mass-Loaded Vinyl (MLV) Blankets
MLV is a heavy, flexible sheet that adds mass to block sound. I hang it like a curtain over the inside of the garage door. Hanging an MLV blanket is like putting a thick moving blanket over a noisy window; it absorbs and blocks sound waves effectively. I use 1 lb per square foot MLV from a supplier like Acoustimac for the best balance of weight and manageability.
To install it:
- Measure the height and width of your door panel. Cut the MLV to size with a sharp utility knife.
- Have a helper hold the blanket in place against the door or the wall above it.
- Use a staple gun with 3/8″ staples to secure the top edge to the wall framing or door header. Staple every 6 inches.
- Let the blanket hang freely, but ensure it doesn’t interfere with the door’s movement. You can leave a small gap at the bottom.
Install an Opener Baffle or Quieting Kit
If the motor and chain are noisy, a simple baffle can help. Adding a baffle around your opener absorbs the humming and rattling sounds from the motor and chain drive. I’ve installed the Chamberlain quiet drive baffle kits, and they cut down on that metallic whirring noise.
Installation is simple:
- Always disconnect the opener from power first for safety.
- Follow the kit instructions to attach the foam or plastic baffle pieces around the opener motor and along the rail.
- For a more permanent fix, consider upgrading to a belt-drive opener. I swapped my old chain drive for a LiftMaster belt drive, and it’s much quieter.
Add Soft-Closing Hinges or Nylon Rollers
A rattling door often needs hardware upgrades. Replacing loud steel rollers with quiet nylon rollers reduces vibration and rolling noise dramatically. I use Stanley nylon rollers because they’re affordable and fit most standard tracks.
To replace the rollers:
- Disconnect the garage door opener and carefully lift the door to release tension on the springs. Be cautious here.
- Place a ladder securely and use a wrench to remove the bolts holding the old rollers in the hinges.
- Pop out the old rollers and insert the new nylon ones. Don’t over-tighten the bolts.
- Lubricate the track with a silicone spray, not grease, to keep things quiet.
- For doors that slam, soft-closing hinge kits can be added to slow the final close.
The Gearhead’s Checklist
This is what I always gather before starting a soundproofing project. Having the right tools on hand makes the job smooth.
- Utility knife and heavy-duty scissors
- High-quality latex or butyl rubber adhesive
- Staple gun with 3/8″ staples
- Mass Loaded Vinyl (MLV) sheets or acoustic blankets
- Replacement bottom door seal and top corner seals
- Nylon garage door rollers
DIY Difficulty & Time Estimate
From my years of doing this, here’s a realistic breakdown of what you’re getting into.
- Ease of Installation: 4 out of 10 for sealing and hanging blankets; 6 out of 10 for roller replacement due to handling door tension.
- Active Work Time: Set aside 2 to 4 hours for basic sealing and hanging MLV blankets.
- Drying/Waiting Time: Allow about 1 hour for adhesives to set firmly before testing the door.
- This is a job you can do alone, but a helper makes handling large MLV blankets much easier and safer.
Choosing Your Sound-Blocking Material: A Pro Comparison

Think of soundproofing like building a fort. You need heavy blankets to block outside noise and soft pillows to soak up the echo inside. Your garage door needs the same two treatments, especially when it’s part of a soundproof garage for a home gym or workshop.
Mass Loaded Vinyl (MLV) is your heavy blanket. It’s a limp, dense sheet you add to the door to block sound waves from passing through. I’ve used brands like Soundsulate and Acousticals. It’s messy to cut and awkward to handle, but it works. Acoustic foam panels, like those Auralex squares, are the pillows. They trap echo and reverb inside your garage, making it less boomy. They do almost nothing to stop street noise from coming in.
For a simpler all-in-one approach, rigid foam insulation boards are a solid choice. I often use 1-inch thick polyiso boards from Dow or Johns Manville. They add mass to block sound and provide great thermal insulation. They’re stiff, easy to cut with a utility knife, and you can glue them right into the door panels.
You’ll see specialized soundproofing kits for sale. In my experience, they’re often just pre-cut MLV and foam with a markup. You can usually buy the materials separately for less. The only time a kit makes sense is if it includes unique fasteners for your specific door model that would be hard to source otherwise.
If you’re looking at a new “soundproof garage door for sale,” ignore the marketing and check the specs. Look for the STC (Sound Transmission Class) rating. A typical uninsulated door is about STC 15. A good insulated door hits STC 25-28. For true sound blocking, you want a door with an STC rating of 30 or higher and a solid, non-perforated interior skin.
Recommended Products
Here’s what I keep on my truck for these jobs:
- Mass Loaded Vinyl: Buy it by the roll for large doors. For a single car door, pre-cut 4’x10′ panels are easier.
- Rigid Foam Boards: Extruded Polystyrene (XPS) or Polyisocyanurate. Polyiso has a higher R-value per inch.
- Acoustic Blankets: Brands like Audimute sell thick, moving-blanket-style covers. They’re good for temporary setups or layering over other materials.
- Quiet Garage Door Openers: The motor matters. I always recommend a belt-drive system like the Chamberlain B4613T over a chain-drive. The difference in operational noise is night and day.
Step-by-Step: Installing a Permanent Sound Barrier on Your Door
Safety first. Unplug your garage door opener and responsibly manually open and lock the door in the down position before you start. You do not want the door moving while you’re working on it.
Step 1: Clean and Prep the Panels. Every square inch of the door’s interior surface must be clean and dry. Use a degreaser like Simple Green and a rag. On steel doors, I lightly scuff the surface with 120-grit sandpaper to help adhesive bond.
Step 2: Choose Your Installation Method. You have two main paths.
Method A is to adhere MLV directly to the door panels. Use a high-strength spray adhesive like 3M Super 77. Spray both the door and the back of the MLV, wait a minute for it to get tacky, then carefully roll the sheet onto the panel. Work from the top down.
Method B, which I prefer, is to build a removable interior frame from 1×2 wood strips. You screw the wood frame into the door’s stiffening ribs, then fit and secure your insulation (MLV or foam board) inside it. This doesn’t rely solely on adhesive, and you can remove the whole panel for door service.
Step 3: Seal Every Gap. Sound leaks through the smallest cracks. Run a bead of acoustical caulk, like Green Glue, around the entire perimeter of each panel and over any seams between materials. This step is more important than the material you choose.
A crucial warning: Your garage door springs are balanced for a specific weight. Adding heavy MLV and wood framing changes that weight. After installation, you must have a professional adjust the spring tension. An unbalanced door is dangerous and can damage your opener.
How Thick Should My Sound Insulating Material Be?
For Mass Loaded Vinyl, 1/8-inch (1 lb per sq ft) is the standard and works for most traffic and neighborhood noise. If you live next to a busy road or have a loud workshop, step up to 1/4-inch MLV. The added mass blocks lower frequency sounds better.
With rigid foam boards, thickness directly improves thermal insulation (R-value). A 2-inch board is better than a 1-inch board. But you must check the clearance between your door and anything in the garage when it’s open. Adding 2 inches of foam might cause the door to hit your car’s roof or storage shelves.
Remember, the single most effective thing you can do is create an airtight seal. A perfectly sealed door with 1/8-inch MLV will perform better than a thick, unsealed barrier with gaps. Focus on the seams and edges first, especially when you seal around the corners and sides.
Tuning Up the Hardware for a Quieter Operation
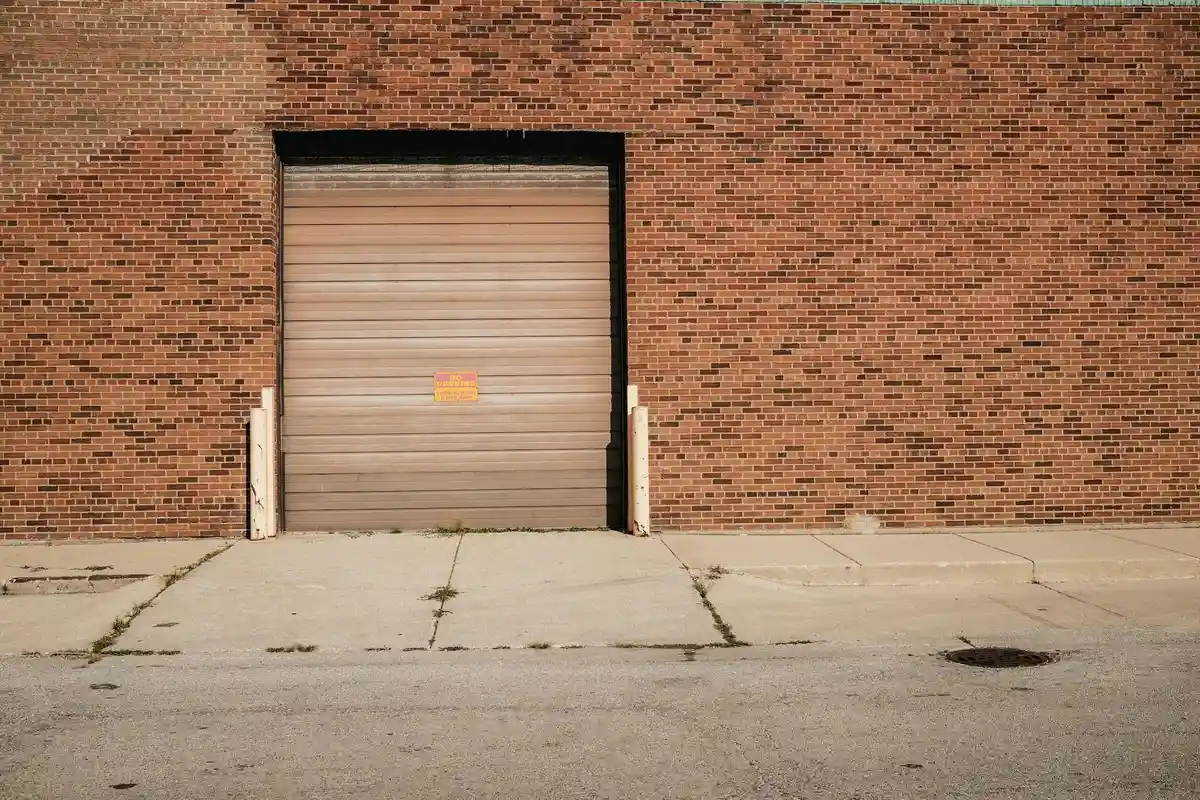
Before you spend money on fancy materials, start with the mechanics. A door that grinds and rattles is a noisy door, no matter what you put on it. I always start my soundproofing jobs with a simple tune-up.
Lubricate Everything That Moves
Grab a can of silicone spray lubricant, like the one from Blaster or 3-IN-ONE. Do not use WD-40. WD-40 is a water displacer and a light cleaner, not a long-lasting lubricant. It will dry out and leave things squeakier than before.
- Spray the hinges where the pin connects the sections.
- Lubricate the roller shafts where they go into the bracket.
- Coat the entire length of the door’s tracks lightly.
- Don’t forget the lock assembly and any other pivoting hardware.
A thin layer of silicone lubricant on all moving parts will cut down on squeaks, groans, and grinding noises immediately. I do this for my own doors every six months and it makes a huge difference.
Check and Tighten Every Connection
Over years of vibration, bolts can work themselves loose. A loose bolt in a bracket is like a tiny bell that rings every time the door moves. You’ll need a socket set or a set of wrenches.
- Start at the bottom hinge and work your way up, checking each hinge bolt.
- Move to the roller brackets on each section, ensuring they are snug.
- Check the bolts holding the tracks to the wall and ceiling framing.
- Finally, inspect all the hardware on the garage door opener itself.
Do not overtighten, especially on older doors. You just want to remove the play. If a bolt spins freely, the nut on the back may have fallen off, and you’ll need to replace the hardware.
Swap Metal Rollers for Nylon
This is the single biggest hardware upgrade for noise. Standard metal rollers are loud and rumble in the track. Nylon rollers are quieter and smoother. The brand I’ve had the best luck with is LiftMaster’s 10-pack of 2-inch nylon rollers.
Replacing them is straightforward but requires caution. You must disconnect the opener and secure the door open first.
- Place a clamp on the track below the bottom roller to prevent the door from falling.
- Using a wrench, loosen the bracket bolt to release tension on the spring cable (if present).
- Pop the old roller out of the bracket and slide the new nylon one in.
- Retighten the bracket bolt.
- Repeat for all rollers, moving the clamps as you work up the door.
Switching to nylon rollers transforms the sound of your door from a metallic rumble to a quiet, smooth glide. It’s a project that takes about an hour and is absolutely worth the $50-$80 for the kit.
Choosing a Quiet Garage Door Opener
If your opener sounds like a bag of wrenches, no amount of door tuning will fix it. The drive system is key. Chain-drive openers are the loudest and most common. They use a metal chain on a sprocket, like a bicycle. Belt-drive openers use a reinforced rubber belt. They are significantly quieter.
I installed a Genie 6053 belt-drive model in my own home gym garage. The difference is night and day. It’s not silent, but it’s a low hum instead of a grinding clatter. If you have a room above or adjacent to the garage, a belt-drive is the only sensible choice.
Breaking Down the Real Cost: Kits, Materials, and New Doors
Soundproofing costs can range from a tube of caulk to a five-figure door replacement. Let’s look at what you actually get for your money.
DIY Material Costs
If you’re handy and your door is in good shape, DIY is your cheapest path. You’re buying three things: mass, absorption, and seals.
- Mass-Loaded Vinyl (MLV): This is a heavy, limp roll you install like wallpaper. A 4’x25’ roll (100 sq ft) costs between $150 and $250. It’s the best for blocking street noise.
- Acoustic Foam Panels: These absorb sound inside the garage, good for a home gym. A 12-pack of 2-inch thick panels runs about $60-$80. They don’t block much sound from escaping.
- Weather Seals: A full perimeter seal kit with a bottom rubber gasket and side/top seals is about $40-$70. This stops noise leaks.
For a basic DIY seal and absorb approach, you can spend under $150. Adding MLV for true sound blocking pushes the project to $300-$400 in materials.
Professional Soundproofing Kits
Companies like Soundproof Cow or Audimute sell kits. These typically include MLV, special clips, acoustic caulk, and detailed instructions. For a single garage door, expect these kits to start around $500 and go up to $1,200 or more. You’re paying for the convenience of a single purchase and engineered components. The value is there if you want a guaranteed system but still plan to install it yourself. Exploring garage soundproofing materials and methods can help you tailor the setup to your space.
The Cost of a New “Soundproof” Door
This is the premium solution. You’re looking at an insulated, steel-back door with a polyurethane foam core and a high STC (Sound Transmission Class) rating, typically STC 20 or higher. Brands like Clopay, Amarr, and Haas offer these.
A standard, non-insulated single garage door might cost $800-$1,500 installed. A fully insulated, sound-rated door starts at about $1,500 and easily reaches $3,000 or more for a double door with windows and custom finishes. Installation is extra. Understanding garage door cost prices can help you plan your budget as you compare options. Prices vary by material, size, and features, so it’s worth shopping around.
A new insulated door is the most effective solution because it addresses structure, insulation, and seals in one unit, but it is a major investment.
Is It Worth It? Gym vs. Workshop
Your goal decides the budget.
For a home gym, your main concern is keeping music and weights from bothering the house or neighbors. Here, internal absorption is key. Start with acoustic foam on the walls and ceiling. Ensure the door is well-sealed. If noise escaping to the street is a big issue, then add MLV to the door. A new door is often overkill.
For a wood or metal workshop, you’re trying to block loud, consistent noise from tools like table saws and planers. This requires mass. MLV on the door and shared walls is your first line of defense. A new, insulated door with a high STC rating makes more sense here as a long-term solution for heavy, daily use. The cost is easier to justify against the value of the work you do inside.
The Final Reality Check: What Soundproofing Can and Can’t Do
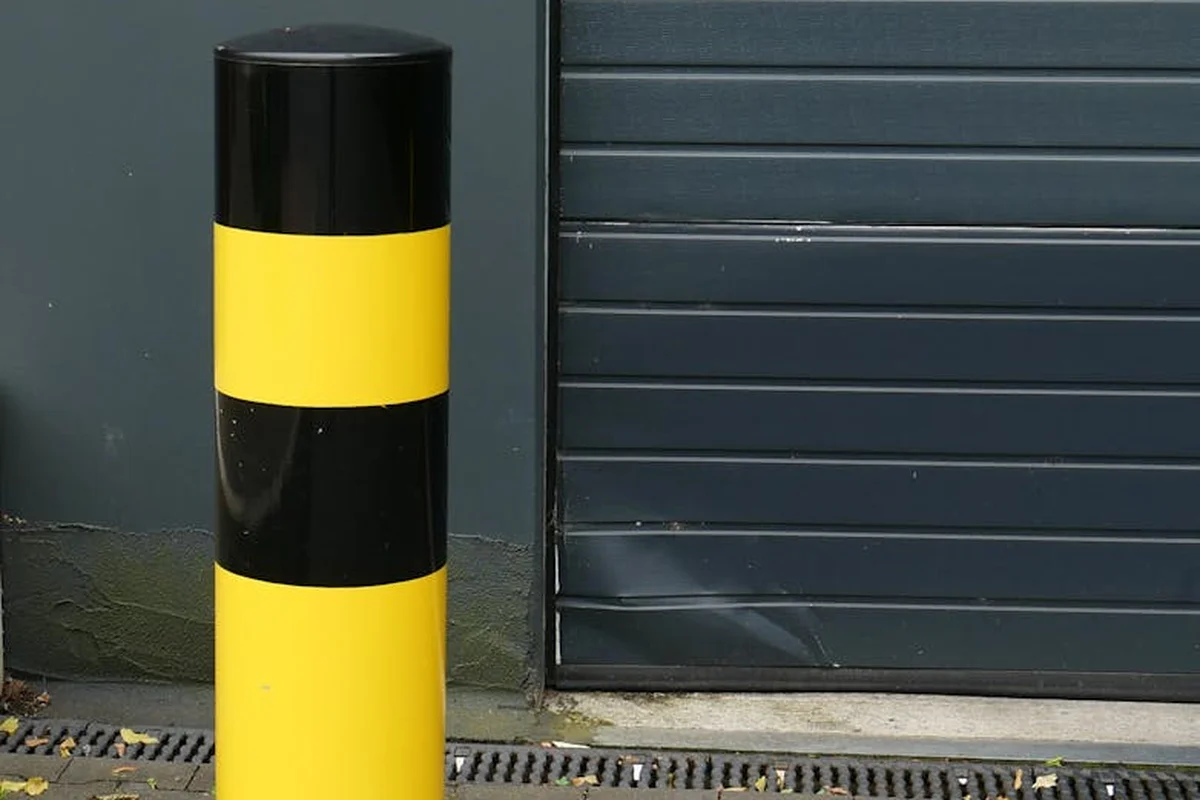
Let’s be real about the goal here. You are not turning your garage into a soundproof music studio. That’s a multi-thousand dollar project requiring specialized construction. What you are doing is making a dramatic, noticeable improvement. Think of taking a loud conversation down to a quiet talk, or muffling the garbage truck so it’s a distant rumble instead of a jarring crash. That’s a win when it comes to garage acoustics and soundproofing.
Your main goal is to reduce noise transmission to a point where it no longer disrupts your home life, and that is absolutely within reach.
Why You Still Need to Treat the Walls and Ceiling
Fixing the door is your biggest single step, but it’s not the whole job. Sound bounces. When a loud noise gets into the garage, it echoes off the hard, flat surfaces of drywall or concrete. This reverberation makes everything sound louder and muddier inside the garage, which then transfers more energy into your house. Reducing those echoes also means addressing common sources of garage door noise and dings. Small adjustments to sealing, mounting, and panel contact can noticeably cut noise transmission and curb further damage.
This is where acoustic panels come in. I’ve used simple 2’x4′ panels made from Owens Corning 703 insulation wrapped in fabric. You can buy them or make your own. Their job isn’t to stop sound from getting in, but to kill the echo after it gets in.
Mounting a few panels on the walls and ceiling behind where you work or where noise is worst will absorb that bounce, making the entire space quieter and more controlled. It’s a finishing touch that makes your door upgrade work even better.
Will Carpeting or Mats on the Floor Help?
This question comes up a lot. The short answer is yes, but only for a specific type of noise. Floor coverings tackle impact noise-the sound of dropped tools, footsteps, or a rolling tool chest. A thick rubber mat or interlocking garage tiles will dull those sharp sounds.
For airborne noise from the street, the floor does very little. I installed some thick, interlocking plastic tiles from a brand like Swisstrax in a client’s workshop area. They loved it for comfort and for reducing the clang of dropped wrenches, but they still needed the door and wall treatments for the lawnmower noise from outside.
My go-to for a budget floor solution is horse stall mats from Tractor Supply. They’re heavy, durable rubber, and cheap per square foot. A floor covering is great for quality of life inside the garage, but don’t count on it to block exterior noise on its own.
The Pro Formula: Combine Three Strategies
After doing this in my own garage and for clients, I found one method works best. Don’t just do one thing. Layer these three principles:
- Seal the Air Gaps: This is your first and most cost-effective step. Use weatherstripping and a threshold seal. I prefer the bulb-style rubber gaskets for the sides and top, and a durable aluminum threshold with a vinyl insert for the bottom. A tube of acoustic sealant for the trim is a must. This stops the easy path for sound.
- Add Mass: Sound is energy, and mass blocks it. This is your mass-loaded vinyl (MLV) or that extra layer of drywall. It’s the heavy blanket over the drum. Attach it directly to the back of the door panels with adhesive and mechanical fasteners for security.
- Dampen Vibration: Mass can vibrate. That’s where damping compounds like Green Glue come in. Sandwiched between two layers of drywall or between the door and MLV, it turns vibration energy into a tiny amount of heat, stopping the “drum skin” effect. It’s the secret weapon for metal doors.
Think of it like this: the sealant is your lock, the mass is your thick wall, and the damping is the padding on that wall. You need all three for a truly quiet garage. Start with sealing, then add mass and damping based on your budget and how quiet you need to go. This layered approach is what the pros use, and it works.
Garage Door Soundproofing: Your Questions, My Pro Answers
What’s the most cost-effective first step to soundproof my garage door?
Seal every air gap without exception. Sound follows the same paths as drafts, so applying new top and bottom weatherstripping and using acoustic sealant on cracks is your highest-return, lowest-cost action. This foundational step is non-negotiable before adding any other materials.
Is it worth buying a pre-made soundproofing kit, or should I source materials separately?
Kits offer convenience but often at a premium. For a standard door, you’ll save money and get exactly what you need by purchasing Mass Loaded Vinyl (MLV), adhesive, and seals separately. Only consider a kit if it includes specialized, hard-to-find mounting hardware for your specific door model.
How do I maintain my soundproofing over time?
Conduct a seasonal check. Inspect all seals for cracks or wear, ensure MLV panels or foam boards haven’t sagged or peeled, and re-lubricate hardware with silicone spray. A quick visual and tactile inspection twice a year will catch small issues before they become noise leaks.
Can I soundproof an older garage door, or should I replace it?
You can retrofit an older door if the panels and frame are structurally sound. The decision hinges on cost: if a new, insulated, high-STC door fits your budget, it’s the superior solution. For a tight budget, diligently sealing and adding MLV to your existing door will yield a very respectable improvement.
What’s the single biggest mistake homeowners make when trying to soundproof their garage door?
They add mass but ignore the perimeter seal. Installing MLV or foam on a door with old, gapped weatherstripping is like building a thick wall with holes in it. Always, always start with a perfect seal-it’s the cornerstone of any effective soundproofing project.
Final Thoughts on a Quieter Garage
The single best piece of advice I can give you is to treat soundproofing as a layered system, not a single miracle product. Start with the cheapest, most effective layer-sealing gaps– then add mass and absorption based on your specific noise problems and budget. Here are the core principles to take with you:
- Always seal the perimeter with a high-quality rubber or vinyl bulb seal first.
- Adding mass to the door panel, with MLV or acoustic panels, stops the most noise.
- Maintain your weather seal annually; a compressed seal is a noisy seal.
- A quiet, belt-drive opener is the final touch for reducing operational racket.
Relevant Resources for Further Exploration
- r/hometheater on Reddit: Sound Proof garage door for garage conversion?
- How Would You Soundproof a Roll-up Garage Door? | VI-CONTROL
- Soundproof Garage – Complete Guide – Second Skin