
How Do I Safely Adjust the Tension on My Garage Door Springs and Reinforce the Bracing?
If your garage door is unbalanced or the opener strains, adjusting the spring tension might be the fix, but this job demands respect for the dangerous force involved. I’ll show you the shop-tested, safe method I rely on to get it right.
This article provides clear, actionable steps covering identifying your spring system, selecting the proper winding bars, executing the tension adjustment safely, and reinforcing the door and wall bracing for long-term stability.
I’ve performed hundreds of these adjustments in my career, using specific tools like Stanley steel winding bars for torsion springs and trusting my own reinforced bracing methods.
How Can I Tell If My Springs or Bracing Need Work?
Your garage door gives you clear signals when something is off. You just need to know what to look and listen for. Ignoring these signs can lead to a door that fails suddenly.
A garage door that slams shut, struggles to open, or stops halfway is almost always a sign of incorrect spring tension. Listen for groaning or jerking movements from the opener too. It’s not a weak motor; the springs are supposed to do the heavy lifting. If your garage door won’t open or won’t close, the same spring tension issue could be at fault. There may also be a misalignment in the tracks or safety sensors worth checking.
Signs of Unbalanced Springs
- The door slams down hard when you manually close it.
- It hesitates or seems very heavy when opening.
- It only opens partway, then reverses or stops.
- The opener sounds strained, like it’s working too hard.
Signs of Weak Bracing
- You see a visible sag or bow in the top section of the door.
- The entire door shakes or rattles excessively when moving.
- The vertical tracks are pulling away from the wall framing.
- The top corners of the door section feel loose or flex too much.
There’s a simple test you can do to check spring balance. Disconnect the opener by pulling the red emergency release cord. Manually lift the door about halfway up and let go. A properly balanced door will stay in place, not rise or fall on its own. If it shoots up, the springs are too tight. If it slams down, they’re too loose. This test tells you everything.
You also need to know which spring system you have. Torsion springs are the thick coils mounted on a metal bar above the closed door. They wind and unwind to control the door’s weight. Extension springs are long coils that stretch along the horizontal track on each side. Torsion springs are under extreme tension and are far more dangerous to adjust; extension springs are typically simpler but can still fail violently. For this guide, I’m focusing on the more common torsion spring adjustment, as that’s where precise, safe technique is non-negotiable.
The Gearhead’s Checklist for This Job
I don’t start any job without laying every tool out first. This is the most critical phase. Using the wrong tool here isn’t just inconvenient; it’s how people get seriously hurt.
Using proper winding bars is a fundamental safety rule, not a helpful tip. I’ve seen the aftermath of a snapped screwdriver flying across a garage. Gathering the right gear shows respect for the immense power stored in these springs.
For Adjusting Spring Tension
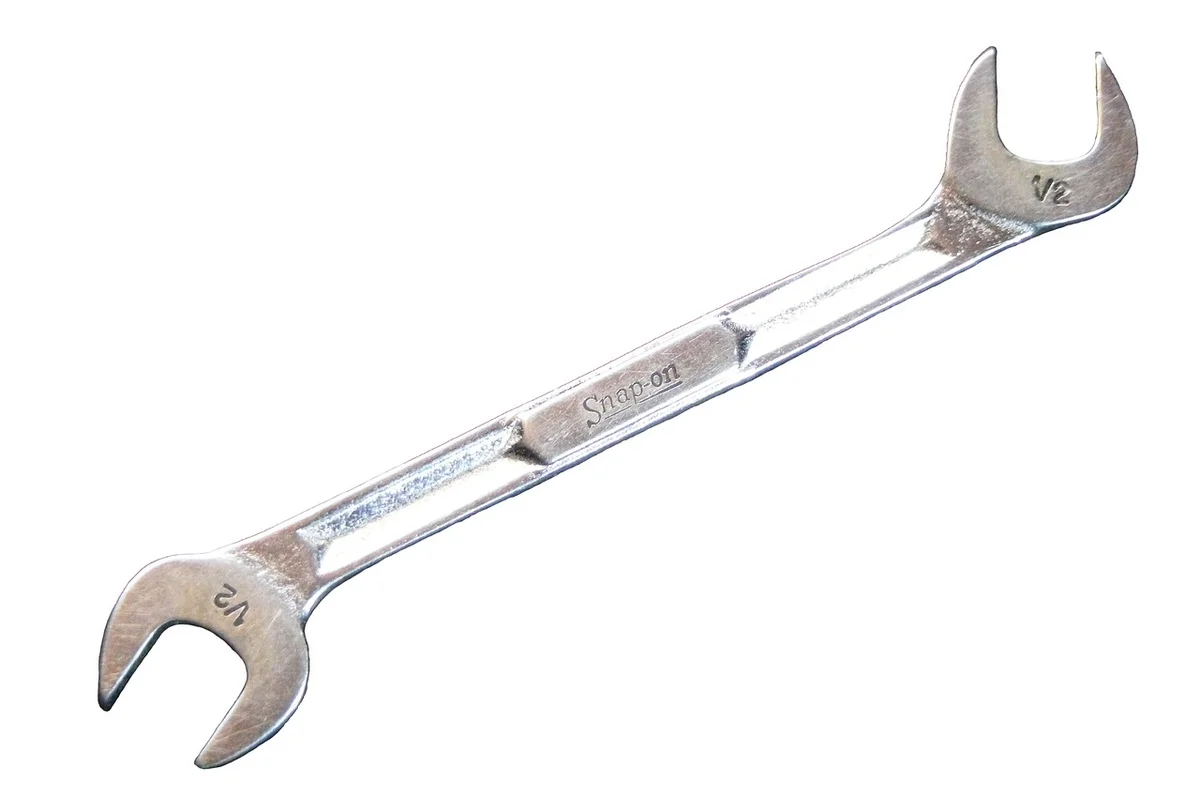
- Pair of Steel Winding Bars: This is the most important item. I use two 18-inch solid steel bars. The length gives me controlled leverage. Short bars are dangerous.
- Adjustable Wrench or Socket Set: For loosening the set screws on the winding cone.
- A Sturdy Stepladder: You need stable, two-handed access to the spring shaft.
- Safety Glasses: Metal shavings or a broken tool can fly toward your face.
- Heavy Work Gloves: To protect your hands from sharp edges and pinch points.
Let me be direct about screwdrivers. A screwdriver can slip or snap under the torque, becoming a dangerous projectile, and it doesn’t give you the secure, full-grip control you need. Investing in a proper pair of winding bars from a brand like Stanley or Craftsman is the first step in doing this job correctly.
For Reinforcing Door Bracing
- Galvanized Steel Corner Brace Kit: These are generic and effective. I often use ones from Prime-Line or similar. They’re just L-shaped steel plates.
- 3/8-inch Lag Bolts and Washers: You’ll need four per corner. The washer prevents the bolt head from pulling through the brace.
- Power Drill & Drill Bits: A corded drill or a high-torque cordless model like a DeWalt. You’ll need a bit to drill pilot holes into the wood framing.
- A 4-Foot Level: To ensure the door section is square before you lock it in place.
- Wrench: To tighten the lag bolts securely.
The secret isn’t the brace itself; it’s the fasteners. The key is using lag bolts that penetrate the door’s wood framing, not just short screws into the thin door skin. Those little screws that come with some kits are useless for real reinforcement. You’re tying the weak corner joint directly back into the solid wood stile of the door.
Adjusting Garage Door Spring Tension: A Safe, Step-by-Step Guide
Let’s get into the details. I’ve done this on dozens of doors, and the right process makes all the difference between a safe repair and a dangerous mistake.
Step 1: Secure the Door and Cut All Power
Before you touch anything, the door must be locked down and powerless. A sudden release of energy is what causes serious injuries.
First, lower the door all the way to the floor. Then, unplug the garage door opener from the wall outlet. Don’t just hit the wall switch; physically disconnect it. I’ve seen switches get bumped while trying to manually open garage doors.
Your next move is to clamp the door’s track to stop any rolling. Use a pair of locking pliers, like Vise-Grips. Clamp them tightly onto the vertical track, right below the bottom roller bracket on one side. This acts as a mechanical lock. Give the door a light tug to confirm it won’t move.
Step 2: Locate the Adjustment Mechanism
You have one of two main spring systems. Identifying yours is step one.
For Torsion Springs (mounted on a metal shaft above the door): Look at the end of the spring. You’ll see a round piece of metal called the winding cone, held by two set screws. Those screws are what you’ll loosen to adjust tension. Never loosen them with the spring under load. In contrast, extension springs store energy by stretching along the track—the distinction between torsion vs extension springs is discussed in the next section.
For Extension Springs (long springs running parallel to the tracks): Find where the spring connects to the track with an S-hook or a pulley system. The S-hook will be clipped into one of several holes on a bracket. Moving that hook changes the spring’s starting stretch.
Step 3: Making the Adjustment (The Critical Part)
This is where you need focus and the right tools. For torsion springs, you must use proper winding bars. I use a pair of 18-inch steel bars from a brand like Genie or LiftMaster. Do not use screwdrivers or makeshift tools; they can slip.
Loosen the set screws on the winding cone just enough so it can turn. Insert one winding bar into a hole in the cone. Hold it firmly against the wall or header. Insert your second bar into the next hole. To add tension, push the second bar in a slow, controlled quarter-turn. Then, move your first bar to a new hole to take over the load, and make another quarter-turn with the second bar.
How much tension does a garage door spring need? You’re not counting turns, you’re balancing weight. A new, single-car steel door might need 20-30 quarter-turns of tension. You’re adjusting an older door, so you’ll likely add or remove just a few. The goal is to make the door weightless when you lift it manually. If you’re considering DIY adjustments, you’ll want to understand how to adjust garage door springs safely. This context helps you navigate the next steps.
For extension springs, the process is simpler but still requires care. With the door secured, use pliers to carefully unhook the S-hook from its current hole on the track bracket. Move it to a hole closer to the door to add tension, or farther away to reduce it. Always wear safety glasses, as the hook can spring loose. Additionally, small changes in tension can affect how the door sits, so it’s a good moment to check the alignment as you go. The next steps will cover how to adjust garage door alignment tension.
Step 4: Test, Then Test Again
Never skip this. Tighten the set screws on a torsion spring cone securely. Remove the locking pliers from the track.
Now, slowly lift the door manually about halfway up, to around chest height. Let go. A properly balanced door will stay in place, not drift up or slam down. If it drifts down, you need a little more tension. If it rises, you have too much. Make adjustments one quarter-turn at a time and retest.
Once balanced, plug the opener back in and run a full open/close cycle. Watch and listen. The door should move smoothly without straining.
How to Reinforce Your Garage Door Bracing
Think of your garage door frame like the skeleton of a bookshelf. Over time, the joints can get loose and wobbly. Adding corner braces is like putting heavy-duty L-brackets on that shelf. It stiffens everything up, which is especially important after adjusting spring tension.
Step 1: Find the Weak Spots
Close the door. Go to each top corner, where the vertical frame meets the horizontal header. Push and pull firmly on the frame with your hands. Do you see or feel it flex? That’s your target. Also check the areas around the center hinges.
Use a stud finder to locate the wooden wall studs behind the metal door frame. Mark their centers with a pencil. Your braces need to bolt into solid wood, not just drywall.
Step 2: Install the Corner Braces
You’ll need garage door corner braces, which are heavy-gauge steel. I typically use ones from a supplier like GTO or ProDoor. Hold the brace in place, covering the corner. Using a drill with a bit slightly smaller than your lag bolts, drill pilot holes through the brace’s holes, through the metal frame, and into the wall studs you marked.
Secure the brace with lag bolts and washers, tightening them down firmly with a wrench or socket set. As you tighten, place a small level on the edge of the door frame to make sure you’re not pulling it out of alignment. The frame should stay straight and true.
Step 3: Check for Improved Stability
Operate the door slowly by hand a few times, then with the opener. Listen closely. A new, sharp creaking sound often means a bolt is too tight or the brace is slightly bent, putting pressure on the frame.
The true test is the wobble. Grab the door at the top when it’s partway open and try to gently shake it side-to-side. After proper bracing, there should be almost no lateral play. The door should feel like one solid unit moving on its tracks.
DIY Difficulty & Time Estimate
Let’s be honest about what you’re getting into. Adjusting garage door springs is serious work. I rate it an 8 out of 10 on the difficulty scale. It demands your full attention, a deep respect for the stored tension, and confident handling of specific tools. You’re not just turning a nut, you’re controlling a powerful, coiled force. To proceed responsibly, take a moment to learn how to safely adjust garage door springs.
Reinforcing the bracing around the spring assembly and opener is much simpler. I give that a 3 out of 10. It’s basic measuring, drilling, and bolting, similar to hanging a heavy shelf.
If you’re organized and move with purpose, plan for 2 to 3 hours of active work to complete both tasks. There’s no drying or waiting time. For the spring adjustment, I strongly recommend a helper. A second pair of hands to stabilize the ladder, hand you tools, and watch for any issues is a major safety boost. You can tackle the bracing work solo.
When NOT to Try This Yourself
This section directly answers a common and dangerous question: can you over tighten garage door springs? Absolutely, and the results are violent. An over-tightened spring can snap its cable, send the winding bar flying like a spear, or cause the door to slam down with incredible force. The risks are real and severe. Understanding the causes of spring failure helps explain these dangers. The next section will explore common failure causes and their safety implications.
You should call a professional garage door technician immediately if:
- Any spring is visibly broken or separated.
- You see severe rust, corrosion, or obvious wear on the springs, cables, or pulleys.
- You have an exceptionally heavy door, like a solid wood or antique model.
- You feel any doubt or uncertainty once you start looking at the mechanism.
Think of a tensioned garage door spring like a giant slingshot that’s already pulled back. It stores enough kinetic energy to cause life-altering injury or major property damage. This isn’t hyperbole, it’s physics. You must treat it with the utmost caution.
If you decide to call a pro, vet them like you would any contractor working on your home. Look for a licensed and insured technician who specializes in garage doors, not just a general handyman. Ask for proof of insurance and check for local reviews that mention spring work specifically. A true professional will give you a clear estimate and explain exactly what needs to be done. If you’re dealing with an open garage door caused by a broken spring, a licensed tech can confirm the diagnosis and discuss safe replacement options. An open door can be hazardous, so quick, professional assessment is important.
Garage Spring & Bracing FAQ: Quick Pro Answers
1. Why are proper winding bars non-negotiable for torsion spring adjustments?
A screwdriver can snap under the immense torque, becoming a deadly projectile. Proper 18-inch steel bars are designed to handle the load and give you the secure, full-grip control you must have for this job.
2. After I’ve balanced the door, how do I verify the adjustment is correct and safe?
Reconnect your opener and run multiple full cycles. The door must operate smoothly and quietly without any hesitation or straining from the motor. Any lingering issues point to a remaining imbalance or a separate mechanical problem.
3. My door still has some shake after bracing the corners. What’s the next step?
Check the center of the top section. For long or heavy doors, a horizontal strut or center support bracket bolted into the header can eliminate residual flex. Ensure all existing hinge and roller hardware is also tight.
4. What’s the one red flag that means I should stop immediately and call a pro?
If you see any sign of a cracked, separated, or severely rusted spring, do not touch it. That spring is in a critical failure state and requires a professional with the tools and training to discharge and replace it safely.
Final Safety Checks and Ongoing Maintenance
The safest adjustment you can make is to call a certified professional for anything involving the springs. I tell every homeowner that spring work is the one task where paying for expert service isn’t just convenient, it’s a non-negotiable safety investment. The garage door spring replacement dangers are evident, as spring replacement carries high risk due to the stored energy in tension springs. Handling them without proper gear can cause serious injuries or door damage. Keep your system reliable with these habits:
• Visually inspect cables, rollers, and brackets every month for fraying or wear.
• Never attempt to wind, unwind, or adjust torsion or extension springs yourself.
• Use only a quality socket set and locking pliers for any hardware on stationary brackets.
• Reinforce door section bracing with 18-gauge steel struts if your door flexes or feels loose.