
How Do You Park in a Narrow Garage Without Hitting the Walls or Door?
Nudging your car into a tight space without leaving a mark on the door or wall is a skill any homeowner can learn. I will show you the exact techniques I use in my own garage and for clients.
This article provides step-by-step advice on setting up physical guides, mastering mirror alignment, using affordable parking aids, and developing a repeatable parking routine.
My advice comes from years as a residential garage specialist, where I’ve installed and tested these solutions firsthand.
Start With the Tape Measure: Know Your Space and Your Car
Guessing leads to dings. Before you even start the engine, you need hard numbers. I learned this after a client scraped their new truck’s mirror because they thought they had “plenty of room.”
You need three measurements: your garage’s clear width, your car’s width with mirrors out, and the “open door width” you need to get out. That last figure reflects the clearance of the garage opening when the door is fully open. In the next steps, we’ll show how to measure the garage opening door so you can compare it with these numbers.
First, measure the garage. Find the narrowest point between the walls, usually at the door opening or where shelving protrudes. Run your tape measure from finished wall to finished wall. Record this number. These measurements will help you decide if you need to modify the garage door width and height. In the next steps, you’ll find a guide on how to adjust the opening accordingly.
Next, measure your car. This is where most people are wrong. Get your vehicle on level ground. With the mirrors fully extended, measure from the outermost point on the driver’s side mirror to the outermost point on the passenger side mirror. This is your true width. Your door needs space to open, too. Measure how far your door swings out at its widest point.
Here’s the simple math: Garage Width minus Car Width equals your total wiggle room. Divide that number in half to see how much space you have on each side. If it’s less than 12 inches per side, you need a precise system. Of course, you’ll want to make sure your garage is properly sized to fit your vehicles comfortably.
I use blue painter’s tape to mark a “lane” on the floor, which gives you a visual guide you can’t ignore. Measure from one wall and place a strip where your driver’s side tires should track. Do the same for the passenger side. This lane is your safe zone.
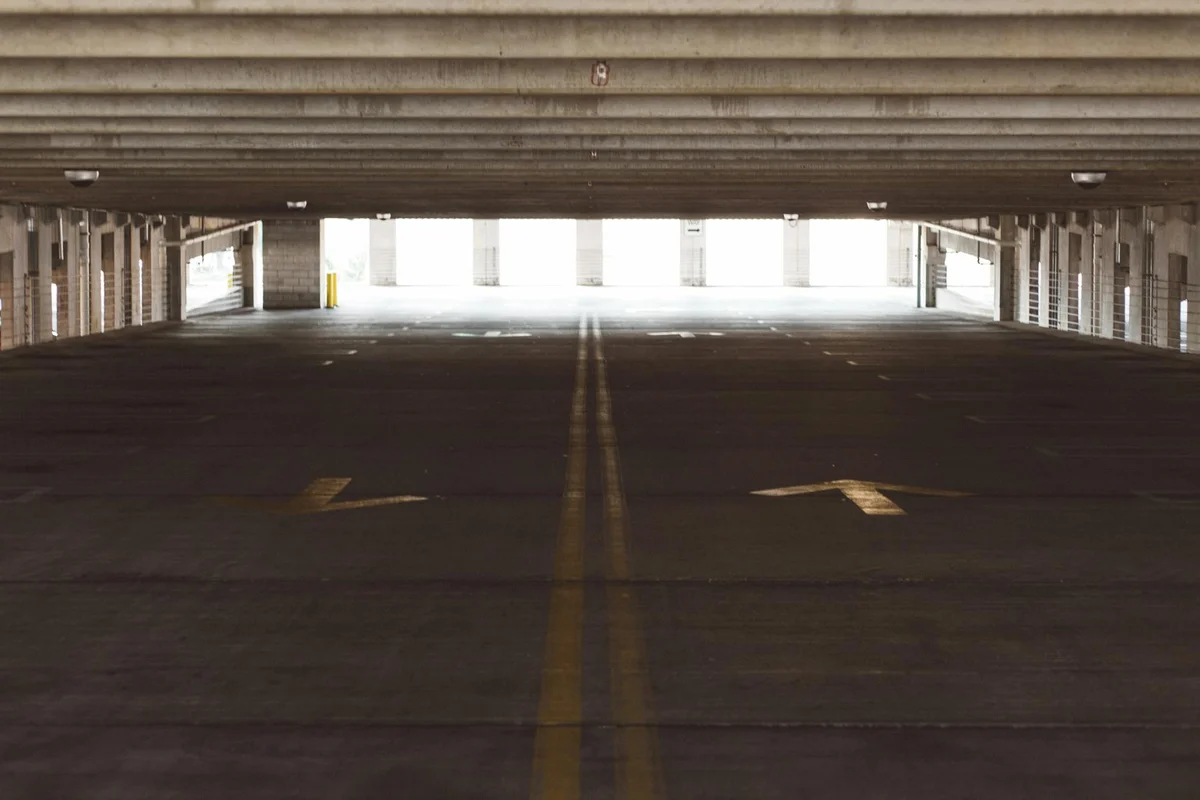
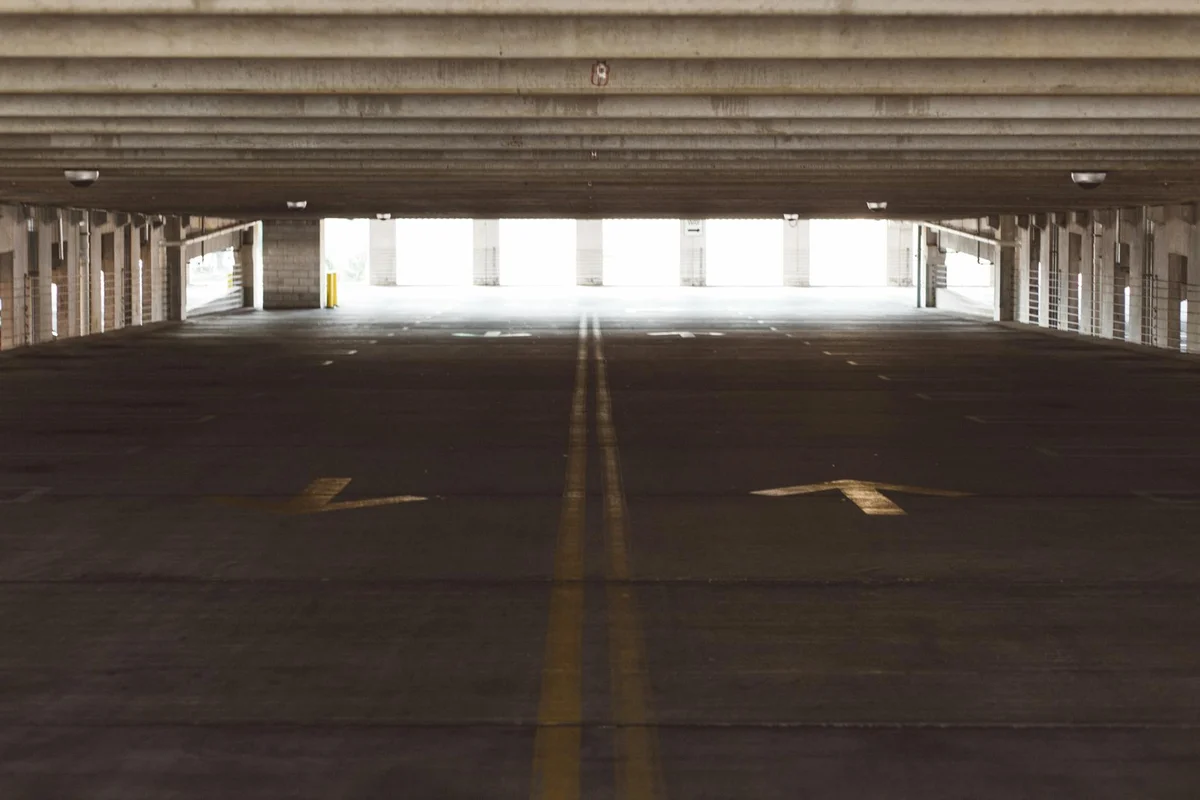
A typical home garage isn’t built like a parking garage. Commercial structures have wider lanes and turning radii designed for tight maneuvers. Your driveway-to-garade turn is likely much tighter, forcing a sharper angle.
Many people ask, “How do I measure my garage and car accurately?” The key is to measure at the widest points (mirrors) and account for the door swing. Don’t use the manufacturer’s listed width without mirrors; that number is useless for parking. That careful measurement is the first step toward a practical garage parking capacity layout. With these dimensions, you can map out stalls and aisles to maximize space and accessibility.
The “Gearhead’s” Checklist
- A 25-foot tape measure. I’ve used a Stanley FatMax for a decade. The wide, rigid blade lets one person measure long distances easily without it buckling.
- Blue painter’s tape. It leaves no sticky residue on your floor when you remove it later, unlike masking or duct tape.
- A notepad and pen. Write down your car’s exact mirror span and your garage’s clear width. You’ll reference this later.
The Pro’s Parking Technique: Alignment and Approach
With your lane marked, it’s time to drive. I always teach the back-in method for tight garages. It gives you more control and better visibility when leaving.
Think of your rear wheels as the pivot point of the car. By steering them into the space first, you swing the front end in with more precision. It’s like guiding the anchored end of a long pole through a doorway.
Here is my step-by-step method for backing into a narrow garage:
- Position your car on the driveway, aligned with the center of your garage door. Stop with your rear bumper about 10 feet from the opening.
- Turn your steering wheel all the way toward the side with the most space on your driveway (usually away from the house). This starts your 45-degree approach angle.
- Slowly drive forward until your side mirror is nearly aligned with the opposite side of the garage opening. You are now angled toward the bay.
- Stop. Shift into reverse and turn your steering wheel to begin straightening out. Aim the rear of your car directly into the center of the opening.
- Use your side mirrors constantly. Watch the painted tape lines on the floor. Creep backward slowly, making small steering corrections to keep the car centered in your lane.
- Once the rear tires cross the threshold, focus on aligning the car straight. Stop when your front bumper is fully inside.
Pulling in forward is harder. Your front wheels pivot first, pushing the wide rear end in a wider arc that often swings too close to the opposite wall. You also have to blindly back out into a driveway later.
For the question, “Should I pull in forward or back in, and why?” backing in is superior for control, safety when exiting, and protecting your car’s wider rear quarter panels.
The best technique for aligning your car is to use stationary references. Don’t look at the moving wall; fix your eyes on your side mirror’s relationship to the taped line or the stationary door jamb.
Log Entry: The Tennis Ball Trick, Refined
I used the classic hanging tennis ball for years. It worked until my kid started using it as a tetherball. The constant swinging made it unreliable. My solution was a $15 LED puck light from a home center. I mounted it to the ceiling so the beam hits the center of my windshield when the front bumper is exactly where I want it. It gives a bright, silent, and fixed target. No more guessing or batting a ball out of the way.
Maximize Your Vision: Mirror and Sightline Setup

The most reliable tool for fitting your car into a tight spot isn’t a fancy gadget. It’s your mirrors, set up correctly. I’ve helped dozens of clients dial this in, and it’s the first thing I check when someone tells me they’re rubbing their tires on the curb.
To see your garage door tracks, you need to adjust your side mirrors much further outward than you might think. Here’s my shop-tested method. Sit normally in the driver’s seat. Now, lean your head left until it’s almost against the driver’s side window. Adjust your left side mirror outward until you can just barely see the side of your own car. Now lean to the right, toward the center console, and do the same with the right mirror. When you sit back normally, you shouldn’t see your own car’s flank. This eliminates a huge blind spot and should let you see your garage door’s vertical tracks in the mirrors as you pull in.
If your tracks aren’t a good visual cue, use the floor lines you created. Your side mirrors, adjusted this way, will let you watch those lines and keep your tires centered.
Never forget the blind spots created by your car’s roof pillars, especially the thick ones between your front and rear doors. As you turn into the garage, that pillar can completely hide a bicycle or tool cabinet right at the corner of the opening. Make a conscious habit of doing a quick “pillar check” by moving your head forward and back an inch or two right as you begin your turn. This small movement changes your sightline and reveals what’s hiding.
A common question I get is: “How can I adjust my side mirrors to maximize visibility?” The answer is the lean-and-adjust method I just described. It feels strange for about two days, but then it becomes second nature and gives you a panoramic view of your hazards.
Affordable Aids and High-Tech Helpers
Once your mirrors are set, you can add guides that make the job even easier. You don’t need the elaborate guided ramp system of a public parking garage, but the idea is the same: create a visual or physical path for your tires to follow. It’s especially helpful when you park or store vehicles and trailers in your garage.
For a low cost fix, I’m a fan of simple convex stick on mirrors. I’ve used the GEEKOTO brand ones from Amazon. Stick one on the wall at the back corner of your garage, aimed down the side of your car. As you pull in, you can see your rear wheel and the wall in one glance. They’re cheap and incredibly effective. Another great tool is a laser parking guide. The AODELAN laser line projector mounts above your garage door and shoots a red line onto your dashboard. When the line hits a specific spot on your dash, you know you’re in far enough. I recommend these to clients who don’t want to mess with floor tape.
Most modern cars come with their own high tech helpers. Your backup camera is your best friend for judging distance to the back wall. Use the dynamic guide lines (the ones that bend when you turn the wheel) to steer precisely. Parking sensors provide an audible warning, but remember they are measuring the closest point on your bumper, not your side mirrors.
So, “Are there any tools or aids to help guide me into a tight parking space?” Absolutely. Start with a $10 set of convex mirrors or a $40 laser guide. They often solve the problem before you need to rely on your car’s more complex systems.
When Technology Fails You
You must trust your eyes first. I’ve seen it all. A spider builds a web in front of a parking sensor in the fall, and suddenly your car is beeping hysterically at nothing. A winter slush storm completely covers your backup camera lens, leaving you with a blurry grey screen. Your laser guide’s battery dies.
Your adjusted mirrors and your defined floor path are your primary, always working system. Everything else is a helpful backup. Before you pull in, take one second to glance at your camera lens and sensor spots. A quick wipe with your sleeve might be all it takes to get your tech assistants back online. But if they fail, you should already be looking at your mirrors and your taped lines, continuing your parking job smoothly and safely. That’s the mark of a truly skilled driver.
Practice Without Pressure (or Dents)
The best way to learn is by doing, but doing it with your $40,000 car six inches from drywall is a recipe for stress. You need a safe drill. I tell clients to skip expensive plastic guide poles-they just get run over. Instead, grab two old traffic cones or tall, empty cardboard boxes. The trick is placement.
Set your guides at least 18 inches away from each wall and at least two feet back from where your front bumper will stop. This gives you a generous visual buffer while you learn the sight lines. The goal isn’t to park between the guides right away; it’s to learn the approach without fear.
Don’t just practice pulling straight in. You must practice the full sequence:
- Approach: Line up your car with the center of the door from the driveway.
- Turn: Begin your turn into the garage, using your side mirrors to watch the distance to your guides (and eventually, the walls).
- Straighten: Once the car is inside, correct the steering to center it.
- Stop: Use your hanging tennis ball or laser line to stop precisely.
Do this ten times. Then, move the guides six inches closer to the walls and do it again. This gradual tightening builds muscle memory safely. The most common FAQ I get here is: “What is the best way to practice parking in a narrow space without risking damage?” My answer is always this cone-and-patience drill. It works every time.
The Forgotten Factor: Getting Out of the Car
You’ve mastered the parking job, only to realize you’re trapped inside your own car. This is where many people fail. That 4-inch gap you left looks fine until you try to open a door that needs 24 inches to swing fully.
Use the measurements you took earlier. You know your car’s width and your garage’s width. One-car garages come in various widths. Subtract the car’s width from the garage width, then divide by two. That’s your theoretical side clearance. Now, subtract the width of your opened car door. What’s left? That’s your actual wiggle room for getting in and out.
If the math shows a tight squeeze, install permanent wall protection before you forget and put a door handle through the drywall. For a quick, cheap fix, split a foam pool noodle lengthwise and zip-tie it to the wall at door-handle height. It’s ugly, but it works.
For a cleaner, more durable solution, I install rubber wall bumpers. I’ve used the Mighty Bumper brand for years. They’re thick, self-adhesive, and mount directly to the wall studs. You can open your door right into them without a sound. They’re also much easier to keep clean than foam, which collects dust and grime. These bumpers also help reduce garage door noise and prevent dings when the door closes. Quiet operation is a welcome side benefit as it protects walls and trim.
This directly answers another frequent question: “How do I account for the swing of my car’s doors when opening inside the garage?” You account for it with math first, then you install a physical barrier. Your door will find the wall eventually; make sure the wall is ready for it. This same line of thinking applies to closing the space securely. A secure close garage door opening helps ensure the door ends firmly shut and the area stays protected.
Common Scratches and How to Avoid Them
Most scrapes and dings happen because of a few repeat mistakes. The good news is that with a simple system, you can eliminate almost every single one. Here are the errors I see most often, followed by the exact countermeasures I use in my own garage.
Mistake #1: Rushing the Approach
You’re tired, it’s raining, and you just want to get inside. That’s when a lapse in concentration costs you a door mirror or a painted fender. The solution isn’t to “be more careful”-it’s to build a failsafe habit.
- Create a “Landing Sequence”: Treat pulling in like a pilot’s pre-landing check. Stop the car completely on the driveway, straighten your wheels, take a breath, and then proceed slowly. This two-second pause resets your focus.
- Use a Physical Guide: I use a simple tennis ball on a string hung from the ceiling. When it taps my windshield, I know I’m in the perfect spot. I tried a laser guide, but for consistency, the physical touch feedback of the tennis ball is foolproof.
Mistake #2: Inconsistent Mirror Checks
You glance once, think you’re clear, and keep moving. The problem is your car isn’t perfectly straight, and that half-inch shift is enough to grind against the wall.
- Adjust Mirrors Before You Move: Before you even creep forward, set both side mirrors to point down slightly, so you can clearly see where your tires meet the floor. This gives you a constant view of your clearance gap.
- Establish Visual “Gates”: Place a bright piece of tape on the wall at your mirror’s height. Your goal is to keep an even space between the mirror and the tape through your entire entry. If the gap shrinks on one side, correct immediately.
Mistake #3: Forgetting the “Along the Wall” Hazards
This is the classic “I was watching the wall, not the bicycle leaning against it.” Your car clears the structure itself, but the handlebar or a trash can lid reaches out and scratches your door.
- Conduct a Pre-Entry Walkthrough: Make it a rule. Before you pull any vehicle in, walk the path. Look for rakes, bike pedals, trash cans, or storage boxes that have crept into the zone. Move them back to their dedicated spot.
- Install a Protective Buffer: For the lower 3 feet of wall where car doors swing, I install foam pipe insulation or a dedicated garage wall protector like the Guardian wall panel. I screwed the Guardian panels directly into the studs. They’ve taken direct hits from door edges and left both the wall and my car’s paint completely unharmed.
These countermeasures directly answer a frequent question: “What are common mistakes people make and how can I avoid them?” The core answer is always to replace guesswork with a repeatable visual and physical system.
When NOT to Try This Yourself
As a pro, my first job is to keep you and your property safe. Some situations simply have too little margin for error for standard DIY techniques.
If you have less than 12 inches of total clearance (that’s 6 inches on each side of your car), the risk of a costly accident is very high. At that point, you’re not parking, you’re threading a needle. In cases like this, consult a professional. A garage door specialist can sometimes install a different track system or a higher-lift door to give you a slightly wider entry. Understanding standard garage door width dimensions helps you gauge what a wider entry really means. For reference, most single-car doors are 8 feet wide, with 16-foot widths common for two-car garages. For the tightest spaces, a vehicle turntable, while a significant investment, might be the only safe, long-term solution.
If you have a medical condition that affects your neck mobility, depth perception, or reaction time, a dedicated parking aid system shifts from a helpful tool to a safety necessity. Relying on mirrors and turning your head may not be reliable. A system like the ParkMaster Pro, which uses a laser line and an in-car display, provides the clear, straight-ahead guidance needed. It’s a responsible investment in preventing injury and damage.
Parking in a Tight Garage: Your Quick-Reference FAQ
How do I measure my garage and car accurately if I have irregular walls or a protruding door track?
Measure from the most intrusive points-like a door track or a shelf bracket-not just the flat wall sections. For your car, measure the mirrors at their widest, then add 6 inches to account for the slight sway of the suspension as you drive over the driveway lip. This gives you a true “operational width.”
What is the final visual cue to know my car is straight before I stop?
As you creep in, shift your gaze to the rearview mirror. Align the center of your garage door opening (or a centered tool on the back wall) with the center of your car’s rear windshield. When those are lined up, your vehicle is centered. This is your final checkpoint before stopping.
Where exactly should I place convex guide mirrors on the wall?
Mount them on the side walls, about 8 feet into the garage and at mirror-height. Angle them downward so you can see both your car’s rear tire and the floor tape line in the reflection as you enter. This single glance confirms alignment and proximity.
Is pulling in forward ever the better option?
Only if your driveway is extremely short and you lack the space to execute the back-in maneuver. If you must pull in forward, align your driver’s-side mirror with the garage door’s vertical track before turning in, and be prepared for the rear to swing wide. Install wall protection on the passenger side immediately.
My door still hits the wall even with careful parking. What’s a low-profile solution?
Install vertical strips of high-density foam or rubber (like U-shaped pipe insulation) directly on the wall studs at the points where your door handles make contact. This creates a forgiving buffer without sacrificing inches of precious floor space like bulky horizontal bumpers do.
What’s one pro tip for garages with slightly uneven floors?
Your car will naturally pull toward the low side. Compensate by parking with your tires slightly closer to the wall on the higher side of the floor. Test this by rolling a tennis ball from the back to the front of your garage floor to see which way it consistently rolls.
Parking with Precision in a Tight Space
From my years of tuning garages, the one habit that prevents every scrape is using a physical, fixed reference point you can trust every single time. Stick to these core practices to make tight parking second nature.
- Commit to a laser parking guide or sturdy floor blocks; I install the Park Right laser for clients because it’s bright and doesn’t require recalibration.
- Always adjust your side mirrors to see the garage wall and your rear tires as you enter-this visual check is better than any sensor.
- Keep the floor absolutely clear; I use Husky heavy-duty shelving units to get everything up and off the driving path.
- Practice the full maneuver at least once a week with a spotter until your steering inputs become automatic.
Evan Gunther
Evan is a general contractor operating in Columbus, Ohio servicing, maintaining and building residential and commercial garages for over two decades. He has personally redeveloped over 100+ garages and installed and reinstalled over 230+ garage doors in his long tenure. When it comes to giving your garage a face lift or fixing common issues, Evan's the pro. Feel free to reach out to him and follow his Garage Log blog for expert, fact based advice.