
Should You Lubricate Your Garage Door Springs?
You’ve probably heard conflicting advice about oiling your springs, and that uncertainty can leave your garage door at risk. Let me clear the air with practical advice from my shop floor.
We will cover dangerous lubrication myths, the correct step-by-step method to extend spring life, and my preferred lubricants and application tools.
I’ve handled this repair on countless doors and learned what prevents wear through direct experience.
The Big Question: Does Lubrication Help or Hurt?
Homeowners often ask me if they should even bother lubricating their garage door springs. They hear conflicting advice. My position, after maintaining hundreds of doors, is straightforward. That includes recognizing why maintenance matters, including keeping garage door springs lubricated. In the next steps, we’ll outline how to maintain and lubricate springs.
Proper lubrication is necessary maintenance, but applying the wrong lubricant or doing it at the wrong time can absolutely cause problems.
Think of your garage door spring like the chain on a bicycle that’s been left outside. Leave it dry for years, and it becomes stiff, starts to screech, and the metal wears out faster from the constant grinding friction. A properly lubricated spring operates smoothly, reduces wear on the coils, and helps prevent the sharp “pinging” noises that signal stress.
Four Garage Door Spring Myths You Should Ignore
Let’s clear up the misinformation I hear in home centers and online forums all the time.
Myth 1: “Lubrication Makes Springs Attract Dirt and Grit, Causing Them to Break Faster.”
This one has a kernel of truth but misses the mark completely. The mistake is using the wrong product. Spraying a thick, sticky grease or an all-purpose oil like 3-In-One will absolutely create a grime magnet.
I use a dedicated garage door lubricant or a dry, white lithium grease because it coats the metal without leaving a tacky residue that dirt sticks to. My go-to is Blaster 8-HD White Lithium Grease in the aerosol can. It sprays on wet to penetrate the coils, then the carrier solvent evaporates, leaving a protective, dry film that doesn’t attract dust.
Myth 2: “A Brand New Spring Doesn’t Need Lubrication for Years.”
This is a costly assumption. New torsion springs come from the factory with a light, protective oil coating. That coating is mainly for preventing rust during shipping and storage, not for long-term lubrication under high-tension operation. If you attempt to replace garage door springs yourself, improper lubrication can lead to failures.
In my shop, I always add a proper lubricant during installation. That factory coating wears off or dries out within the first few months of daily use, leaving the metal unprotected during its most critical break-in period. Starting with a good lubricant sets the spring up for a longer, quieter life from day one.
Myth 3: “You Can Use WD-40 or Any General-Purpose Spray.”
This is the most common and damaging myth. WD-40 is a brilliant water displacer and penetrant, but it is not a lubricant. It’s like using rubbing alcohol to moisturize your skin-it might feel slick for a minute, but it dries everything out.
Using WD-40 on a spring will clean off any existing lubrication, then quickly evaporate, leaving the metal completely dry and more susceptible to wear and corrosion. I’ve seen springs that were “maintained” with WD-40 develop rust and wear patterns much faster than untouched ones. Save the WD-40 for freeing a rusty bolt, not for maintaining your door.
Myth 4: “More Lubricant is Always Better.”
Over-lubricating is a real issue. Drenching the spring doesn’t make it work better; it just makes a mess. Excess lubricant will drip onto your door, your car, and the floor, attracting dirt and creating a slick hazard. Make sure to use the right amount of lubricant on all garage door components.
The right technique is a light, targeted application. I spray a thin bead along the inside length of each coil of the springs while the door is closed and the spring is relaxed. Then I cycle the door up and down once to help work the lubricant into the metal. You only need enough to leave a slight sheen, not a dripping wet surface.
The Gearhead’s Lubrication Toolkit
You can do this job right with just a few specific items. This isn’t the time to grab whatever’s under the sink. Using the wrong product can cause more problems than it solves.
The right lubricant protects the metal, quiets operation, and doesn’t attract dust that grinds down the spring. I keep two types on my truck for different jobs and climates.
- Pure Silicone Spray: This is my go-to for most homes. It dries to a clean, dry film that doesn’t pick up dirt. I’ve had good results with the WD-40 Specialist Garage Door Lube. It has a straw for precise application, which you’ll need.
- Lithium-Based White Grease Spray: For older doors in very dry, squeaky climates, a light lithium grease can be a bit more durable. Blaster Garage Door Lube is a solid option here. It stays put longer but can be a bit messier.
Your safety gear is not optional. Garage door springs store immense energy.
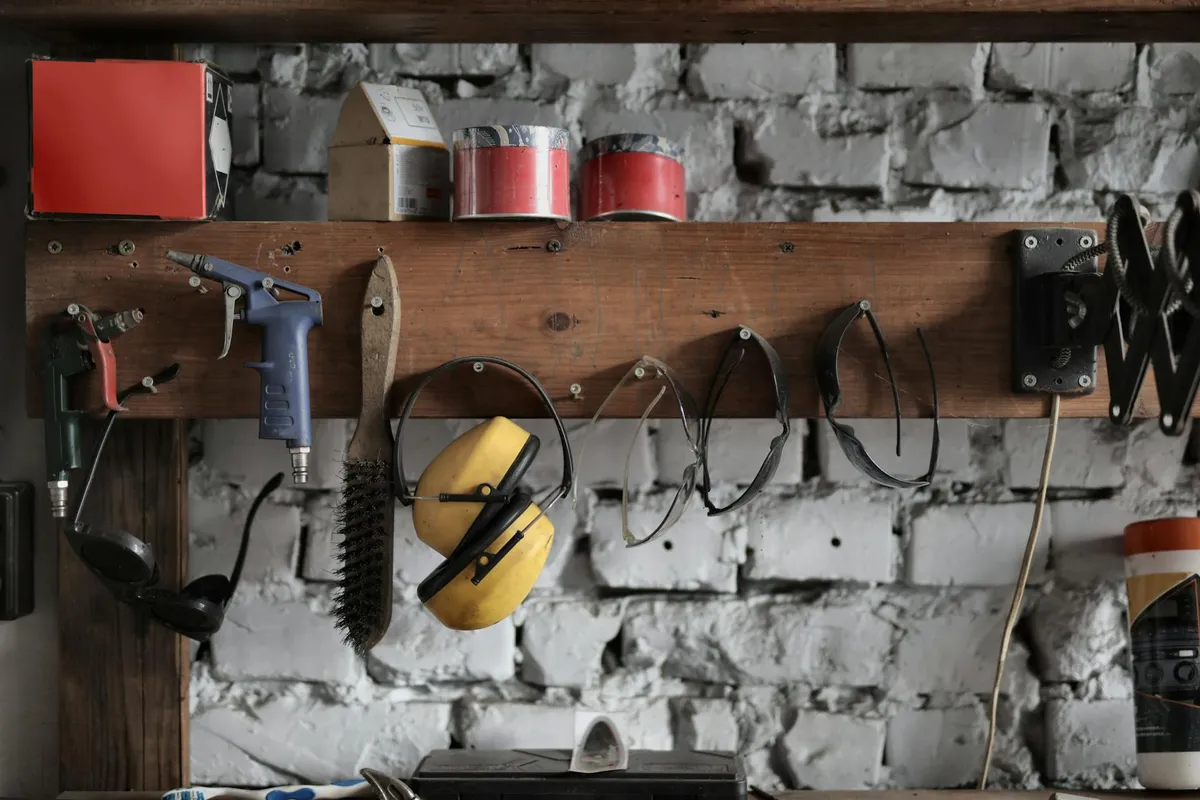
- Safety Glasses: Lubricant spray can drip or splash back. Protect your eyes.
- Heavy Work Gloves: The springs and hardware can have sharp edges. I use simple leather-palmed gloves.
- A Stable Step Ladder: You need to reach the torsion spring safely. Don’t stand on a bucket or a wobbly chair.
Grab a clean rag and a small, cheap paintbrush. The rag is for wiping up drips before they hit your car or floor. The brush is for gently working lubricant into tight coil spaces without overspraying everything.
What NOT to Use: A Quick Guide
I’ve seen the damage from using the wrong stuff. Avoid these common garage shelf items completely.
- Regular WD-40 or Penetrating Oils: These are solvents and water displacers, not lubricants. They will dry out, leaving the spring unprotected and often squeakier than before.
- 3-in-1 Oil or Motor Oil: They’re too thin, they run off, and they attract every speck of dust and garage grit. This creates a grinding paste that wears the spring down fast.
- Heavy Grease (like wheel bearing grease): It’s too thick, it gums everything up, and it’s a magnet for dirt and grime. It can also freeze up in cold weather.
- Any Spray with Harsh Propellants: Some cheap sprays leave a sticky residue that holds dirt. If it feels tacky after it dries, it’s wrong for the job.
Your Step-by-Step Lubrication Plan for Every Spring Type
Before you touch anything, you must disconnect the garage door opener. Pull the red emergency release cord hanging from the opener rail. This lets you move the door by hand. Always work with the garage door in the DOWN, closed position. This relaxes the spring tension as much as possible and is the safest way to work. Later steps will show how to open the electric garage door manually if you ever need to operate it without the opener. This keeps you in control when power or the opener isn’t available.
- Gather your toolkit: lubricant, rag, brush, gloves, and safety glasses.
- Disconnect the opener by pulling the red release cord.
- Ensure the door is fully closed on the ground.
- Put on your safety glasses and gloves.
- Identify your spring type before you start.
How to Lubricate a Torsion Spring (The Coiled Spring Above the Door)
The torsion spring is the thick coil mounted on a metal shaft above the door. The goal is to lubricate the inside of the coils where they rub against each other as the spring winds and unwinds.
- Set your ladder securely under the spring. Hold the lubricant can and your rag.
- Insert the spray straw into the gap between the coils. Aim down the center of the spring, not just at the outside. Give it a 2-3 second spray while moving along the length of the spring.
- Use your small paintbrush to gently poke and spread the lubricant between the coils you can reach. You don’t need to soak it, just a light coating.
- Once done, take your clean rag and wipe the bottom of the spring and the shaft. This catches any drips before they fall.
- To work the lubricant in, manually lift the door about halfway and then lower it back down. Do this 2-3 times. You’ll hear the squeaks start to quiet immediately.
How to Lubricate Extension Springs (The Long Springs Along the Tracks)
Extension springs stretch and contract along the horizontal track. You’ll often see a safety cable running through the middle of them. Lubricate the entire length of the coiled section, as every part of it moves.
- Stand to the side of the spring. Look at the length of the coiled metal.
- Apply a light spray of lubricant along the coils. Also, give a quick spray to the safety cable inside the spring. This reduces internal friction.
- Find the pulley at the end of the spring, near the rear track bracket. Put a drop of lubricant on the pulley’s wheel where it spins on its pin. Don’t spray the bracket or the track.
- While you’re here, run your gloved hand along the safety containment cable. Check for any fraying, kinks, or rust spots. This cable is critical-if the spring breaks, it catches the pieces. If it looks damaged, plan to replace it before using the door again.
- Manually operate the door a few times to distribute the lubricant along the spring’s length.
The Right Maintenance & Cleaning Routine
Consistency is your friend. I tell all my clients to think of spring care as a biannual check-up, like changing the batteries in your smoke detectors. Lubricate those springs every six months. If that seems like a lot, you can stretch it to once a year, but no longer. That’s the sweet spot for keeping metal moving smoothly against metal without letting grit build up.
Don’t just do this task in isolation. The smart move is to pair your spring lubrication with a few other quick checks so your entire garage door system gets a tune-up at the same time. Grab your dry rag and your spray lubricant, then follow this routine.
Clean the Tracks and Inspect Roller Hinges
Before you even touch the springs, look at the vertical tracks on either side of the door. Wipe them down with a dry rag to remove any debris like dust, spider webs, or small pebbles that could jam a roller. While you’re there, look at the roller hinges where the wheels attach to the door. They should be clean and free of visible rust.
The cleaning process for the springs themselves is simple but vital. First, get yourself a clean, lint-free rag. I keep a pack of the white, all-purpose shop rags in my toolbox for this. Wipe down each spring from end to end. You’re not scrubbing, just removing surface dust and any old, dirty grease. Applying new lubricant on top of grime just creates an abrasive paste that wears down the metal faster.
Once the springs are clean, apply your chosen lubricant. I use a dry lithium-based spray, like the white lithium product from Blaster. It doesn’t attract dust the way a wet oil does. Give each coil a light, even coat. You don’t need to soak it. A quick pass is plenty.
Listen to Your Door: Signs It Needs a Service
Your garage door will tell you when it’s unhappy. You just have to listen and look. Squeaking or grinding noises are the most common giveaway. Jerky, hesitant movement instead of a smooth glide is another red flag.
Don’t ignore visual cues. Get in the habit of glancing at the springs once a month. Look for visible rust, corrosion, or gaps in the coils. While a spray of lubricant will often quiet a simple squeak, it will not fix a spring that’s already broken or severely fatigued. Lubrication is for maintenance, not for resurrecting a part that’s already failed.
When NOT to Try This: Know Your Limits
This is where I need to be direct. Your safety is more important than saving a service call. If you see that a spring is already broken, DO NOT TOUCH IT. Do not try to clean it, lubricate it, or remove it. The tension stored in that spring is extremely dangerous and can cause serious injury.
Call a professional immediately if you see severe rust that has eaten into the metal, visible gaps or separations in the coils, or if you hear a loud bang (that’s often the sound of a spring snapping). You should also call a pro if you are uncomfortable working on a tall ladder to reach the springs. Lubrication is preventative maintenance, not a repair for broken components. Knowing the difference keeps you safe and protects your door. When in doubt, pick up the phone.
Beyond the Springs: What Else to Lubricate

Focusing only on the springs is like tuning just one cylinder in your car’s engine. For a truly smooth, quiet, and long-lasting garage door, you need to service the whole moving assembly. A complete lubrication routine takes only a few extra minutes and prevents wear that leads to costly repairs.
Lubricating the other moving parts each time you service the springs is a non-negotiable habit for preventing premature wear.
1. The Roller Hinges
These are the pivot points where the door sections bend. They take a lot of stress every time the door operates. Dry, squeaky hinges force your opener to work harder.
I reach for a tube of white lithium grease for this job. Brands like Lucas Oil or Permatex make good, affordable options. The thick grease stays put and doesn’t drip. Do not use a penetrating oil like WD-40 here; it’s too thin and will evaporate, leaving the hinge dry again in weeks.
- With the door closed, apply a small dab of grease to the top and bottom pivot point of each hinge.
- Manually lift the door halfway to flex the hinges, then apply grease to the now-exposed center pin.
- Wipe away any excess grease with a rag. You want a thin coating, not a glob that attracts dirt.
2. The Door Track (Very Lightly)
This is where many homeowners go wrong. The steel tracks that guide the rollers are not a major friction point. Over-lubricating them creates a sticky mess that collects dust and grime, which then grinds against your rollers.
A light mist of a dry silicone spray on the inside vertical legs of the track is all you need to reduce minor friction and prevent rust. I keep a can of Blaster’s Dry Lube on my shelf specifically for this. It dries to a slick, non-oily film.
- Spray a small amount onto a clean rag.
- Wipe the rag along the inside vertical surface of both steel tracks where the roller wheels travel.
- Avoid getting any spray on the plastic or nylon rollers, as some lubricants can degrade them.
3. The Opener’s Drive Mechanism
Your opener’s motor does the heavy lifting, but its chain, screw, or belt drive needs attention too. A dry drive is noisy and wears out the motor’s gears. Consult your opener’s manual first, but here’s the general rule:
- For Chain Drives: Use a dedicated garage door opener lubricant or a light machine oil. Apply a few drops directly onto the chain, not the motor or gears. I run the opener for a cycle to distribute the oil.
- For Screw Drives: Use the lubricant specified by the manufacturer, often a special non-detergent grease. Apply a thin coat along the length of the steel screw rod.
- For Belt Drives: Typically, these do not require lubrication. Your service task here is to simply check the belt for tension and wear.
The biggest mistake I see is people spraying general-purpose oil or grease into the opener’s main housing. This can damage internal plastic components and void your warranty.
Your garage door is a system. Using the correct lubricant in the right place-white lithium grease on hinges, dry silicone on tracks, and specified oil on the opener drive-ensures all parts work together smoothly for years.
Garage Door Spring Lubrication FAQ: A Pro’s Straight Talk
Is it necessary to lubricate garage door springs, or can it cause damage?
It is necessary, but only when done correctly. Using the wrong product (like WD-40 or motor oil) will cause damage by attracting abrasive grit or drying out the metal. Using the right lubricant with a light touch is a key preventative maintenance step.
Can lubricating garage door springs prevent them from breaking?
Proper lubrication cannot prevent a spring from eventually failing due to metal fatigue from years of tension cycles. However, it directly prevents premature wear and corrosion caused by friction, which can significantly extend the spring’s service life and delay that eventual break.
What is the difference between lubricating torsion springs and extension springs?
The technique differs due to their design. For a torsion spring (coiled above the door), you target the inside of the coils where they rub together. For extension springs (along the tracks), you lubricate the entire coiled length and the internal safety cable, plus the end pulley.
What are the risks of not lubricating garage door springs?
Unlubricated springs experience increased metal-on-metal friction. This leads to accelerated wear, visible corrosion, loud squeaking and grinding noises, and causes your door opener to strain harder. You’ll face a noisy door and a much earlier spring replacement.
What are the signs that garage door springs need lubrication or maintenance?
Listen for new squeaks or grinding sounds during operation. Visually inspect for a dry, dusty, or lightly rusted surface on the springs. If the door movement seems jerky or labored, lubrication and a full system check should be your immediate next step.
Your Blueprint for Garage Door Spring Care
The single best thing you can do is put your family’s safety first by calling a professional for anything involving torsion springs. Stick to this routine for safe, effective maintenance:
- Use a dedicated white lithium grease spray on extension springs, avoiding WD-40.
- Perform a visual inspection and light lubrication during your seasonal garage clean-outs.
- Listen for new grinding or squeaking sounds as your cue for attention.
- Resist the DIY urge on big, wound-up torsion springs and let a certified technician handle them.
Expert Resources and Citations
- Garage Door Pro SL Spray Grease Lubricant 9oz Can, Use This lube on Springs Rollers Hinges and Locks – Amazon.com
- r/DIY on Reddit: Do both garage door extension springs and torsion springs need to be lubed?
- r/GarageDoorService on Reddit: Spring Lube Recomendation
- Ultimate Garage Door Lubrication Guide: DIY Tips & Best Practices – Express Garage Doors