
How Can You Protect Your Garage from Hurricanes and Install a Storm Shelter?
Worried about hurricane winds tearing into your garage? I’ll give you my shop-tested strategies to strengthen it and build a safe refuge.
We will cover reinforcing your garage door, securing windows and walls, and choosing and installing a storm shelter.
I’ve worked on hundreds of garage projects in storm-prone areas, so this advice comes from direct, hands-on experience.
Perform a Hurricane Vulnerability Check on Your Garage
Start by walking around your garage, inside and out, like you’re looking for trouble. I do this every spring. Check the garage door first. Look for dents, loose hinges, or panels that rattle when you push on them. Then, inspect the walls. Tap on the drywall or sheathing; a hollow sound can mean poor framing or water damage you can’t see. Finally, look at the floor and the area outside. These routine checks are part of inspecting garage structural issues. They help you spot early signs that could affect safety and stability.
Your garage is only as strong as its weakest point, and wind will find it. Poor drainage is a silent invitation for flooding. After a hard rain, I look for puddles that form near the garage entrance or against the foundation. If water sits there, it’s a sign your slope is wrong or gutters are clogged. That’s why a garage floor leveling drainage slope matters, directing water away from the door and preventing puddles. Getting the slope right protects the floor and foundation over time.
Think of a weak garage as a house of cards. One good gust hits the big door, and the whole structure can buckle. A fortified garage is like a sealed box-it can take the pressure and keep everything inside dry and safe. This visual check takes 20 minutes and tells you exactly where to focus your efforts.
Spot the Critical Weak Points: Door, Windows, and Slab
Wind pressure doesn’t push evenly; it seeks the biggest, flattest surface to attack. That’s your garage door. If it fails, wind rushes in and can pressurize your house, lifting the roof right off. I’ve seen it happen. Stand inside with the door closed on a windy day. If you feel air rushing in or see the center of the door flexing, that’s a major red flag.
Windows are the next target. Don’t just look at the glass. Check the frame. Is it wood that’s soft or rotting? Is it aluminum that’s bent? Push on the frame from the inside. If it moves, it won’t hold against flying debris. Even small cracks in the glass compromise the whole unit.
Most folks forget the floor, but a cracked concrete slab is a direct pipeline for floodwater. Get a flashlight and inspect every inch. Hairline cracks can be sealed, but gaps wider than a quarter-inch need serious attention. Water that gets under the slab can erode the foundation and cause major structural issues later.
How to Waterproof and Seal Your Garage Against Flooding
Stopping water is a hands-on job. Here’s my step-by-step method from cleaning out gutters to sealing the floor.
- For floor cracks, use hydraulic cement. I prefer the brand Quikrete for its fast set time. Mix a small batch, wet the crack thoroughly, and pack it in with a putty knife. It expands as it dries, locking out water.
- Seal wall joints and around windows with a high-quality silicone sealant. I use GE Silicone II because it stays flexible for years. Run a continuous bead, then smooth it with a wet finger for a tight seal.
- At the garage entrance, install a temporary flood barrier. A product like the WaterGate barrier is effective, but heavy, filled sandbags work if you layer them like bricks. I keep 10 bags in my garage during storm season.
Your driveway must slope away from the garage at a minimum of 1/4 inch per foot. Use a 4-foot level to check. If water pools at the door, you may need to add asphalt or concrete to rebuild the slope. This one fix prevents most incidental flooding.
Reinforce Your Garage Door Against Hurricane Winds
So, how can you protect your garage door? You have two main choices: brace the door you have or install a new, stronger one. Retrofitting is a solid DIY project for a standard door in good shape. Installing a new impact-resistant door is a bigger investment but offers the best protection. Preventing garage door break-ins is the broader goal here. We’ll cover practical steps to deter intruders in the next section.
I always tell homeowners that reinforcing the garage door is your top priority because a failure here can destroy your home’s structural integrity. I’ve retrofitted dozens of doors, and a proper bracing kit can make a flimsy door withstand winds that would normally buckle it. Compare it to adding a steel skeleton inside a wooden frame. It’s just one of the common issues to fix before storm season hits.
Choosing between retrofit and replacement comes down to your door’s age and your budget. If your door is over 15 years old or has significant damage, bracing is a bandage. A new impact-resistant door is the permanent cure.
Installing a Garage Door Reinforcement Kit
If your door is in decent shape, a bracing kit is a weekend project. I like the kits from Sure-Safe or Door Armor because they include all the heavy-duty steel struts and hardware. Here’s how I do it.
- Disconnect the garage door opener and manually lift the door to the halfway point. Secure it with locking pliers on the track so it can’t move.
- Mark the locations for the vertical braces on the inside of each door panel, aligning with the stiles (the vertical frame pieces).
- Using a high-torque drill like the DeWalt DCD791, pre-drill holes for the lag bolts. A socket set, specifically a 1/2-inch drive, is essential for tightening the bolts without stripping them.
- Bolt the vertical braces first, then add the horizontal cross-bracing if your kit includes it. Tighten all bolts firmly, but don’t over-torque and crack the door material.
After installing any bracing, you must check the door’s balance to prevent straining the opener. Disengage the opener, then manually lift the door to the top. It should stay in place when you let go. If it slides down, the springs need adjustment-a job I leave to professionals due to the high tension danger.
Choosing and Installing an Impact-Resistant Garage Door
When selecting a new door, look beyond just thick steel. Modern impact-resistant doors often use a steel-aluminum composite skin with a polyurethane foam core. This combo resists dents and has great insulation. For windows, insist on reinforced glass like Lexan polycarbonate, not just “tempered.”
Look for doors tested to Miami-Dade County standards-this isn’t just a marketing term. It means the door has been shot with a 9-pound 2×4 at 34 mph to simulate debris impact. I trust brands like Clopay or Amarr that have these certifications. They show the door can handle real storm conditions.
Installation is complex. The springs are under extreme tension and can cause serious injury if handled wrong. I recommend hiring a certified installer. They have the tools, like spring winding bars, and the know-how to set the lift correctly. In my experience, a pro install ensures the door seals tightly and operates safely for years.
Harden Your Garage Walls and Secure All Openings
Your garage walls are the first shield against flying debris. A typical framed wall with just siding and drywall won’t stop much. Understanding garage wall framing construction helps you see where reinforcement will be most effective. The framing layout and stud spacing guide which reinforcements to add. The best way to reinforce existing garage walls is to add structural plywood sheathing from the inside. I use 1/2-inch or 5/8-inch thick exterior-grade plywood, screwed directly into the wall studs.
Think of it like turning your wall into a solid sheet of armor instead of just a fence. It ties all the studs together, making the whole wall much more rigid.
Plywood vs. Insulating Concrete Forms for New Builds
If you’re building a new garage, you have a stronger option. For clients in hurricane zones, I often recommend Insulating Concrete Forms, or ICFs. These are hollow foam blocks you stack, then fill with concrete.
Plywood sheathing is a great retrofit, but an ICF wall is a monolithic concrete wall with built-in insulation. An ICF garage is essentially a bunker, offering superior impact resistance and energy efficiency from day one. The trade-off is cost and complexity it’s a job for specialized pros, not a weekend DIY project.
Bolt Your Walls to the Foundation
A strong wall is useless if it’s not tied down. The bottom horizontal board of your wall, called the sill plate, must be anchored to the concrete foundation. In many older homes, this connection is weak or missing.
Here’s how I fix it. You drill through the wood sill plate and into the concrete foundation beneath. Then, you use an epoxy bolt kit, like those from Simpson Strong-Tie. You inject epoxy into the hole, insert a threaded rod, and let it cure. Tighten a nut and washer down, and that section of wall is now permanently anchored. This work is critical, as it prevents the entire wall from lifting off the foundation in extreme winds.
Installing Protection for Garage Windows
Yes, you absolutely should protect your garage windows. Broken windows pressurize your garage and can cause the roof to lift. I treat garage windows the same as house windows.
You have three main choices. Permanent accordion or roll-down shutters are the most convenient but also the most expensive. Polycarbonate panels are clear, impact-resistant, and reusable, but they can be pricey and require a storage spot.
For most homeowners, DIY plywood covers are the most cost-effective and reliable solution. They’re not pretty, but they work.
Making and Anchoring Plywood Covers
Here’s my shop-tested method. Use 5/8-inch exterior-grade plywood.
- Measure the outside of your window trim, then add 8 inches to both the height and width. This gives you a 4-inch overlap on all sides.
- Cut the plywood to size. Sand the edges so they don’t splinter.
- Mark and pre-drill holes for your anchors. I place a hole about 2 inches in from each corner and one in the middle of each long side.
- For anchoring, I’ve had the best luck with threaded anchors, like a 3/16-inch x 2-1/4 inch Tapcon. They bite directly into the brick or concrete around your window.
- When a storm approaches, hold the cover in place and use a cordless impact driver to drive the Tapcon screws through the plywood and into the wall. Drill them in tight; the cover should feel solid and immovable.
Execute a Pre-Storm Garage Lockdown
A hardened garage shell is only half the battle. Everything inside can become a dangerous missile. Your goal is to secure or remove anything that wind can pick up.
Start by assuming anything not nailed down will fly, and secure it accordingly. Take your lawn mower, wheelbarrow, or pressure washer and use heavy-duty ratchet straps to tie them to sturdy wall studs or an anchored workbench. For tall, heavy shelving units, use a concrete anchor and a metal bracket to secure the top of the unit to the wall. Don’t rely on the drywall anchors it came with.
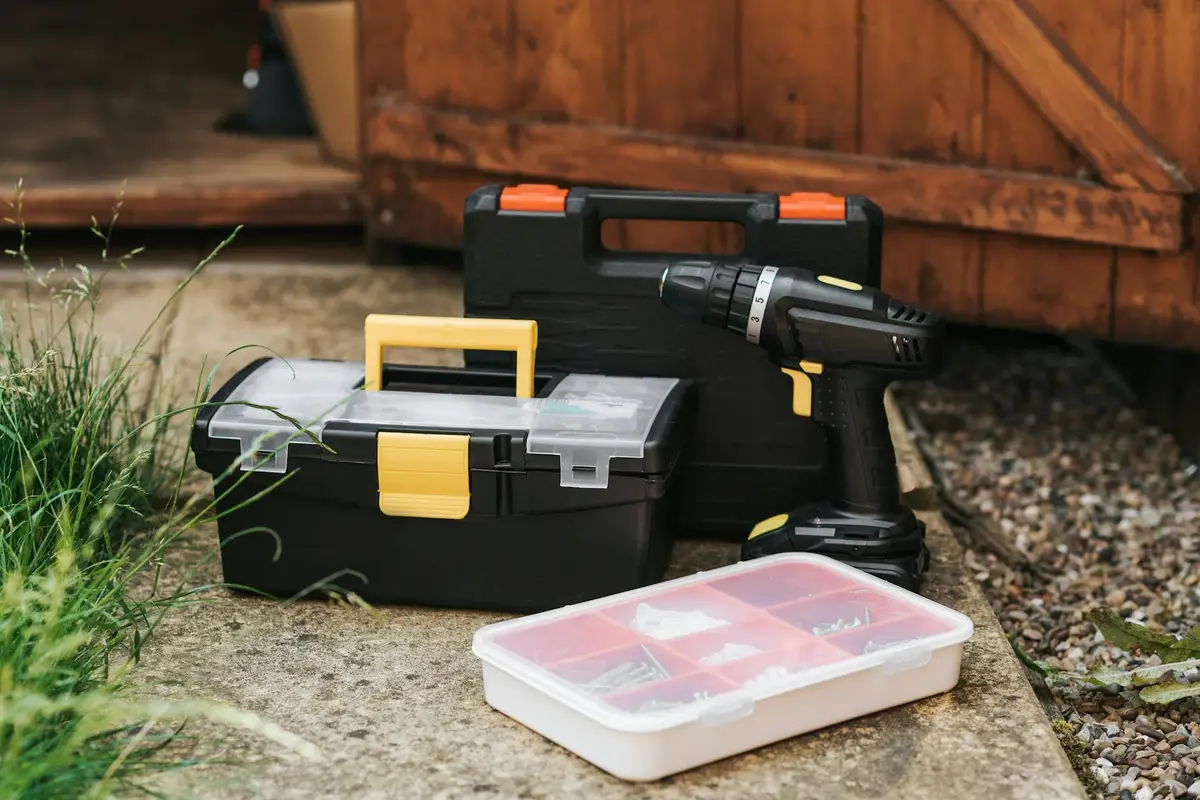
Bicycles and ladders should come off hooks and be laid flat on the floor, strapped together or to a fixed object. Loose tools go into heavy-duty toolboxes or cabinets that are themselves secured. Organize garage tools and equipment properly to ensure safety.
The Last Resort: Bracing the Garage Door
A failing garage door is a common point of entry for storm winds. If you don’t have an impact-rated door, you may need to brace it from the inside as a last-ditch effort.
- Pull the red emergency release cord to disengage the door from the automatic opener.
- Manually lower the door completely.
- Take solid 2×4 lumber and cut it to length so it fits snugly, vertical and straight up, from the floor to the back of the horizontal door section. You’ll need one for each door panel.
- Kick the bottom of the 2×4 to wedge it tightly in place. The pressure should hold it. This prevents the door from bowing inward under pressure. This is a temporary, emergency measure, not a replacement for a proper wind-rated door.
The Gearhead’s Pre-Storm Security Checklist
This is the kit I keep ready in my own garage during storm season. Having it organized saves precious time.
- Ratchet Straps: Get more than you think you need. I prefer the 2-inch wide, 1,500-lb capacity straps from Erickson. The wider strap distributes force better and is less likely to damage what you’re tying down.
- Concrete Anchors: A box of 3/16-inch x 2-1/4 inch Tapcon screws for securing plywood and brackets. Their blue coating resists corrosion.
- Cordless Impact Driver: My Milwaukee M18 Fuel gets the job done fast. Make sure your batteries are charged.
- Heavy-Duty Moving Blankets: Use these to wrap and pad items before strapping them. They protect finishes and keep items from shifting.
- Hazardous Materials: This is a safety must. Seal gas cans tightly and store them away from anything that could spark. Take open cans of paint, stain, or solvents and place them inside a sealed plastic bin. The goal is to contain any spills if the garage is breached.
Plan and Install a Garage-Based Storm Shelter
The best location for your storm shelter is the one you can get to fastest. I look for a spot inside the garage that is clear of the vehicle parking area and main work zones. A back corner, often near the service door, is usually ideal. You need a clear path and enough space for the shelter’s door to open fully without hitting your lawnmower or shelves.
For garage installations, I find above-ground steel safe rooms are the most suitable. An in-ground shelter is a major excavation project in a finished space, and converting a closet rarely meets the required impact standards for a true life-safety shelter.
You have three main choices, each with trade-offs.
In-ground concrete pods are incredibly strong but require breaking your garage floor, extensive waterproofing, and professional installation, which adds thousands to the cost. I’ve seen poorly sealed ones turn into cisterns after heavy rains.
Above-ground bolt-together steel safe rooms, like those from Survive-A-Storm or Atlas Shelter, are what I typically recommend for garage use. They sit on your existing slab. I’ve helped install a few. The kit from Survive-A-Storm went together well, though their instructions could be clearer. The steel is thick and the door mechanism feels solid.
Converting an interior closet is the most budget-friendly but offers the least protection. You’re reinforcing existing walls, not installing a tested, engineered system. It’s better than a hallway, but I don’t consider it a true storm shelter for a direct hit.
Navigating Building Codes and Permits for Your Shelter
You will need a building permit for a storm shelter. It’s not optional. Your local building department needs to see plans and inspect the installation. Call them first. I’ve learned the hard way that assuming you know the rules leads to costly rework.
The shelter itself must be designed to meet a recognized standard, either FEMA P-320 or ICC 500. Any reputable manufacturer will state this compliance clearly. Don’t buy a “shelter” that doesn’t. When you submit for a permit, the product’s engineering certification is your key evidence.
For below-ground units, proper venting and waterproofing are the two things inspectors scrutinize the most. Vents must be baffled to prevent wind-driven water entry. Waterproofing isn’t just tar on the outside; it requires a dedicated drainage mat and a sump pump system. I saw a DIY pour where the homeowner just used a brush-on membrane. It failed in the first season.
Step-by-Step: Installing a Bolt-Together Steel Safe Room
Installing a steel safe room is a two-person job. Here’s the process I follow with a helper.
- Lay out all panels, bolts, and the door assembly on the garage floor. Check everything against the packing list.
- Position the floor frame. Use a concrete hammer drill, like my DeWalt DCH273B, to drill anchor holes into the slab. The kit specifies the bolt size and pattern.
- Bolt the floor frame down. This is where a torque wrench is non-negotiable. Under-tightened bolts compromise the structure. I use a Tekton 1/2-inch drive click-type wrench set to the manufacturer’s specification.
- Stand the wall panels up and bolt them to the floor frame and to each other. Your helper holds the panel plumb while you start the bolts.
- Install the ceiling panel. This is the heaviest lift. We used a small engine hoist, but strong arms and a step ladder can work.
- Install the door last, adjusting the hinges for a smooth, tight seal.
My biggest lesson: dry-run the door swing before you finalize the shelter’s position. I once installed a unit only to find the door handle caught on a shelf bracket when opened 90 degrees. We had to loosen everything and shift the shelter six inches. Knowing garage door cost prices helps you budget for reinforcement and storm-ready upgrades. In the next steps, we’ll break down those price ranges so you can compare options easily.
Hurricane Garage Protection & Shelter FAQ
How do I maintain my garage door after installing a reinforcement kit?
Twice a year, use a torque wrench to check all kit bolts for tightness. Lubricate the door’s rollers and hinges with a silicone-based spray to prevent corrosion and ensure smooth operation, which is critical for maintaining its storm-ready integrity.
I have an older garage. Is it better to reinforce the walls with plywood or consider ICF?
For existing structures, adding interior plywood sheathing is the practical retrofit. ICF is for new construction only. Focus on bolting your current wall’s sill plate to the foundation first; this is a non-negotiable step for any age garage.
Should I install permanent hurricane shutters or use temporary plywood covers on my garage windows?
Permanent shutters offer convenience but at a higher cost. For most, DIY plywood covers are the effective, budget-friendly choice. Ensure you pre-drill and use concrete anchors (like Tapcons) for a secure fit, storing the panels where they’re accessible when needed.
How can I fit a safe room into my garage without losing all my storage space?
Plan for a corner location, like near the service door, to minimize disruption. Choose a bolt-together steel unit that sits on your slab-it requires less permanent space alteration. Always do a dry-run of the door swing before final positioning to avoid conflicts with stored items.
What is the most common mistake people make when applying for a storm shelter permit?
Failing to verify the product’s compliance with FEMA P-320 or ICC 500 standards first. Have the manufacturer’s certification in hand before you call the building department. Also, never assume your planned location is approved; get their sign-off on the spot to avoid rework.
Securing Your Garage for the Long Haul
The most critical step is installing a properly anchored, code-compliant storm shelter; it’s your family’s safest retreat when a hurricane strikes.
- Always brace your garage door with a tested reinforcement system-I rely on steel kits from brands like Clopay for their proven track record.
- Secure every item on your slatwall or shelves using heavy-duty straps; unanchored tools become dangerous projectiles in high winds.
- Follow the shelter manufacturer’s manual to the letter, torquing all foundation bolts with a calibrated wrench for a leak-proof seal.
- Keep a basic emergency kit inside the shelter, including water, a crank flashlight, and a first-aid kit, and practice your family’s drill twice a year.