
How Do You Install Plumbing and Add a Bathroom to Your Garage?
Adding water lines or a bathroom to your garage might seem daunting, but it’s a project I’ve helped many homeowners complete. I’ll break down the steps so you can tackle it with confidence.
We will cover planning your layout with accurate measurements, running PEX or copper water lines from your main house supply, installing drain and vent pipes for a toilet or sink, and navigating local building codes for permits.
As a garage care professional with over ten years of hands-on renovation work, I’ve installed these systems myself using specific tools like a ProPress for copper and a cinch tool for PEX.
Can You Put a Bathroom or Toilet in a Garage?
The short answer is yes, you absolutely can. The long answer is that this is one of the more serious plumbing projects a homeowner can tackle. I’ve helped clients plumb garage workshops and add utility sinks, and while it’s rewarding, it’s never as simple as just running a hose from the house.
The single biggest hurdle is getting a connection to the main sewer line. Everything else-the water supply lines, the fixtures-revolves around this central drain pipe. You are creating a new branch on your home’s waste system, and it must be done correctly to avoid backups and health hazards.
Adding just a utility sink is a different beast than installing a full bathroom. A sink needs a cold water line, a hot water line (if you want hot water), a drain, and a vent. A toilet adds the complexity of a much larger 3-inch or 4-inch drain pipe and a specific wax seal installation. A shower or bathtub requires a dedicated p-trap and often a shower pan liner, which is a project in itself.
Your garage’s foundation changes the game completely. If you have a crawl space, running new pipes is physically easier because you have access underneath. You can often tie into existing lines under the house. On a concrete slab, you’re looking at cutting and breaking the floor to trench for pipes, then patching it all back with new concrete. I’ve done both, and the slab job easily triples the labor and material cost for the drainage portion. If you’re considering adding drainage, make sure to check out how to install a proper garage floor drainage system.
The Reality Check: Permits, Drains, and Rough-Ins
Let’s be clear: adding plumbing fixtures is almost never a permit-free job. Your local building department needs to see your plans and inspect the work. Skipping the permit might seem easier now, but it can cause massive headaches when you sell your home or if a faulty install causes damage. I always pull permits for this work; it’s the only way to be sure it’s right.
You cannot skip the plumbing vent. Think of it like the little hole in the top of a gas can-it lets air in so liquid can flow out smoothly. Without a vent, drain water can siphon the water out of the p-trap under your sink, letting nasty sewer gases into your garage. The vent pipe runs up through your wall and out the roof.
This brings us to the DWV system: Drain-Waste-Vent. It’s one interconnected system. The drain carries waste, the vent lets in air, and together they move everything out without gurgles or smells. For a garage bathroom, you’re building a mini DWV branch that ties into the home’s main stack.
Drain pipes must slope, or have “fall,” consistently to keep things moving. The standard is a quarter-inch of drop for every foot of pipe run. Too little slope and waste sits; too much and water races away, leaving solids behind. I use a 2-foot torpedo level with grade marks for this, checking every section as I glue it.
If your garage floor is lower than the main sewer line where it exits your house, gravity won’t work for drainage. You’ll need a sewage ejector pump or a backwater valve, which is a specialized, messy piece of equipment that requires its own sealed pit in the floor. This is a major complication and a sign you should strongly consider hiring a pro. Even proper garage floor leveling for drainage slope won’t help in this situation.
DIY Difficulty & Time Estimate
On a scale of 1 to 10, installing a full garage bathroom is a solid 8 for a highly skilled DIYer. Running a basic cold water line and drain for a single utility sink is more like a 6. The difference is in the complexity of the DWV system and the number of fixtures.
For a sink-only project, expect 2-3 full days of active labor if you’re working alone and know what you’re doing. This includes trenching (if on a slab), running PVC, soldering copper or installing PEX lines, and making the connections. A full bathroom with a toilet can easily take a week of labor.
That’s just the active work. You must factor in waiting time. You’ll need inspections after the “rough-in” (the pipes in the walls/floor) and before you close up walls. If you pour new concrete, it needs days to cure properly. Schedule your inspections early, as inspectors can be booked out.
I strongly recommend a helper for this job, even for just a sink. Handling 10-foot lengths of PVC pipe for drains or maneuvering a water heater into place is a two-person task. Having someone to hold a level or double-check your measurements is invaluable and safer.
Installing Basic Garage Water Lines
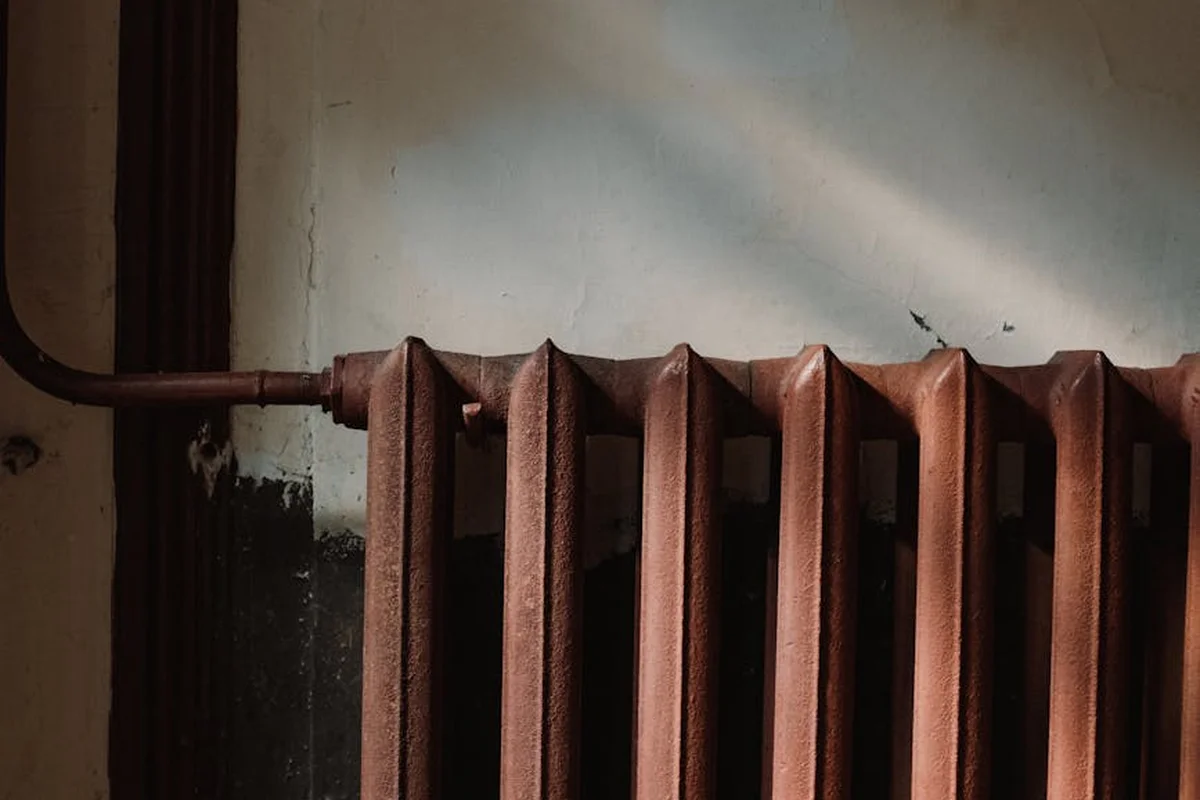
Most garage plumbing projects start with a simple goal: a utility sink for washing up or a sturdy exterior hose bib for cleaning cars and tools. You need to connect to your house’s existing water supply.
The first, non-negotiable step is to locate your main water line and the point where you can tie into it. Look for where the line enters your home, usually in a basement, crawlspace, or utility room. I find it easiest to branch off a cold water line that’s already accessible, like one feeding a nearby laundry sink.
You have a choice of pipe materials. I stopped using rigid CPVC years ago. It’s brittle, requires messy glue, and the joints can fail. My shop runs on PEX tubing. It’s flexible, resistant to freezing bursts, and connections are incredibly secure. For pro-level results, I use a Milwaukee M12 expansion tool with Uponor PEX-A tubing. The tool expands the pipe and fitting, which then contracts to form a perfect seal. It’s faster and more reliable than the clamp or crimp rings used with other PEX types.
Running the lines takes planning. You’ll need to drill holes through wall plates and floor joists to thread the pipe from your connection point to the garage. Always use a drill bit at least 1/2-inch larger than the pipe diameter and install protective plastic or metal sleeves. This prevents the pipe from rubbing against the wood and creating noise or wear. If this is for a garage gas line install, check local codes and permit requirements. Consider hiring a licensed professional for a safe, code-compliant installation and inspection.
Here is the most critical piece of advice I can give you from my years of service calls. Every new water line you run must have its own dedicated, accessible shut-off valve where it begins (this is a great way to prevent water damage in your garage). If that garage sink ever leaks, you can turn it off right at the source without shutting down your entire home’s water. I install a simple quarter-turn ball valve on every branch line.
Step-by-Step: Running a Cold Water Line to a Garage Sink
Let’s get your hands dirty with a specific project: running a line for a basic utility sink.
Step 1: Shut Off and Drain. Turn off the main water valve to your house. Open the lowest faucet in your home (like an outdoor spigot) and a faucet on an upper floor to drain the pressure from the lines.
Step 2: Make the Connection. At your chosen cold water line, cut out a small section with a tubing cutter. Install a tee fitting using your PEX method (expansion, crimp, or clamp). This tee is where your new garage line begins. Make sure to properly seal the connections to prevent any water infiltration that could cause flooding in your garage.
Step 3: Run the Pipe. Map your route from the tee to the garage sink location. Drill your oversized holes through framing members. Feed the PEX tube through, keeping it smooth and avoiding sharp bends. Where it passes through concrete or block, always use a protective sleeve.
Step 4: Install the Sink Valve. At the sink location, mount a frost-proof sillcock or a simple angle stop valve on the wall. Connect your PEX line to the valve. Then, connect a standard faucet supply line from the valve to the sink faucet.
Step 5: Test Before You Close Up. Turn the main water back on. Open your new garage sink valve and check every connection for drips. Let the water run for a minute to clear the line. I leave it pressurized for at least 24 hours with the wall open to be absolutely sure there are no leaks. Only then do I patch the drywall or close up the access panel.
How to Install a Toilet or Full Bathroom in Your Garage
Adding a toilet or full bathroom is a major upgrade that transforms your garage’s utility. The water supply is the easy part-you just run hot and cold lines as described above. The real challenge is the drain, especially when planning garage conversions for living spaces.
You must connect your new toilet and sink drains to your home’s main sewer or septic line. This almost always means cutting into your garage’s concrete floor slab. Renting a concrete saw with a diamond blade is the only practical way to make this cut. You’ll also need a jackhammer or a heavy demolition hammer to break up the slab once it’s cut. Wear a respirator, hearing protection, and safety glasses. This is a dusty, loud job.
After you excavate the dirt beneath the slab, you can see where to tie in the new drain pipe. A toilet requires a 3-inch or 4-inch diameter pipe. You’ll need to install a closet flange, which is the fitting that bolts the toilet to the floor and connects it to the drain. Getting this flange height correct is vital-it must sit flush with the top of the finished floor.
All new underground pipe must be supported correctly. I bed the pipes in a few inches of compacted gravel. This prevents them from sagging when the concrete is poured back. I also make sure the pipes have a consistent, slight slope (about 1/4-inch per foot) back toward the main drain to ensure proper flow.
Once the drain and vent pipes are glued, tested, and supported, you can frame any new walls for privacy. In a garage bathroom, I always use moisture-resistant drywall (often called green board or blue board) on the walls. It holds up much better to humidity than standard drywall. After the concrete patch cures, you can set the toilet, install the sink, and hook up the water lines.
Adding a Garage Water Heater: What You Need to Know
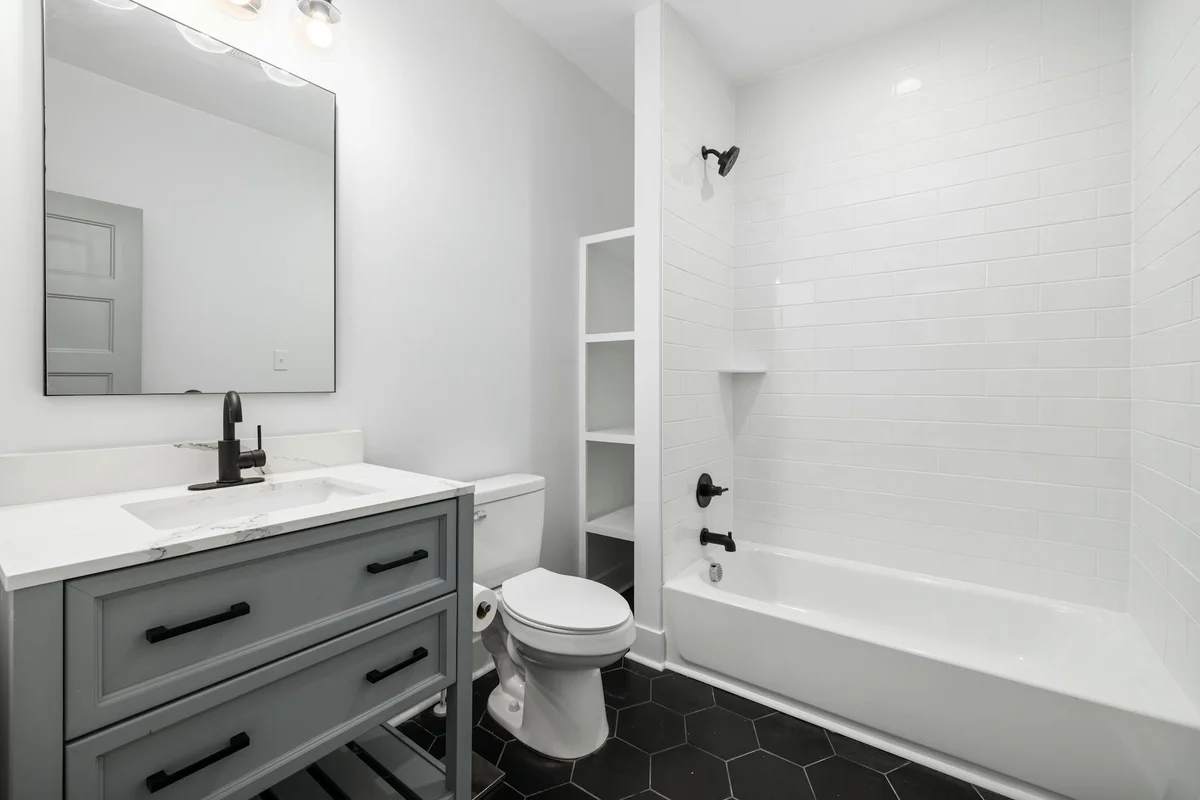
You only need a water heater if you’re installing a fixture that requires hot water. A simple hose bib or a slop sink for rinsing parts doesn’t need it. The two main reasons are a full bathroom or a dedicated shop sink where you’ll be washing hands with soap. For just a shop sink, a small point-of-use electric heater mounted under the cabinet is often perfect. I’ve installed several Eemax and Stiebel Eltron models. They heat water as it flows, so you don’t wait for a tank to fill, and they free up floor space.
If you need hot water for multiple fixtures or a high-demand shower, a larger tankless unit is the way to go. The big difference is that most high-output tankless heaters require a gas line, and that instantly changes the project’s complexity. Running a new gas line involves permits, precise pressure testing, and often drilling through structural framing. This is not a weekend DIY project. I always hire a licensed pro for gas work; the risk of a leak is not worth the savings.
For a traditional tank heater, the installation is more straightforward but has critical safety parts. You must install an expansion tank on the cold water line to handle pressure from heating water. A temperature and pressure relief valve with a drain tube running to the floor is non-negotiable. If the tank is in a living space or on a second floor, a drain pan piped to a drain is required by code. Missing any of these can lead to a flooded garage or worse, especially when compared to the installation of other heating systems.
My take on location is to keep it accessible but out of the way. I like mounting a small point-of-use heater directly under the sink cabinet. For a tank unit, tuck it into a corner where you won’t bump it with your car door. Leave at least 24 inches of clearance in front for servicing. Never bury it behind shelves or storage; you will need to get to the valves and the anode rod later.
Gearhead’s Plumbing Checklist
Having the right tools makes this job safe and clean. Here’s what I keep on my truck for every garage plumbing install.
PEX Tubing & Expansion Tool
I use PEX-A tubing almost exclusively for garage water lines. It’s flexible, freeze-resistant, and the expansion connection method is incredibly reliable. My go-to brand is Uponor ProPEX, and I use their manual expansion tool because it’s bulletproof for the volume of work I do. The Milwaukee M12 expansion tool is fantastic for a lot of connections, but for a one-time garage project, a manual tool is more cost-effective. I’ve tried cheaper knockoff expansion heads, and they often don’t hold the ring shape correctly, leading to leaks. It’s just one of those essential garage repair tools.
Pipe Cutter
You need two types. For PEX and CPVC, a simple rotary pipe cutter gives you a clean, square cut every time. I use the Ridgid model. For the large 3-inch or 4-inch PVC drain pipe, you need a full-size plastic pipe cutter or a fine-tooth handsaw. A small cutter will bind and crack the big pipe.
Concrete Saw & Jackhammer
To run a drain line, you’ll likely need to cut and remove a trench in your slab. For a one-time job, renting is the only smart move. I rent a 14-inch gas-powered concrete saw with a diamond blade and a 60-pound electric demolition hammer. Buying these tools would cost thousands for a single use. Mark your trench lines clearly with chalk, cut about 1.5 inches deep, then use the jackhammer to break up the concrete in the middle.
Torpedo Level & String Line
Drain pipes must slope. The standard is 1/4 inch of drop for every foot of pipe run. A 9-inch torpedo level with grade vials is perfect for checking this on shorter runs. For a long trench, I tie a string line between two stakes at the correct slope and use it as my guide for the entire pipe run. Getting the slope wrong means constant clogs.
Pressure Test Gauge
This is your insurance policy. After you solder or crimp all your water lines, you need to pressure test the system before you bury pipes in a wall or pour concrete. I screw a simple 0-200 PSI gauge into a hose bib or laundry box valve. Pump the system up to about 80 PSI and watch the gauge for an hour. If the needle drops, you have a leak. Do not skip this step.
Safety Gear
Concrete dust is a serious health hazard. A quality respirator with P100 filters, sealed safety goggles, and heavy leather gloves are mandatory when cutting concrete. I use a 3M 7500 series respirator. Regular dust masks are useless for silica dust. Also, wear hearing protection with the concrete saw and jackhammer. This gear isn’t optional; it protects you for the long term.
When NOT to Run Garage Plumbing Yourself
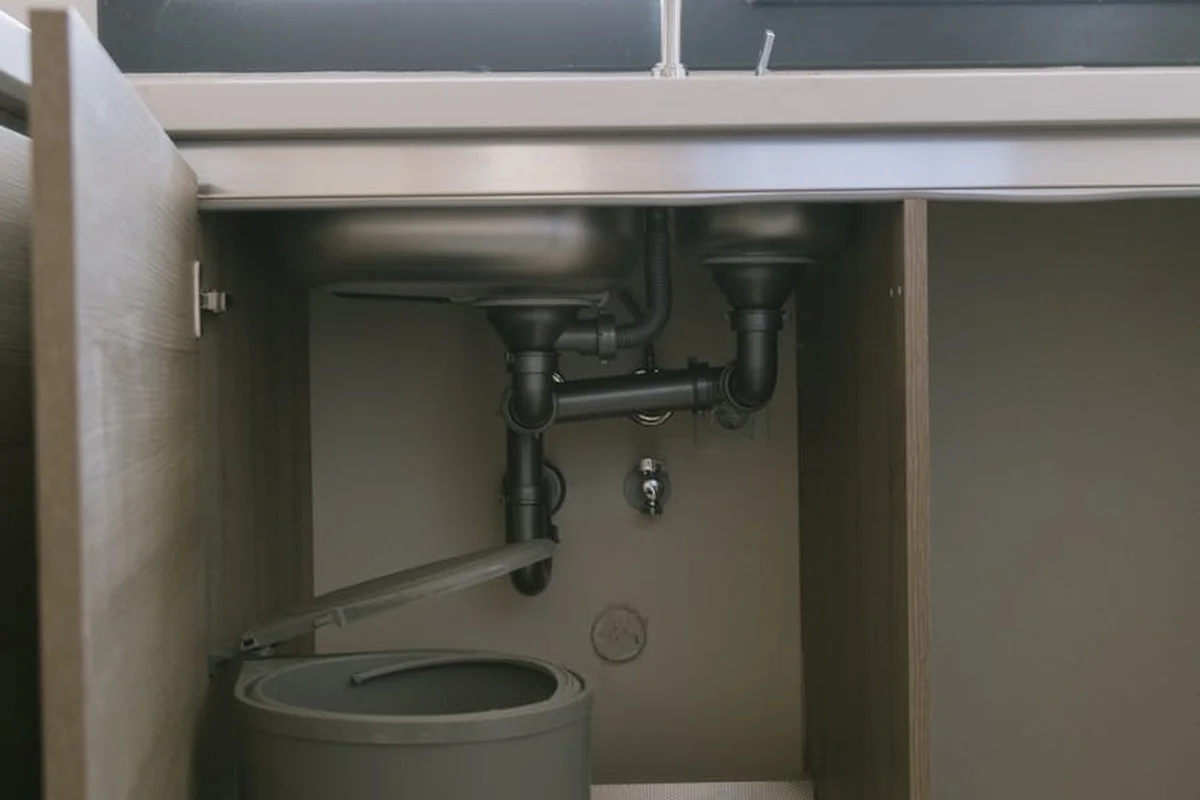
I’ve tackled a lot of garage projects, and I know the appeal of saving money. But with plumbing, knowing your limits isn’t a sign of weakness, it’s smart planning. Calling a licensed plumber for certain situations isn’t a failure, it’s an investment in doing the job right and protecting your home.
If Your Main Sewer Line is Deep or Inaccessible
Connecting to the main house drain is the goal, but finding it can be a major project. If your sewer line exits your home deep underground or runs under a finished patio or driveway, you’re in for serious excavation. Trenching several feet down requires heavy machinery like a mini-excavator, shoring to prevent cave-ins, and precise knowledge of local utility locations. One wrong scoop with a backhoe can sever your gas, water, or electrical service. A pro has the equipment and the “Call Before You Dig” contacts to navigate this safely. In my own shop, I rented a DWV camera from Home Depot to scope my line and found it was a clean, shallow run-that’s the only reason I felt confident connecting my garage sink myself.
When Dealing With a Post-Tension Concrete Slab
This is the single biggest red flag. A post-tension slab has high-strength steel cables running through it that are tensioned after the concrete pours. They are under immense force. Cutting or drilling into one of these slabs can cause a cable to snap violently, potentially causing concrete to explode upwards. It’s incredibly dangerous. You cannot tell if a slab is post-tension just by looking at it. You must check your original home construction plans. If you have any doubt, or if your home was built after the 1970s in an area with expansive soil, assume it is post-tension and hire a structural engineer and a specialized plumber. This is an absolute dealbreaker for DIY.
If You’re Not Comfortable With the Permit Process
Permits aren’t just red tape, they’re a safety net. A plumbing inspector ensures your work won’t poison your family with sewer gas or flood your foundation. Navigating the permit office, scheduling inspections at the right stage of work, and correcting any failures can be a time-consuming headache if you’re not familiar with the system. I’ve had jobs fail inspection for a simple issue like a missing pipe strap. A licensed plumber handles all of this. They know the local code amendments, and their license is on the line, so the work will be done to standard. Skipping permits can also void your home insurance and cause huge problems when you sell your house.
When the Project Requires a New Electrical Panel
Adding a hot water source, like a small tankless heater or even a standard tank for a bathroom, adds a significant electrical load. Many older garage sub-panels or house main panels are already at capacity. Installing a 240-volt circuit for an electric water heater is not a simple plug-in job. It often requires a service upgrade by a licensed electrician. I learned this the hard way years ago trying to add a heater to my workshop, only to have my electrician tell me my entire panel needed to be replaced first. It turned a weekend project into a multi-thousand dollar, multi-trade endeavor.
If You Have Any Doubt About Properly Venting Fixtures
Venting is the most misunderstood part of DIY plumbing. Every drain needs a vent pipe that connects back to the main stack to allow sewer gases to escape through your roof and to let water drain smoothly. An improperly vented fixture will drain slowly, gurgle, and can siphon the water out of nearby P-traps, letting dangerous sewer gas into your garage. If you can’t logically trace how a new toilet or sink will tie into an existing vent, stop. There are code-approved solutions like Air Admittance Valves (AAVs), but their placement is very specific. A plumber can map this out in minutes based on experience. It’s not worth the risk of having your garage smell like a septic tank.
Garage Plumbing & Bathroom Additions: Your Quick Questions, Answered
I just want a simple sink for my garage workshop. What’s the most reliable way to get water out there?
Run a dedicated 1/2-inch PEX line from your home’s main cold water supply. Install a frost-proof sillcock or an accessible shut-off valve at the sink location. Always pressure test the line for 24 hours before closing up walls to confirm there are no leaks.
Is adding a half-bath (toilet and sink) less work than a full bathroom in a garage?
Yes, significantly. A half-bath eliminates the complex drain and waterproofing required for a shower. However, the major work-cutting concrete for the toilet drain and running a vent stack through the roof-is the same. It’s still a major plumbing project.
My garage is on a concrete slab. Does this automatically mean I need to break up the floor?
For any fixture with a drain (sink, toilet, shower), yes. The drainpipe must slope underground to the main sewer line, which requires trenching. The only exception is if you use a macerating (upflush) toilet system, which pumps waste through a smaller, above-floor pipe.
What’s the one maintenance check I should do yearly on my new garage plumbing?
If you have any exposed pipes or valves, perform a visual and manual inspection. Look for condensation, minor drips, or corrosion. Exercise all shut-off valves by turning them off and on once to prevent them from seizing. This five-minute check can prevent major issues.
I’m worried about pipes freezing. What’s the best proactive measure?
Insulate all water lines in unheated spaces with foam pipe sleeves. For critical lines, install automatic heat tape before insulating. The most foolproof solution is to install a dedicated shut-off valve in a heated space so you can completely drain the garage lines in winter if needed.
When during the project is the plumbing inspector involved?
You’ll need two key inspections. First, the “rough-in” inspection after all drain, waste, vent, and water supply pipes are installed but before they are covered by walls or concrete. The final inspection happens after all fixtures (toilet, sink) are set and operational. Do not close up walls before the rough-in passes.
Finishing Your Garage Plumbing Project Right
My top advice after years of this work is to never rush the planning and testing phases-taking shortcuts here is how small projects turn into big, wet problems. Keep these core lessons in mind:
- Always verify local code for pipe materials and venting requirements before you buy a single fitting; I’ve had to redo jobs where homeowners used the wrong type of PVC.
- Use a dedicated tubing cutter-I trust the Ridgid brand for copper and a simple go/no-go gauge for PEX crimps-to get clean cuts that seal properly on the first try.
- Test every new line under full pressure for a full day before closing up a wall; a slow leak behind drywall can cause massive damage before you ever see it.
- Adding a toilet or sink means installing a proper vent stack, which often requires opening a wall to the main house drain-if that feels beyond your skill, hiring a pro is the safe and smart choice.