
How Can You Soundproof Your Garage Conversion Properly?
Is noise from your garage conversion making it feel less like a room and more like an echo chamber? I’ve fixed this issue in dozens of homes, and I’ll help you get the quiet you need.
We will cover the most effective sound-blocking materials, practical installation techniques you can do yourself, and smart ways to save money.
I’ve personally installed soundproofing in over fifty garage spaces, learning which products hold up and which tricks actually work.
Core Soundproofing Materials: What You Really Need to Buy
Soundproofing uses two main ideas: mass to block noise and absorption to soak up echo. You don’t need every product on the shelf. Focus on these core items. For a garage music studio, tailor these ideas to cut down drum bleed and street noise. We’ll dive into garage-specific soundproofing options next.
- For Mass: Mass Loaded Vinyl (MLV) or additional layers of drywall.
- For Absorption: Dense insulation like mineral wool or fiberglass batts.
- For Sealing: Acoustic sealant, not standard painter’s caulk.
- For Decoupling: Resilient channel or sound isolation clips.
Mass Loaded Vinyl (MLV) is a heavy, limp sheet that acts like a weighted blanket for your walls. A 1 lb per sq ft roll is standard. I’ve used brands like Soundsulate and it is manageable alone, but awkward. It feels like cutting thick, heavy tar paper. Compared to a second layer of standard 1/2″ drywall, MLV adds more mass in less space, which is great for garages where you don’t want to lose inches. The drywall is cheaper, but much heavier and more labor-intensive to hang.
Acoustic sealant is your secret weapon. I buy Green Glue sealant. It stays permanently soft and sticky, like a dense putty. Standard caulk dries hard and cracks, creating new sound leaks. The acoustic type stays flexible, sealing gaps as the building settles. It costs more per tube, but one tube goes a long way and it’s absolutely worth it.
For insulation, you want dense, unfaced batts that fit snugly in the cavities. We’ll get into the fiberglass vs. mineral wool debate later, but for now, know that fluffy insulation is for thermal use. Sound needs density.
Here are the tools I always have on hand for this job:
- A sharp utility knife with plenty of blades (for MLV and insulation).
- A heavy-duty staple gun (I use an Arrow T50).
- A reliable caulk gun.
- Safety glasses and a good dust mask.
- A sturdy ladder.
Methods for Walls and Ceilings: Building Your Sound Barrier
Follow this order for the best results: Seal every gap first. Then, add mass to your walls and ceiling. After that, decouple the drywall from the framing. Finally, fill the cavities with absorbent insulation. Skip a step, and you’ll hear the difference.
Sealing Every Gap and Crack
Sound leaks through gaps like water. Your first job is a methodical inspection. Put on a headlamp and look closely.
- Run a bead of acoustic sealant along the top and bottom wall plates, where the drywall meets the floor and ceiling.
- Seal all around every electrical box, outlet, and light fixture. My technique is to slightly overfill the gap between the box and the drywall, then smooth it with a finger.
- Check for plumbing vents or wiring penetrations from the house. Seal these with sealant or specialized putty pads.
This step is boring, but it’s the cheapest and most effective sound improvement you can make.
Adding Mass with Drywall and MLV
If your existing garage has one layer of drywall, adding a second is very effective. Use 5/8″ fire-code drywall for more mass. For garage drywall installation, doubling up on layers improves fire resistance and reduces sound leakage. It’s back-breaking work, but cost-effective. Specialty soundproof drywall, like QuietRock, works better but costs 4-5 times more. I used it on a shared wall with a home theater. It’s incredibly heavy and requires special screws, but the performance is noticeable.
Installing MLV is a good middle-ground. Here’s how I do it:
- Roll out the MLV on the floor and cut it to rough size with a utility knife. Wear gloves-the vinyl edges can be sharp.
- Lift a section and staple it directly to the studs, starting at the top. Overlap seams by at least 2 inches.
- Staple every 6-8 inches along the studs. Don’t pull it drum-tight; let it hang slightly limp.
- Once the MLV is up, hang your final layer of drywall right over it with standard drywall screws.
The MLV dampens vibrations, turning your wall into a solid, sound-blocking barrier.
Decoupling with Resilient Channel
Decoupling breaks the physical connection for sound. Think of it like shock absorbers for noise. Resilient channel is a thin, Z-shaped metal strip you screw to the studs. Your drywall then screws only into the channel, not into the stud itself.
The install is simple, but one mistake ruins it. Here are the steps:
- Mark your studs. Screw the channel perpendicular to the studs, 24 inches on center. Use the screws specified by the manufacturer.
- On ceilings, attach the channel perpendicular to the joists.
- When hanging your drywall, you must screw only into the channel’s flange. If your drywall screw accidentally hits the wood stud behind the channel, you’ve created a “short circuit” for sound to travel. I check every screw by feeling for resistance. Hitting wood feels solid; screwing into just the metal channel has a different give.
This system creates a floating wall that absorbs sound energy instead of transmitting it.
Taming the Biggest Culprit: How to Soundproof a Garage Door
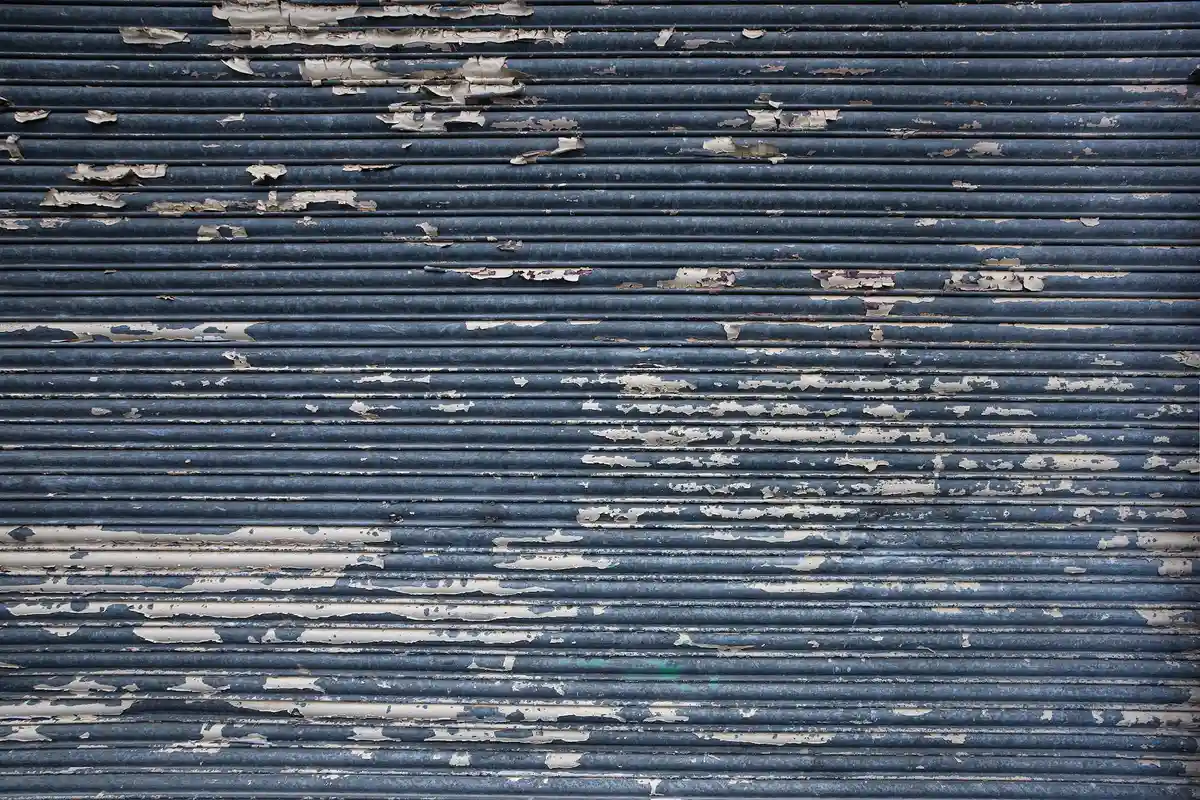
Let’s be direct. Your garage door is a giant, thin panel full of gaps. It’s the weakest link for sound. You can make it much better, but you won’t make it as quiet as a solid wall. Managing that expectation from the start saves frustration. One practical upgrade is a soundproof garage door. It targets the main noise leaks without adding complexity to daily use.
Upgrading Seals and Thresholds
Sound leaks through cracks like water. Your first job is to plug them. Start by inspecting your existing rubber seals along the top and sides, and the threshold seal on the floor. Look for cracks, brittleness, or sections that don’t spring back.
Replace them with heavy-duty bulb-style seals, which create a tighter compression seal than the standard flat kind. For the top and sides, measure the channel on your door and buy the correct bulb seal size. I’ve had good results with brands like Clopay or Genie. For the bottom, a new vinyl threshold seal with a flexible flap makes a big difference against road noise. It’s a simple afternoon project with a flathead screwdriver and a utility knife.
Adding Mass to the Door Interior
After sealing, you add mass to block sound. The DIY method is to fill the door’s interior panels. I use 1-inch or 1.5-inch thick rigid foam insulation boards, like Owens Corning Foamular. Cut them to fit snugly inside each panel section. This also helps with garage acoustics soundproofing by reducing door resonance and outside noise. You can apply the same mass-and-seal approach to other openings in the garage to improve overall sound control.
You can glue them in with construction adhesive like Loctite PL 300. For a non-permanent hold, use wide nylon strapping and buckles across the back of the door sections. This method is cost-effective but requires precise cutting.
Commercial garage door insulation kits are the other route. Brands like Garage Door Insulation Pro sell pre-cut panels with reflective facing. These kits are worth it for the convenience and clean look, especially when compared to the hassle of trying to insulate your garage door yourself. You pay a premium compared to buying raw foam board from a hardware store. I find the kits save about an hour of measuring and cutting, which for some folks is money well spent.
The Soundproof Blanket Solution
If you need a temporary or rental-friendly fix, heavy blankets work. Don’t use a household quilt. You want moving blankets or proper acoustic blankets-the denser, the better. Look for ones that are at least 8 pounds each.
Get blankets with reinforced grommets along the top edge. Then, install a row of screw hooks or heavy-duty eye bolts into the wall header above your closed garage door. Simply hang the blankets from the hooks so they cover the door interior. This creates a removable sound-absorbing layer that’s surprisingly effective for music or loud hobbies, and you can take it down whenever you need to. This simple setup can also help reduce garage door noise and dings by dampening vibrations as the door moves. If you want to explore more on quieting a garage door, you’ll find related tips in the next steps.
Choosing the Right Insulation for Sound Control
Here’s a key point homeowners often mix up. Insulation absorbs sound that’s already *inside* your wall or ceiling cavity, stopping it from echoing. Materials like drywall or mass-loaded vinyl are what actually *block* sound from passing through. You need both strategies for a quiet room.
For the insulation inside your stud walls, you have two main choices.
- Mineral Wool (Rock Wool) Batts: This is my go-to. It’s denser than fiberglass, which means it absorbs sound better. I use Roxul Safe’n’Sound. It cuts cleanly with a serrated bread knife, doesn’t sag over time, and doesn’t make your skin itch. The downside is it costs about 30% more.
- Fiberglass Batts: This is the standard, like Owens Corning Pink. It works for sound and is the budget king. But it’s less dense, can be annoying to handle without gloves, and if it’s not packed perfectly, its performance drops.
For most garage conversions, I spend the extra on mineral wool because the density makes a noticeable difference in how ‘solid’ the room feels, and it’s just easier to install correctly.
Spray foam is a different beast. Its superpower is creating a perfect air seal, which does help with sound by eliminating leaks. But it’s a pro-job, it’s expensive, and for pure sound absorption, a dense batt is often the smarter choice. I only recommend spray foam if you’re also solving major drafts or thermal issues.
Cost, Budget, and Doing It Yourself
Let’s get practical about what this project will cost and what you’re signing up for. The price tag depends almost entirely on how far down the rabbit hole you want to go with materials.
Good, Better, Best Cost Breakdown
Think of this as picking your level of peace and quiet. I’ve priced out these packages based on a standard two-car garage, doing the work yourself.
Good (Basic Reduction): $300 – $600
This is your foundation. You’re hunting for air gaps. You’ll need several tubes of acoustic sealant (like Green Glue “Noise Proofing Sealant” or OSI SC-175), a full upgrade kit for your garage door seals, and enough standard fiberglass batts to fill any empty wall cavities. This approach focuses on stopping the leaks where sound sneaks through, which often gives you the most bang for your buck. The fiberglass quiets the echo inside the space a bit, but its main job here is thermal insulation.
Better (Serious DIY): $1,200 – $2,500
This is the sweet spot for a home gym or office. You take the “Good” package and add serious mass and density. Swap the fiberglass for dense mineral wool batts (I use Rockwool Safe’n’Sound). Then, add a second layer of 5/8-inch drywall over your existing walls, using a viscoelastic compound like Green Glue between the layers. For the wall you share with the house, consider hanging a roll of Mass Loaded Vinyl (MLV) before that drywall goes up. This combination of decoupling, mass, and damping is where you start to seriously mute outside noise and contain loud activities inside.
Best (Professional Grade): $4,000+
Here, you’re building a room within a room. Costs jump because of specialized materials and labor. This includes installing resilient channels on all studs and joists to fully decouple the drywall, using specialized soundproof drywall (like QuietRock), and a professional garage door insulation system or even replacing the door. You must factor in hidden costs like renting a drywall lift, dumpster fees for old materials, and potentially needing an electrician to re-set outlets. This route makes sense if you’re building a recording studio or have a very noisy neighbor and the budget to solve it completely.
DIY Difficulty & Time Commitment
On a scale of 1 to 10, I rate this entire project a solid 6 for a competent DIYer who’s comfortable with basic tools like a caulk gun, utility knife, and drill.
The wall and ceiling work-sealing, insulating, hanging drywall-is about a 5. It’s straightforward but physically demanding. The garage door detailing is a 7. Getting a perfect, airtight seal on a moving, slightly uneven door requires patience and a careful hand.
For time, plan in phases. The sealing and insulation is 2 to 3 full days of active work. If you’re adding a drywall layer and MLV, budget another 1 to 2 days. Remember to account for curing time; acoustic sealant needs 24-48 hours to set properly before you can insulate or drywall over it.
You can do most of the prep work alone, but you absolutely need a helper for two things: hanging full sheets of drywall (especially on the ceiling) and maneuvering heavy, floppy rolls of MLV. Don’t try to be a hero on those steps.
Smart, Cost-Effective Solutions and Final Advice
Before you max out your credit card on fancy materials, work through these budget-first strategies. I’ve used every one of them in a pinch.
- Seal relentlessly first. Buy a case of acoustic caulk and go to town on every crack, corner, and hole. This is the cheapest improvement you can make.
- Hang thick moving blankets over the garage door and on the shared house wall. Use grommets and hooks. It looks rough, but it adds mass and absorption for maybe $100.
- If the room is for an office or lounge, place a heavy, full bookcase against the noisiest wall. Books are fantastic, random sound dampers.
You need to understand one key difference: sound*proofing* blocks sound from traveling. Sound *absorption* improves the sound inside a room by reducing echo. Those pyramid foam panels you see? They absorb sound. They do almost nothing to stop your band practice from reaching the neighbors. Buy them to make the room inside sound better, not to contain noise.
My final take on DIY vs. hiring a pro: A determined homeowner can achieve about 80% of the performance of a top-tier job for about 50% of the cost. The last 20% is in the perfect details-flawless decoupling, seamless seals-that pros get paid for. Call a professional if your walls are already open to the studs and you want a perfectly decoupled ceiling, or if the garage door problem is beyond a simple seal kit. For many garage repairs, weighing the DIY route against hiring a pro can guide your next steps. Knowing when to call in a professional can save time and prevent costly mistakes.
Recommended Product Categories
You don’t need specific brands, but you should look for these exact features when shopping.
- Acoustic Sealant: Look for “non-hardening” and “paintable.” It stays flexible forever to bridge gaps that open and close with temperature changes.
- Insulation: Skip the fluffy pink stuff. Buy dense mineral wool batts, often labeled “soundproofing” or “rock wool.” They are heavier and dampen sound better.
- Drywall: For your mass layer, use 5/8-inch fire-rated drywall. It’s denser than standard 1/2-inch board.
- Garage Door Seal: Get a bulb-style bottom seal that compresses. For the top and sides, choose a seal with a flexible vinyl flap that presses tightly against the door.
Garage Care Pro FAQ: Soundproofing Your Conversion
What’s the one maintenance check I should do yearly to keep my soundproofing effective?
Inspect and test all seals, especially around the garage door and electrical outlets. Over time, acoustic sealant can get dirty and compressed; press on door seals to ensure they’re still springy and check for any new gaps from settling. Reapply sealant or replace seals if they’ve hardened or pulled away.
I sealed everything but still hear noise. What’s the most likely weak point I missed?
Check the door between your garage and house. It’s often a hollow-core door with large perimeter gaps. Upgrade to a solid-core door with a full perimeter sweep. This is a common oversight that undermines an otherwise well-sealed garage, especially when compared to the gaps around the garage door.
How can I tell if I need to decouple my walls or if just adding mass is enough?
Listen to the type of noise. Low-frequency sounds (bass, engine rumble) vibrate structures and require decoupling (like resilient channel) to stop. For higher-frequency noise (voices, music), adding mass (extra drywall, MLV) is often sufficient. In most residential cases, mass is the first cost-effective step.
Are soundproofing blankets on the door a permanent solution or just a temporary fix?
They are a durable temporary fix. Heavy acoustic blankets will last for years if stored properly when not in use, but they are not a permanent structural seal. Use them for seasonal projects or in rentals; for a permanent conversion, install proper seals and interior mass.
What’s the first sign my DIY soundproofing project is failing and I should call a pro?
If you hear a clear, flanking noise-sound that seems to travel around your barriers, like through the ceiling into the attic space-your problem is likely systemic. A pro can identify these complex transmission paths, which often require a more holistic, building-wide solution beyond a single wall.
Final Soundproofing Considerations
The most effective soundproofing comes from combining multiple materials in layers, not from any single miracle product. Keep these final points in mind as you plan your project:
- Always address air gaps first with acoustic sealant; sound travels through the smallest opening.
- For wall and ceiling assemblies, resilient channel is the most cost-effective upgrade to stop sound transfer.
- Dense, fibrous insulation like rock wool is your friend for absorbing mid-range and high-frequency noise.
- Your budget should prioritize the shared wall with your home’s living space first.