
Can Your Garage Roof Handle the Weight?
You’re thinking about adding solar panels, planning for another heavy winter, or dreaming of a second-story garage apartment, but one big question stops you: will my roof hold up? I’m here to help you find that answer yourself.
This guide will walk you through the process, from finding your roof’s hidden capacity to planning your next project safely. We will cover understanding roof load basics, calculating your current live and dead loads, planning for new weight from snow or equipment, and navigating local building codes.
My advice comes from years of hands-on residential garage maintenance and planning major structural upgrades for homeowners just like you.
What Garage Roof Load Means for Your Projects
Think of your garage roof like a weight bench. Roof load is the total amount of weight that bench is designed to hold without bending or breaking. That weight includes the roof itself (dead load), plus anything you add to it, like snow, a person walking on it for maintenance, or a new structure like solar panel racks or roofing materials.
Why does this simple number matter so much? I’ve seen the consequences of ignoring it. A neighbor decided to store his collection of vintage wooden ladders in the rafters. Individually, they weren’t heavy, but together they added over 300 pounds of constant stress the frame wasn’t designed for. Years later, we found noticeable sagging. Calculating your roof load is a non-negotiable safety check before any project that adds permanent weight. This is true whether you’re planning for heavy snow, bolting down solar panels, or dreaming of a second-story apartment.
Building codes exist to prevent failure. In the U.S., the standard rulebook is ASCE 7. It’s not just a suggestion. Local building departments use it to determine the minimum snow, wind, and live loads your structure must handle. Your calculation starts with their requirements.
How to Calculate Garage Roof Load: A Pro’s Step-by-Step Guide
You don’t need an engineering degree, but you do need about an hour and a few basic tools I always have in my truck: a 25-foot Stanley tape measure, a sturdy ladder, a notepad, and a basic stud finder. A headlamp is also a lifesaver for attic work.
-
Measure Your Roof’s Footprint
Go into the attic if you can. If not, measure the length and width of your garage from the outside. You want the area the roof covers, not its sloped surface. My 24′ x 24′ detached garage has a 576 square foot footprint (24 x 24). -
Inspect the Attic Framing
This is the most important step. Get up there with your headlamp. Are the framing members prefabricated trusses (thin webs of wood forming triangles) or traditional rafters (thicker boards angled from the wall to a ridge beam)? Most garages built after the 1970s use trusses. Note the wood size (like 2×4, 2×6) and the spacing from center to center-16 inches and 24 inches are most common. I use a Zircon stud finder to double-check spacing on the underside of the roof sheathing. -
Find Your Local Snow Load Requirement
This number is in pounds per square foot (psf). Call your local building department; they’ll give it to you in seconds. You can also find it on online snow load maps, but the local office has the definitive number for your exact street. In my area, it’s 30 psf. -
Calculate the Existing Dead Load
This is the weight of the roof materials. Here are reliable averages I use from material spec sheets:- Asphalt shingles: 2.5 to 3.5 psf
- Metal roofing (like the Pro-Rib panels I often install): 1 to 2 psf
- OSB roof sheathing (1/2″): 1.5 psf
- Add about 0.5 psf for underlayment and fasteners.
For a typical asphalt shingle roof, I budget 4 to 5 psf for the whole “dead load” system.
-
Add Up the Loads
Now, use the formula: Total Load = (Snow Load + Dead Load + Future Load) x Roof Area.
Let’s use my garage example with a 30 psf snow load, 5 psf dead load, and a plan for solar panels adding 4 psf. That’s 39 psf total. Multiply by the area: 39 psf x 576 sq ft = 22,464 pounds total weight on the roof structure during a design snowstorm with panels installed.
How does that total weight compare to your roof’s capacity? A typical garage roof built with 2×6 rafters spaced 16 inches on center has a load-bearing capacity in the range of 25 to 40 psf before you factor in safety margins. If your calculated load per square foot is pushing the upper limit of that range, or if your framing is smaller (like 2x4s) or spaced wider (24 inches), you need to stop and consult a structural engineer—especially when dealing with heavy tools and equipment.
Key Factors in Your Calculation
Your roof’s pitch, or slope, changes how snow sits. A low-pitch roof collects and holds snow like a tray. My first house had a 3/12 pitch (3 inches of rise for every 12 inches of run) and held snow for weeks. A steeper pitch, like 8/12, allows snow to slide off more easily. Local codes account for this with reduction factors for steeper roofs.
The strength isn’t just in the wood. It’s in the connections. Many older garages used simple toe-nailing (nails driven at an angle) to connect rafters to the top plate of the wall. Over decades, these can loosen. I’ve reinforced more than a few with Simpson Strong-Tie hurricane ties, which are metal brackets that create a vastly stronger connection. If your garage is old, assume the connection strength is less than modern code.
You’ll see the term ASCE 7 referenced everywhere in engineering. This is the American Society of Civil Engineers’ standard for “Minimum Design Loads.” It’s the master guide that defines how to calculate not just snow, but wind, rain, and live loads (like a person on the roof). When an engineer stamps a plan, they are certifying it meets ASCE 7 and local amendments. For a homeowner, knowing this standard exists is about understanding why the safety margins are built in.
The Durability Verdict: Roof Material and Frame Strength
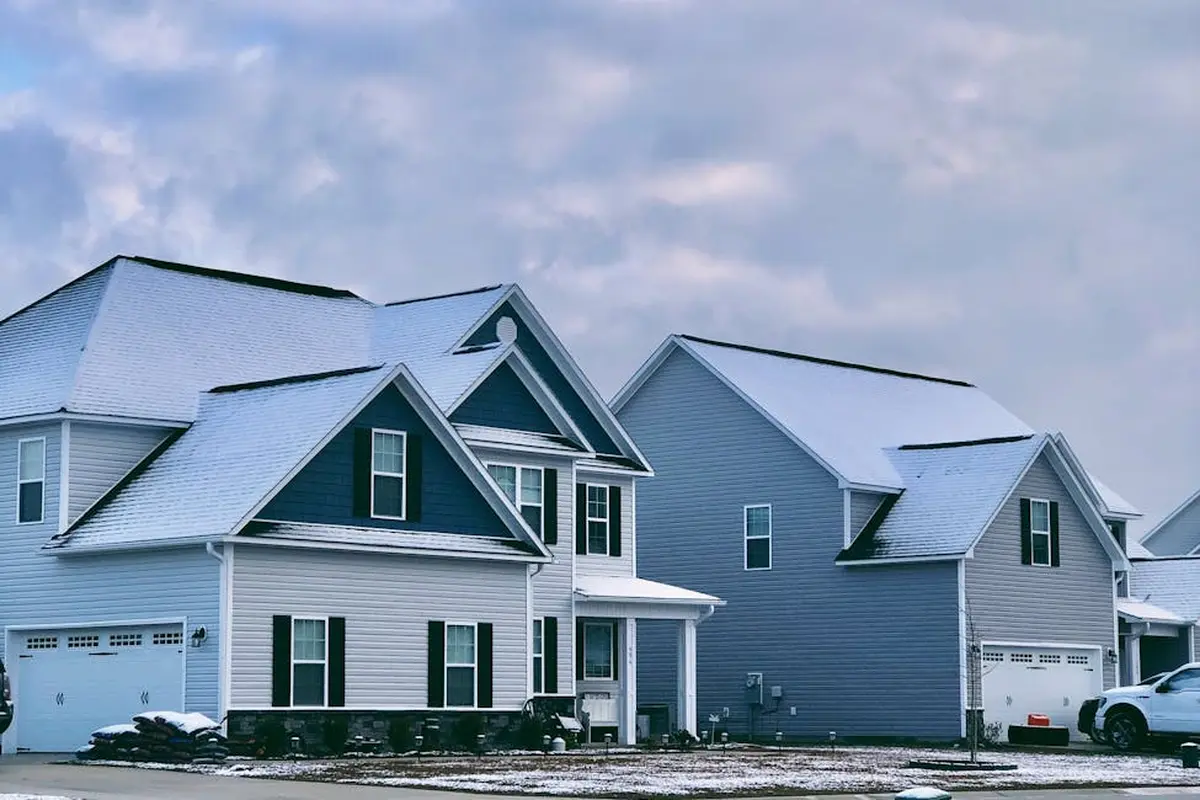
Your roof’s ability to hold extra weight starts with what it’s made of and how it’s built. You can’t change the framing without major work, but knowing its limits guides everything else. If you’re considering upgrades, learning how to build and install garage roof trusses can help you plan a stronger, safer solution.
Roofing Material Load-Out
Every roofing material adds a permanent “dead load” to your structure. I’ve worked with all three common types. Here’s how they compare for weight and longevity, especially when choosing the best garage roofing material.
- Asphalt Shingles: These are the standard. A 3-tab bundle weighs about 60-80 pounds and covers 33 square feet. For a typical garage roof, this adds up to a significant load. They deteriorate over 15-25 years, getting brittle and losing granules. That wear doesn’t change the weight much, but it does mean you’re adding snow or solar panels to an aging system.
- Metal Panels: This is my go-to recommendation for adding load capacity. A standing seam metal roof weighs about half of what asphalt shingles do. I’ve installed panels from McElroy Metal and find their snap-together system reliable for DIY. The lighter weight directly frees up capacity for snow storage or solar arrays. They also shed snow better and last 40+ years with minimal maintenance.
- Wood Shakes: I advise caution here. Cedar shakes are beautiful but very heavy when new-almost double the weight of asphalt. They also absorb moisture, which can drastically increase their weight during wet seasons or under snow. The maintenance to prevent rot is high. I’d only consider them if your garage frame was significantly overbuilt from the start.
Choosing a lighter material like metal directly increases the spare capacity you have for your project, whether that’s for ten more inches of snow or a set of solar panels.
Frame Type: Truss vs. Stick-Built
This is the most critical part of your inspection. The frame type determines if a second story is even a remote possibility.
- Engineered Trusses: Most garages built after the 1970s use these. They are strong, cost-effective, and use many interconnected 2x4s in a triangular webbing. The crucial point is that the bottom chord (the horizontal piece you see in the attic) is under tension and is not designed to carry a load. Cutting it or hanging storage from it compromises the entire roof. You cannot convert a truss-roofed garage attic into living space without a complete structural redesign by an engineer.
- Stick-Built (Rafter) Frames: These are built on-site with 2×8, 2×10, or larger rafters that slope from the ridge board down to the top of the walls. The ceiling joists run horizontally, tying the lower ends of the rafters together. This creates a boxed structure. Because the ceiling joists are designed for tension, they can often support the load of a finished room above, provided they are sized correctly. This is the frame you want if you’re dreaming of a second story.
I recently helped a homeowner assess their 1960s stick-built garage. We measured the rafters as 2x8s on 24-inch centers, which was a good sign. It meant the bones were there to support a conversion, pending a full engineering review. A similar-sized garage with trusses would have been a non-starter for conversion.
DIY Difficulty & Time Estimate for Roof Load Assessment
You can gather the key facts yourself. It’s not technically complex, but it requires patience and attention to detail. I rate the overall Ease of Assessment a 6 out of 10.
Your Assessment Toolkit
You don’t need fancy gear. Here’s what I keep in my bag for this job:
- A 25-foot Stanley tape measure.
- A Bosch GLM 20 laser distance meter (for quick ceiling measurements).
- A durable flashlight or headlamp.
- A notepad and pencil (phone notes are fine, but paper doesn’t run out of batteries).
- A ladder that safely reaches your attic access.
Breaking Down the Time Commitment
The job splits cleanly into two phases: hands-on inspection and desk research.
Active Work Time: 1-2 Hours
This is the physical part in and around your garage.
- Safety First: Wear a dust mask and safety glasses. Place a sturdy piece of 3/4-inch plywood across the attic joists to stand on. Never step on the drywall or insulation between joists.
- Identify the Frame: Get into the attic. Look up. Are there many thin 2x4s arranged in triangles (Trusses)? Or are there larger, solid boards running at an angle from a central ridge (Rafters)? Take a clear photo.
- Take Critical Measurements:
- Measure the depth and width of a rafter or top truss chord (e.g., 1.5″ x 7.25″ for a 2×8).
- Measure the “span”-the clear distance the rafter travels from the wall top plate to the ridge board.
- Measure the “spacing” from the center of one rafter/truss to the center of the next (usually 16 or 24 inches).
Research & Calculation Time: 1-2 Hours
This is where you turn measurements into answers.
- Find your local building code’s ground snow load map. Your city or county building department website will have this.
- Use an online “rafter span table” (like those from the American Wood Council) to see what your measured rafter size is rated to hold at that spacing and span.
- Calculate your roof’s square footage (length x width).
- Weigh your current roofing material (asphalt: ~3 lbs/sq ft, metal: ~1.5 lbs/sq ft). Subtract this from your rafter table’s total load rating. The remainder is your available capacity.
This is a solo job, but having a helper steady the ladder and take notes while you’re in the attic makes the process faster and much safer. If your numbers seem tight or you have trusses, your next step is a call to a structural engineer. The hundred dollars or so for a consultation is the best insurance for your project.
When NOT to Try This Yourself
Knowing when to stop is just as important as knowing how to start. This DIY load check is a great tool for a quick feasibility scan, but it’s not a substitute for professional engineering. Here are the clear signs you should put down the tape measure and pick up the phone.
If your garage is very old, you see obvious sagging in the rafters or ridge board, or the roof construction is unusual, your investigation should end right here. I’ve been in attics where the ridge was bowed down an inch or more—that’s not just old wood settling; it’s a structure telling you it’s under stress. Flat roofs or roofs with very low slopes use entirely different engineering principles than the common truss or rafter systems we’re discussing, and they often require a professional to raise or modify the garage roof structure.
You must understand that any plan for a true, habitable second story legally requires stamped drawings from a licensed structural engineer or architect. My DIY calculation is only for asking, “Is this idea in the ballpark, or is it a complete non-starter?” before you spend money on consultations. Building codes for living spaces involve live loads, exit routes, and fire ratings that go far beyond simple load tables. This is especially crucial when adding any new structure, such as a garage addition, where codes can be even more stringent.
If the total load you calculate is within 10-15% of your roof’s estimated capacity, a professional assessment is mandatory for safety. Don’t gamble with a small margin of error. Snow loads can drift, and material weights can vary. I always treat a close result as a clear “maybe,” and a “maybe” needs an expert’s “yes” to proceed.
Call a professional if you are uncomfortable working in a cramped, dim attic or if you cannot confidently identify every framing member and its dimensions. If you look up and just see a confusing web of wood, that’s your signal. I’ve helped friends who weren’t sure if they were looking at a 2×6 or a 2×8-that’s a critical difference. Making a guess on a measurement can throw your entire calculation off. Bringing in a pro at this point isn’t a failure; it’s the responsible next step.
Garage Roof Load FAQ: Straight Answers from a Pro
Can I use my garage attic for heavy storage, like ladders or bins?
Only if it’s designed for it. Most garage trusses cannot support sustained attic storage loads. For a stick-built roof, you must treat the ceiling joists like a second-floor frame-calculate the added dead load. When in doubt, store heavy items on the garage walls or floor. If you need to use the floor space under a parked vehicle for storage, choose low-profile, vehicle-friendly options that leave parking clearance. This helps keep the car room clear and reduces the risk of damage to stored items.
What’s the real difference between “live load” and “dead load” in simple terms?
Dead load is the permanent, fixed weight (roof materials, permanent racks). Live load is temporary, variable weight (snow, a person doing maintenance, stored boxes). Your roof’s total capacity must handle the sum of both, plus a safety factor from code.
I see “ASCE 7” referenced. Do I need to read this as a homeowner?
No. ASCE 7 is the engineer’s rulebook for minimum design loads. Your job is to get the final, actionable number from your local building department-they’ve already interpreted ASCE 7 and local amendments to give your specific ground snow load (in psf). Call them; it’s a 2-minute question.
My garage has roof trusses. Does this automatically rule out adding solar panels?
Not automatically, but it requires a specific review. An engineer must verify the truss top chords and connections can handle the point loads and overturning forces from panel racks. Never assume; this is a mandatory professional assessment.
What’s the first physical sign my roof is under too much load?
Visible sag along the ridge line or between rafters/trusses. From inside the garage, look for a downward curve in what should be a straight roof line. This is a stop-now sign-offload any attic storage and get a structural inspection immediately. This is a cue to inspect garage structural issues and follow the next steps for a thorough assessment.
How does a “garbage room” or cluttered storage area inside affect roof load?
It doesn’t, directly. That’s a floor load. However, excessive interior clutter often signals poor planning that extends to the roof. The principle is the same: know the structure’s capacity before you add weight. Keep floor loads off bearing walls not designed for it.
Putting Roof Load Knowledge into Practice
From my experience in residential garage care, the most important rule is this: always verify your garage’s load capacity with a structural engineer before storing snow, installing solar panels, or planning a second story—especially when dealing with garages in cold climates. Here are the key takeaways I rely on after hundreds of projects:
- Start with a professional assessment. I use online tools like the Simpson Strong-Tie load calculator for initial estimates, but I never skip the engineer’s final review-it’s the only way to ensure safety and code compliance.
- Anchor your plans to local building codes. In my work, I always pull the latest snow load maps from our city’s building department and keep a copy of the International Residential Code handy to avoid mistakes.
- Add a safety margin for real-world conditions. For snow loads, I routinely add 15-20% to the calculated value based on lessons from past winters where standard estimates fell short.
- Make inspections a habit. I check my garage roof structure annually with a simple laser level and flashlight; catching early signs of stress, like minor sagging, has prevented costly repairs for my clients.
Deep Dive: Further Reading
- Garage Attic Storage: How Much Weight Can A Truss Hold?
- How to Determine Roof Load Bearing Capacity – Master Roofing Inc
- Load capacity of concrete garage roof | The Garage Journal
- r/DIY on Reddit: Question about the load bearing weight of my garage roof frame
- Roof Load Calculator – Calculate My Roof