
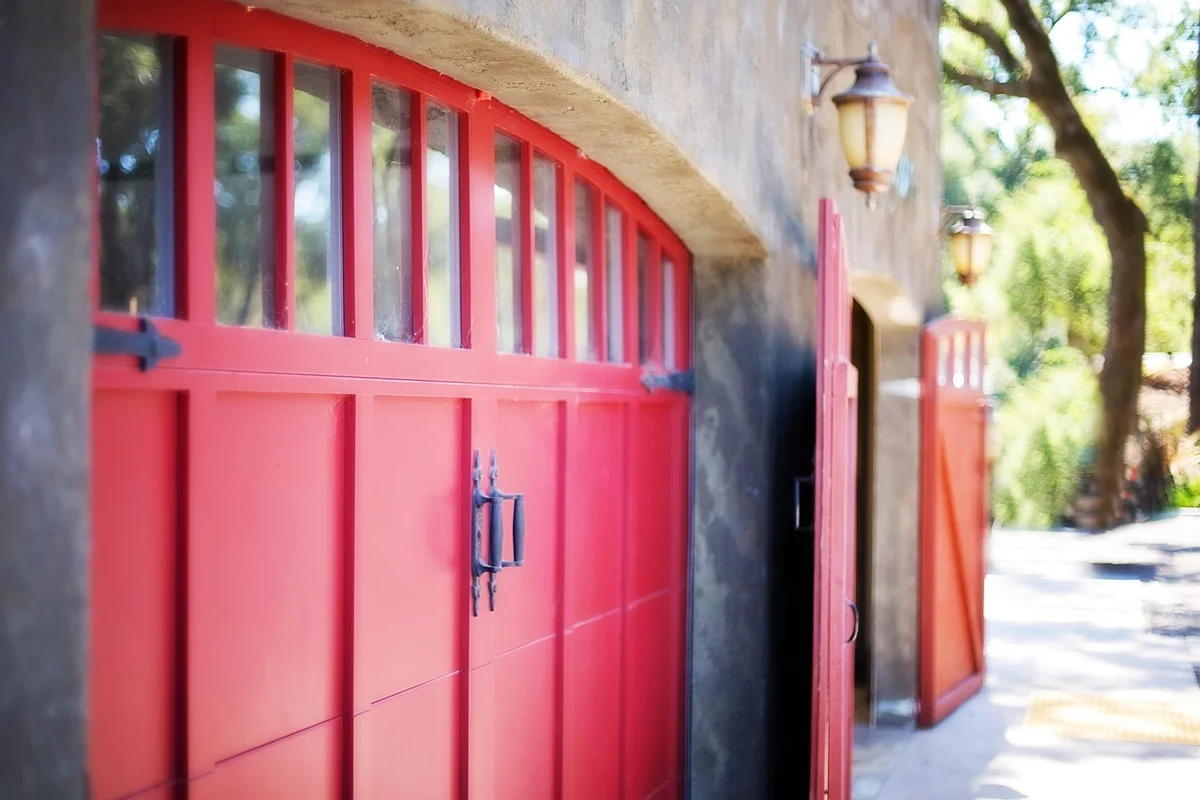
How Do I Remove and Replace a Damaged Garage Door Seal?
A damaged seal lets drafts, pests, and water into your garage, but fixing it yourself is straightforward. I will show you exactly how to do it safely and effectively.
We will cover spotting the damage, picking the correct replacement seal, removing the old one step by step, installing the new seal properly, and checking your work for a perfect fit.
I have installed and replaced hundreds of these seals while maintaining residential garages, so I know what works and what doesn’t.
Do I Even Need to Change My Garage Door Seal?
Let’s be clear. A bad garage door seal doesn’t just let in a little breeze. It invites problems. I look for a few specific things when a homeowner asks me to check their seal, especially when it comes to replacing weather seals.
- Daylight under the door when it’s closed is the biggest giveaway. Crouch down and look.
- Finding bugs, spiders, or worse, mice inside is a major red flag.
- Feeling a noticeable draft or seeing leaves blown in.
- Water lines or puddles on the floor after rain mean water is channeling under the door.
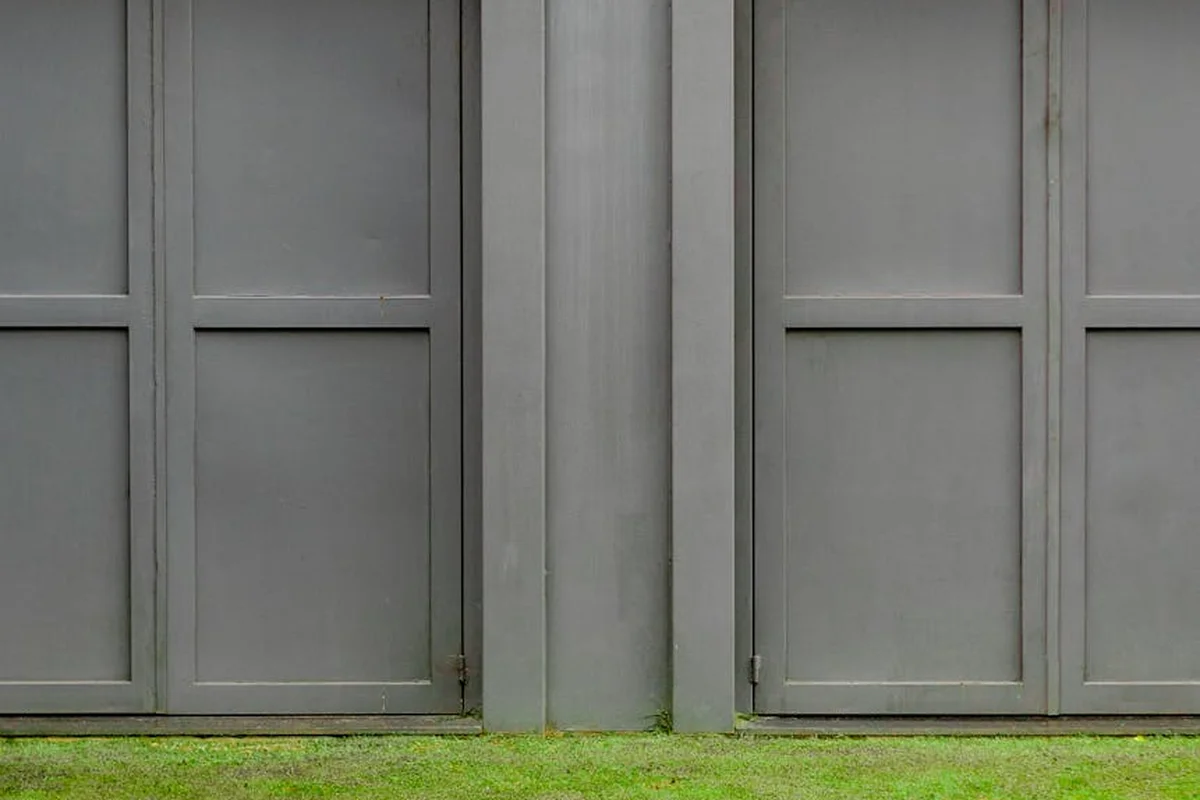
- Just look at the seal itself. Is it cracked, brittle, torn, or completely squashed flat?
One sign people often miss is rust along the bottom rail of the door itself. That’s trapped moisture at work, and a failing seal is usually the culprit letting water sit there.
Can you do this yourself? Absolutely. For the common sectional garage door, this is a straightforward repair. I’ve done hundreds. If you have a one-piece tilt-up door, the process is similar, but you’ll be working with the entire door weight, so take extra care. Common garage door problems—sticking, binding, misalignment, or unusual noise—pop up from time to time. The next steps will outline how to diagnose and fix them safely.
Gathering Your Gear: The Gearhead’s Checklist
You don’t need a fancy toolbox for this. Here’s exactly what you’ll pull from your kit. I keep these items in a small bucket just for seal jobs.
- Flathead Screwdriver: My go-to for prying out the old retainer strip. A 6-inch one gives good leverage.
- Needle-Nose Pliers: Essential for pulling out stubborn old nails or staples left in the door channel.
- Tape Measure: To get the exact width of your door for the new seal.
- Utility Knife: A sharp blade is the best way to get a clean cut on the new seal. I prefer a Stanley with snap-off blades.
- Rubber Mallet: A few gentle taps help seat the new retainer without damaging it. Don’t use a steel hammer.
- Safety Glasses & Work Gloves: Tiny metal fragments from old retainers can fly. Gloves protect your hands from the sharp door edge.
You typically won’t need power tools. But, if your existing retainer is screwed in (common with aluminum retainers), a cordless drill/driver like a DeWalt or Milwaukee will save your wrist and time.
DIY Difficulty & Time Estimate: I rate this a 4 out of 10. The active work takes 45 to 90 minutes for a first-timer. It’s a perfect solo job with no drying or waiting time.
Choosing Your New Seal: It’s Not One-Size-Fits-All
Grabbing the first seal you see is a mistake. You need to match the profile to your door’s retainer system. Here are the three main types I install – in the corners and sides.
- Standard Bulb Seal (with Retainer): This is the most common. A rubber or vinyl bulb slides into a metal or plastic retainer strip that gets fastened to the door. It’s durable and effective.
- T-Style Seal: This has a rigid plastic “T” back that pushes directly into a channel on the door bottom. No separate retainer needed. It’s clean-looking but can be stiff to install in cold weather.
- Retainer-less Slide-On Seals: These have a groove that slips right over the edge of the door bottom. They’re the easiest to install but aren’t as common on older doors.
For material, I usually choose rubber over basic vinyl. Rubber stays flexible in freezing temperatures, while cheap vinyl can turn hard and crack. I learned this after replacing several brittle vinyl seals in my own Wisconsin winters. The rubber costs a few dollars more but lasts years longer.
My best advice is to take a close-up photo of your old seal still in the door, or better yet, cut a 6-inch sample off to bring to the store. This guarantees you get the right shape. The folks at a real hardware store or garage door supplier can match it instantly. Then, install the new seal properly to ensure good insulation and durability.
The Step-by-Step Removal Process
Before you touch a single tool, your first job is to make the door safe to work on. Always disconnect the garage door opener by pulling the red emergency release cord, then ensure the door is fully down and secured in place. I keep a pair of locking pliers in my kit to clamp onto the track just under the bottom roller, which acts as an extra safety stop so the door can’t move on you. In an emergency, you may need to manually open the door. The next steps cover how to do this safely.
How Do You Get the Old Seal Out?
Most garage doors use a metal retainer channel, a U-shaped track that pinches the seal’s fin to hold it tight. Start at one end of the door. Slide the flat blade of your screwdriver under the metal lip of the channel, and gently twist to pry it up just enough to grab the rubber. I find a 6-inch flathead from Stanley gives good leverage without bending. Once you have an inch of seal free, you can usually pull the rest out by hand, working your way along the door like you’re pulling a stubborn shoelace. Knowing how to manually operate a secure garage door is a practical backup for power outages or opener malfunctions. This skill helps you access your space safely while you perform maintenance or assess the track and seal.
Other styles need a different touch. If your old seal is nailed on, use your pliers to wiggle and pull each nail straight out. For adhesive-backed weatherstrip, heat is your friend. A basic hairdryer on high heat aimed at the adhesive for 30 seconds will soften it enough to peel the strip away slowly.
A specific, messy problem I run into is old sealant or driveway sealer stuck to the door bottom. Homeowners often ask, “How do I remove driveway sealer from garage doors?” If the old seal was gooped on with tar or adhesive, you’ll need a scraper and a solvent. I’ve had good results with a plastic putty knife and a product like Goo Gone. Spray it on, let it sit for ten minutes, then scrape. For really tough, dried tar, a little acetone on a rag (with gloves and ventilation) can break it down.
Cleaning the Channel for a Perfect Fit
Putting a new seal into a dirty channel is like putting a clean sock on a muddy foot. It just won’t work right. Use the tip of your flathead screwdriver to scrape out every bit of old adhesive, dirt, and flaky rust from inside that metal retainer. A pair of needle-nose pliers is perfect for pulling out stubborn chunks.
Finish with a quick wipe. I keep a spray bottle of isopropyl alcohol and a rag in my truck for this. Dampen the rag, run it through the channel, and let it dry. This final clean step removes oily film and ensures the new rubber seal will seat properly without slipping or bulging.
Measuring and Cutting Your New Seal
Here’s where a small mistake causes a big headache. You don’t measure the outside width of the door. You measure the inside distance between the two vertical tracks at the very bottom of the door. That’s the exact length the seal needs to span. Take this measurement in three spots, as doors can be slightly wider at the top or bottom, and use the smallest number you get. This is different from when you measure your garage door opening.
Now, cut your new seal shorter than that measurement. I recommend a 1/4-inch gap. If your inside measurement is 16 feet, cut the seal to 15 feet 11.75 inches. This slight shortness creates a gentle bow or tension when you install it, which presses the seal firmly against the floor along its entire length and prevents the ends from bulging out of the channel.
To cut it, use a sharp utility knife with a fresh blade-I prefer the heavy-duty Stanley knives. Lay the seal on a scrap piece of wood. Make a single, firm cut straight down to get a clean, square edge. A ragged or angled cut won’t fit neatly into the channel and can leave a gap for drafts.
Installing the New Garage Door Bottom Seal
Now for the satisfying part. With your old seal out and the channel cleaned, you can install the new one. I always start at one end, usually the side opposite the garage door opener for a bit more working room.
The key is to hook the rubber lip of the new seal firmly into the metal retainer channel on the door’s bottom edge before you do anything else. Get that initial few inches locked in place. Once it’s started, take your rubber mallet. I keep a 16-ounce Stanley mallet in my kit just for seals and weatherstripping.
Do not use a steel hammer here. It’s tempting, but it can cut or deform the soft rubber. Gently tap the seal into the channel, working your way down the entire length of the door. Go slow. Your goal is to see the entire top lip disappear into that metal track.
Work slowly and keep an eye on the seal as you go. You want it fully seated and lying flat, not twisted or bunched up. A twisted seal won’t make proper contact with the floor.
The “Log Entry” Pro-Tip: Getting a Tight Seal at the Corners
You’ll hit a common snag at the final corner. The new seal, once seated all the way around, will have very little slack left. If you try to force it, you’ll stretch it and create a weak spot. Here’s my shop trick.
Grab a pair of locking pliers, like Vise-Grips. Gently clamp the last three to four inches of the seal. This compresses the rubber, making it temporarily smaller and giving you the leverage to work it into the channel without pulling. It’s a subtle move, but it prevents the tear that usually happens right at the corner joint. I learned this after ruining a seal on my own door years ago.
Final Check and Alignment
Before you call it done, you need to test the fit. Close the garage door manually, disconnecting the opener if you have one. You can also manually open the garage door to confirm it glides smoothly by hand. Get down and look at the threshold.
You’re looking for even contact across the entire width of your driveway. The seal should press flat against the concrete. If one side looks high or you can see a gap, that section isn’t seated deep enough in its channel. Use your rubber mallet to give that specific area a few more gentle taps until it sits flush.
Troubleshooting Common Issues After Replacement
Sometimes, a new part creates a new problem. Here’s how to diagnose the usual suspects.
Problem: The door won’t close all the way, or the opener hits the floor and immediately reverses. This is almost always a pressure issue. Your new seal is likely too thick for the door’s current travel limits, or it was installed crooked. The force needed to compress it tricks the opener’s safety sensor. Go back and check the seal’s alignment in the channel along the entire length.
Problem: You still see daylight or feel a draft under the door. If the seal is installed correctly, the issue is probably not the seal. Your garage door itself might be out of vertical adjustment, or your concrete floor is uneven. In my experience, a slightly sunken slab in the center is common. For this, you may need to add a separate threshold seal that mounts to the floor to block that irregular gap. Sealing gaps around the door itself—along the sides and bottom—often stops drafts. This quick check can make a noticeable difference even if the door needs adjustment.
Problem: The seal keeps popping out of the channel. First, make sure every inch is fully “clicked” in. Run your hand along it. If it’s seated but still pops, the metal retainer channel on your door could be bent or damaged from the old seal removal. Alternatively, you might have the wrong seal profile. Compare the new one to the old piece you saved; they need to match exactly to lock in properly.
Garage Door Seal Replacement: Pro FAQs
What’s the fastest way to remove a stubborn old seal without special tools?
For metal retainer channels, work a flathead screwdriver under the lip and twist gently along the length to avoid bending the channel. If nails or staples remain, use needle-nose pliers to pull them straight out-don’t yank sideways, which can damage the door edge.
Besides the basic toolkit, what one tool do pros always use for seal jobs?
A cordless drill/driver is essential for doors with screwed-in aluminum retainers; it prevents stripped screws and saves time. Also, keep a pair of locking pliers on hand to clamp the track as a safety stop and compress the seal at corners during installation.
How do I prevent the new seal from bulging or twisting during installation?
Start at one end and ensure the rubber lip is fully hooked into the channel before tapping it in with a rubber mallet. Work slowly and check alignment as you go-if it twists, pull it back and reseat that section immediately.
My garage floor is uneven; how do I measure and compensate for gaps?
Measure the inside width between tracks at the bottom in three spots, using the smallest number. If gaps persist after installation, consider adding a separate threshold seal mounted to the floor for irregular surfaces, as the door seal alone may not suffice.
For a long-lasting seal, what material and profile should I prioritize?
Choose rubber over vinyl for flexibility in temperature extremes, and match the profile exactly to your door’s retainer system-bring a photo or sample to the store. Avoid universal fits; they often compromise on contact and durability.
Wrapping Up Your Garage Seal Job
From my shop experience, the single best piece of advice I can give is to never rush the final test-opening and closing the door several times confirms your seal is seated right and your door is safe. Keep these points in mind for next time:
- I always use a utility knife with a fresh blade, like a Stanley, for removal; a dull blade tears the old seal and makes a mess of the track.
- Clean the mounting surface with rubbing alcohol, not just a damp rag, for a bond that lasts years.
- Buy a few extra inches of seal; having to splice a section because you cut it short is frustrating and creates a weak spot.
- Listen for a solid “thump” when the door closes-that’s the sound of a tight, effective seal keeping your garage dry.
Evan Gunther
Evan is a general contractor operating in Columbus, Ohio servicing, maintaining and building residential and commercial garages for over two decades. He has personally redeveloped over 100+ garages and installed and reinstalled over 230+ garage doors in his long tenure. When it comes to giving your garage a face lift or fixing common issues, Evan's the pro. Feel free to reach out to him and follow his Garage Log blog for expert, fact based advice.