
How Do You Build a Garage on a Sloped or Uneven Yard?
Worried that your sloped yard makes a garage impossible? I’ve tackled this exact problem on my own property and for clients, and I’ll show you the real-world methods that work.
We’ll walk through accurately assessing your site’s grade, comparing foundation types like piers vs. stepped footings, budgeting for excavation and materials, and the engineering specs you must follow.
My advice comes from years of hands-on garage builds and retrofits, using tools like a Bosch laser level to map slopes and working directly with engineers to ensure code compliance.
What Kind of Slope Are You Working With?
You can’t plan a garage for a sloped yard until you know what you’re really dealing with. I start every project by getting hard numbers, not guesses.
Grab a simple string level and a helper to measure it yourself, or rent a laser level for more accuracy. Here’s my method: drive a stake at the high point of your planned garage location and another at the low point, 100 feet apart. Tie a string tightly between them at the same height on each stake. Use a line level on the string. Measure the vertical drop from the string down to the ground at the low-point stake. That’s your “rise” over a 100-foot “run.”
First Tool You Need: The Site Assessment
Before you buy a single 2×4, do this walk-around. You’ll need a 100-ft tape measure, wooden stakes, brightly colored string, a line level, and a dedicated notebook.
- Call 811 or your local utility locating service. Marking gas, water, and electrical lines isn’t a suggestion, it’s the law and it keeps you safe.
- Use your stakes and string to outline the rough footprint of your planned garage. This makes the slope visual.
- After a good rain, take notes. Where water pools tells you where your foundation drainage must be perfect.
A clay soil holds water and can shift with frost, demanding a more robust foundation. Sandy soil drains faster but can wash away. Your dirt is your first building material, so you have to know its personality.
The Real Pros and Cons of a Garage on a Slope
I’ve built garages on all kinds of grades. It’s not inherently bad, but it’s a different project with different costs. Let’s be blunt about both sides.
The slope can work for you by providing automatic drainage away from your foundation, which is a huge win for longevity. On a steeper lot, you gain options like a walk-out lower level for a workshop or extra storage without the cost of a full basement. Sometimes you even get a better view from the garage door, especially compared to traditional garage foundation methods.
The challenges are financial and practical. Excavation costs soar. You’re not just digging a flat hole. You might need a stepped foundation, a retaining wall, or deep pilings. I’ve seen projects where the foundation work cost more than the garage structure itself. Delivery trucks and concrete pumpers need safe, stable access, which might mean temporary roads.
You also inherit a long-term job: erosion control. That exposed soil cut into the hill will want to slide down and bury your new slab unless you armor it with proper drainage and landscaping.
So, is it a good idea? If your budget has room for the foundation work and you want the unique benefits, yes. If you’re stretching to afford a basic box on flat land, a slope will add headaches and expenses you may not want.
Engineering Solutions Your Garage Foundation Needs
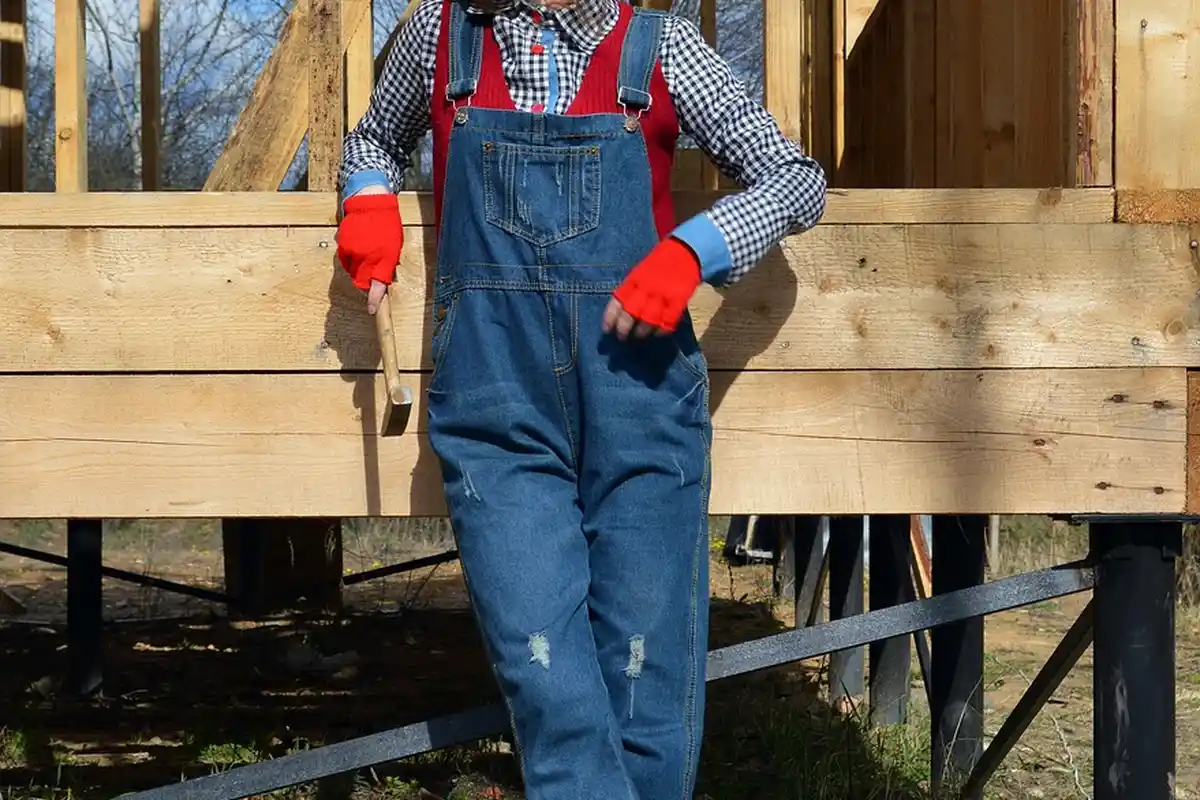
A level yard gets a simple monolithic slab, poured like a pancake. A slope changes everything. You’re not just pouring concrete, you’re building a structure that fights gravity sideways. Your foundation’s job is to create a stable, level starting point, and that requires specific engineering.
Stepped Footings: The Foundation Staircase
For a consistent, moderate slope, stepped footings are the standard fix. Picture your foundation’s continuous concrete footing walking down the hill like a staircase. The vertical parts of the steps are your foundation wall. I specify poured concrete for the steps every time, as block can have weak points at the corners. You’ll need a good laser level and a transit to lay this out. The key is that each step must be perfectly level and tie securely into the next, creating one rigid structure that won’t settle unevenly.
Pier Foundations: Drilling for Stability
On a steep slope or where the soil is loose, you go down to bedrock. A pier foundation uses drilled concrete columns (piers) that extend past unstable soil to a solid bearing layer. A structural engineer will specify the depth and diameter. I worked on a project where we used a Bobcat-mounted auger to drill 18-inch diameter piers 8 feet deep, filling them with rebar and concrete. The garage frame then sits on these deep, stable posts. This method is less invasive to the hillside than a massive excavation, but it requires precise engineering and soil testing first. You can’t just eyeball the depth like you might for a regular garage foundation.
Retaining Walls: Holding Back the Earth
When your garage pad cuts into a hill, you need a wall to hold the remaining soil back. This is serious business. A short wall under 4 feet might use interlocking concrete blocks (like Versa-Lok or Keystone), which I find DIY-friendly if you follow the instructions to the letter. For anything taller or supporting a structure, you need a poured concrete wall engineered with steel rebar. Drainage behind the wall is non-negotiable; without it, water pressure will build up and push the wall over. We always install a perforated pipe (a “weep drain”) at the base, wrapped in filter fabric, and backfill with gravel.
Can I Build a Garage Into a Hill?
Yes, using “cut-and-fill.” You cut into the hillside to create a flat bench, using some of that excavated soil to build up the low side. The goal is to balance the cut and fill to minimize soil haul-away. On one project, we saved thousands by reusing the clay on-site. This method creates a built-in retaining situation on the high side, so integrating that retaining wall and its drainage into the foundation plan is critical from day one.
Drainage: The Make-or-Break Detail
Think of your finished lot as a roof. Every surface must slope to send water away from the garage. If your foundation engineering is the skeleton, drainage is the circulatory system. Ignore it, and you’ll have a damp, crumbling garage. Proper garage floor leveling and drainage slope are essential to preventing water damage.
I use a three-part system. First, a French drain around the upslope side. This is a trench with a perforated pipe (I use 4-inch NDS pipe with the holes facing down), surrounded by gravel and wrapped in a filter fabric to prevent clogging. It catches subsurface water. Second, a grass swale or a buried solid pipe to carry roof downspout water well away from the pad. Third, the final grading. The soil around your garage should slope away at a minimum of 2% for at least 10 feet; I check this with a 4-foot builder’s level. This trio keeps the foundation dry and helps prevent garage flooding and water damage.
Cost & Budget: What a Sloped Garage Build Really Runs
Building on a slope always costs more. Where a level 24×24 garage slab might cost $5,000 to $8,000, the slope adds complexity. You should plan for the slope to add 20% to 50% or more to your foundation and site-work budget alone. Here’s a realistic breakdown for that 24×24 footprint.
Good: Minimal DIY, Gentle Slope
This assumes a slope of less than 2 feet across the building width. You handle site prep with a rented skid-steer, and a contractor pours a stepped footing.
- Site Prep (DIY): Skid-steer rental: $300/day (2-3 days). Gravel base material (crushed rock, not round pebbles): $800.
- Foundation: Basic stepped footing pour: $7,000 – $9,000.
- Hidden Costs: Permit fees: $500-$1,500. Soil compaction testing (required by code): $400. Survey stakes for exact placement: $300.
The big lesson here is that the “DIY prep” still requires professional testing and inspection to be safe and legal.
Better: Contractor Help, Moderate Slope
For a 2-to-4-foot slope, you need pro equipment and likely a short retaining wall.
- Site Prep (Pro): Grading with a mini-excavator, including soil disposal fees for what you can’t balance on-site: $2,500 – $4,000.
- Foundation: Engineered pier foundation or stepped footing with one short retaining wall: $12,000 – $16,000.
- Drainage: Installed French drain and proper grading: $2,000 – $3,000.
At this level, hiring an excavator operator is worth every penny; they can shape the land correctly in hours, not days.
Best: Full Pro, Steep or Complex Slope
A severe slope or building into a hill is a major civil project.
- Excavation: Major cut-and-fill, likely with a large excavator and multiple soil hauls: $6,000 – $15,000+.
- Foundation & Walls: Engineered poured concrete retaining wall system tied into the foundation: $20,000 – $35,000+.
- Engineering & Drainage: Structural engineer’s stamped plans: $1,500 – $3,000. Comprehensive drainage system with basins and piping: $4,000 – $7,000.
This is not a DIY scenario; the cost reflects the materials and expertise needed to permanently hold back thousands of pounds of earth.
How to Build a Garage on a Slope: A Pro’s Step-by-Step
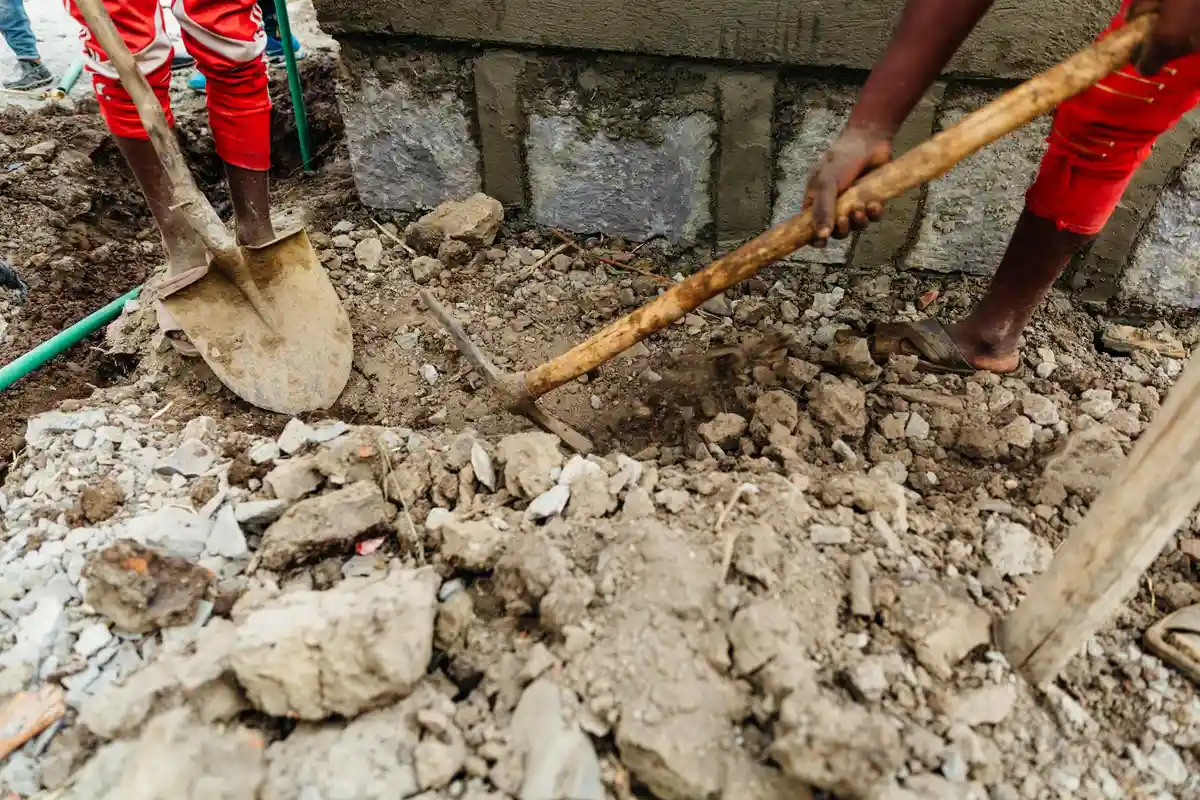
Once your planning is complete, you move into the physical work. This is the sequence I follow to ensure the structure is solid and permanent.
Step 1: Permits and Professional Plans
You absolutely cannot skip this step on a slope. I learned this the hard way on an early project where the city halted work because my DIY sketches weren’t sufficient. For any noticeable slope, your building department will require plans stamped by a licensed structural engineer. This isn’t a suggestion; it’s code for ensuring your garage won’t slide down the hill. The engineer will design the specific foundation needed for your soil and slope. For a garage, that begins with proper footing construction—depth, width, and reinforcement matched to the slope and load. This foundational work ensures long-term stability and prevents settlement.
Submitting for permits requires a current survey of your property. I always use the one from my property’s closing documents, but you might need a new one if you’ve made changes. The survey shows your property lines, easements, and existing structures so the city knows your new garage will be in the right spot. Don’t try to wing it when it comes to garage permits.
Step 2: Rough Grading and Earthmoving
This is where you shape the land. For most residential yards, I rent a compact mini-excavator, like a Kubota KX-series, over a large bulldozer. The excavator gives me precision in tight spaces next to the house and lets me dig footings. I use the bulldozer only for very large, open lots.
My first move is to strip and pile up the top 6-8 inches of topsoil. You’ll want this later for final grading and landscaping. The goal is to create a level building pad. You often “cut” soil from the high side and “fill” the low side. When you add fill dirt, you must compact it in layers called “lifts,” about 6 inches thick, using a plate compactor or a jumping jack tamper. If you just dump and level it, the soil will settle later and crack your foundation.
Step 3: Installing the Foundation System
This is the most critical step. On a slope, you typically use one of two systems: stepped footings or drilled piers.
For a stepped footing, you build a wooden form that looks like a staircase following the slope. Each “step” is a level section of concrete footing. You tie them together with continuous rebar that runs horizontally through each step. I use a laser level on a tripod to make sure each section is perfectly level as I set the forms.
For a steeper slope, the engineer may specify concrete piers. A crew comes with a large auger and drills deep holes down to stable soil or bedrock. They then set a cylindrical cardboard form (a Sonotube) in the hole and fill it with concrete. A bracket on top will hold the wooden posts for your floor frame. This system securely ties your building to the earth deep below the unstable surface soil.
Step 4: Building the Drainage Network
Water is your biggest enemy on a slope. You must handle it before pouring a slab or framing a floor. This is part of a proper garage floor drainage system installation. The single most important drain is a French drain installed on the uphill side of the garage footprint. Here’s how I do it:
- Dig a trench about 18 inches deep and 12 inches wide along the entire uphill side.
- Line the trench with landscape fabric, then add a 3-inch layer of washed gravel.
- Lay a perforated drain pipe (I use 4-inch PVC Schedule 40) in the trench with the holes facing down.
- Cover the pipe with more gravel, wrap the fabric over the top, and backfill with soil.
This drain catches subsurface water and directs it away from your foundation. Slope the pipe at least 1/4 inch per foot toward a daylight exit or a dry well.
Step 5: Framing and Finishing on Uneven Ground
When your floor platform or slab isn’t perfectly level with the world, framing gets tricky. I keep a quality laser level, like a Huepar brand self-leveling cross-line laser, on my tool belt and check my work constantly. As you build walls, the laser line on the floor isn’t your guide-the plumb line on the wall is.
If your design includes a walk-out lower level (like a garage door on the downhill side and a room above), the framing is unique. The lower wall is often a short “cripple wall” built on the foundation, supporting a large header beam. That beam then carries the floor joists for the upper level. This is not standard garage framing, so follow your engineered plans to the letter.
DIY Difficulty & Time Estimate

Let’s be honest about what you’re signing up for. I rate building a garage on a slope a 9 out of 10 for DIY difficulty. The earthmoving and structural concrete work are advanced trades that are easy to get wrong.
For a seasoned DIYer with a very capable helper, expect 3 to 6 weeks of active, full-time work from grading through dried-in framing. This doesn’t include the waiting time. Factor in 1-2 weeks for permit approval and a full 7 days for concrete to cure before you can build on it.
Having a skilled helper is not optional for steps like pouring concrete and raising wall frames-it’s a mandatory safety requirement. If your experience is mostly with interior finish work, I strongly recommend hiring out the site work and foundation to professionals.
Long-Term Care for a Garage on a Hill

Building on a slope is only half the battle. The real test is how it holds up after five winters of rain and snow melt. The single biggest threat to your investment is water, and gravity will always work against you on a hillside. I treat my own sloped garage foundation like it’s part of the family, checking on it regularly. Here’s the routine I follow.
Your drainage systems are your first line of defense. Twice a year, in spring after the thaw and in fall before the heavy rains, you need to inspect them. For French drains, find the cleanout port, pull the cap, and shine a flashlight down the pipe. You’re looking for sediment buildup.
To flush it, I use my Ridgid power washer with a dedicated drain jetting nozzle, but a standard garden hose on full blast can work if the blockage isn’t severe. Run water into the cleanout for several minutes until you see it flowing freely from the daylight exit point down the hill.
Retaining walls are not just decorative; they are structural. Every few months, get down and look at them closely. Use a long, straight board or a 4-foot level placed vertically against the wall face. You’re checking for any inward lean or outward bowing. Any movement, even a half-inch, means you need to call the engineer who designed it.
Gutters and downspouts on a sloped lot have a harder job. Water moves faster and carries more debris. I’ve had the best luck with 6-inch K-style gutters and 3×4-inch downspouts to handle the volume. Clean them at least three times a year, and always ensure the downspout extensions direct water at least 10 feet away from the foundation. I use a simple plastic gutter scoop and gloves, it’s a messy but critical 30-minute job.
Walk the perimeter of your garage foundation every year. Look for areas where soil has washed away, creating small gullies or, worse, sinkholes. These are signs your surface grading has failed. Fill minor erosion with heavy clay soil and pack it down, then re-seed or sod over it. A sinkhole needs professional attention immediately.
Many homeowners ask me, “Can my garage on a hill even be insured?” The answer is usually yes, but you have to prove it’s sound. When I insured my property with Allstate, I provided the stamped engineering plans, the soil report, and photos of the completed drainage and foundation. This documentation shows the insurer the risk was managed by professionals, which makes them far more comfortable. Keep all these documents in a safe place with your property deed.
When NOT to Try Building on a Slope Yourself

I love a good DIY project. But after 20 years in this field, I’ve learned some hills are best left to the pros with the right insurance and equipment. Taking this on yourself to save money can lead to a catastrophic and expensive failure. Here are the red flags that should stop you.
First, the slope itself. Local building codes define the maximum grade you’re allowed to build on without mandatory engineered plans. In many areas, anything over a 10:1 slope (one foot of rise over ten feet of run) triggers this requirement. You can check your lot’s grade yourself with a string level and two stakes, but if it’s steep, the permit office will require a professional survey.
The soil type is a deal-breaker. Pure, wet clay acts like grease-it slides. Very sandy soil has no cohesion and shifts easily. A simple hand test won’t cut it here. If you dig a test pit and the soil is uniform and slippery or runs through your fingers like beach sand, you need a geotechnical engineer. They’ll specify the exact foundation type, like drilled piers down to bedrock.
Large trees close to the building site are a double problem. Their root systems can interfere with digging and compromise your foundation later. More importantly, removing them is dangerous and expensive. I once saw a DIYer try to fell a 3-foot oak with a cheap chainsaw; the tree fell the wrong way and took out his neighbor’s fence. The removal and damage bill was five times what a pro would have charged.
Concrete work on a slope is advanced. Forming a level foundation on uneven ground is a precise skill. If your forms aren’t braced perfectly, the wet concrete pressure will blow them out-a huge, dangerous mess. Operating a skid-steer or mini-excavator on a hill also has a steep learning curve. One wrong move and you can tip it or undercut your foundation trench.
The most common mistake is underestimating cost. For a flat lot, a 10% contingency might work. For a slope, I tell clients to plan for at least 30% extra. Why? You might hit solid rock two feet down that requires a jackhammer attachment for the excavator. You might discover undocumented utility lines. I built my own garage on a mild slope and still went 25% over budget when we hit an old, unseen septic line. If your budget can’t absorb that shock, you’re not ready to start.
Garage Care Pro FAQ: Sloped Lot Garage Maintenance
I’m budgeting. How much more does the slope itself add to long-term maintenance costs?
Plan for 20-30% higher annual maintenance effort and cost. Your drainage systems and retaining walls are critical infrastructure that require regular inspection and cleaning to prevent catastrophic failure. Budget for professional drain jetting every few years and annual soil amendments to combat erosion.
What’s the first sign my garage foundation on a slope is failing?
Look for new, diagonal cracks in the foundation walls or slab, especially near corners. More subtly, doors that suddenly won’t close properly indicate frame shift. If you see either, immediately check your French drain outlets for blockages and call your structural engineer.
My driveway runs downhill to the garage. How do I keep water out?
Install a trench drain (channel drain) across the entire garage entrance at the base of the slope. Pair this with a significant swale or catch basin on the uphill side to divert water before it hits the apron. This is a non-negotiable installation for any downward-sloping driveway. Doing so helps prevent garage flooding and water infiltration by keeping runoff away from the door threshold. Proper drainage also protects interior floors and reduces moisture issues over time.
The ground near my new garage is settling. Is this normal?
Some settlement in backfilled areas is expected, but it must be addressed. Top up settled areas with compactable fill (like clay or road base) in 6″ layers, tamping each thoroughly, and re-establish positive grade. If settling is severe or near the foundation wall, it indicates poor initial compaction-a professional assessment is needed.
Smart Steps to Finish Your Sloped Garage Build
Based on my time helping homeowners with tricky builds, your top priority should be getting a professional engineer involved from the start to create a site-specific plan-this upfront work prevents costly and unsafe mistakes later.
- Never guess on your foundation. I always bring in a structural engineer to decide between a pier system, a stepped footer, or a full retaining wall; for a recent project on a steep lot, we used a helical pier system from CHANCE that saved weeks of excavation.
- Factor in the true cost of the land. Site prep like grading and hauling off soil often costs more than the garage materials, so pad your budget by at least 25% for this phase alone.
- Invest in robust drainage from day one. I pair French drains with a solid pipe like NDS SmoothFlow, burying it in washed gravel to move water away and keep your slab dry for decades.
- Make permits and inspections your checklist. This isn’t red tape-it’s a free quality check that ensures your garage is built to code and safe for everything you store inside.
Expert Resources and Citations
- Can You Build A Garage On Sloped Land? | Supreme Buildings
- Raising ground level with Fill or Tall Stem Wall for new detached garage. – JLC-Online Forums
- Is It Possible to Build a Garage on a Sloped Lot? – Arizona Garage Builders
- r/AskEngineers on Reddit: How feasible is building a two car garage on the top of a steep slope?